Dynamic Content for Elementor Views Widget – More Ways to Dynamically Display Your Content
Introduction
I have been working with Dynamic Content for Elementor since December 2019 and I’m still finding new features. I recently noticed there was a Views widget and realized that it is another gem in this suite. It is a flexible repeater with a lot of options. I spent some time exploring this widget and wanted to share what it can do. In the conclusion I mention some of the use-cases that came to mind.
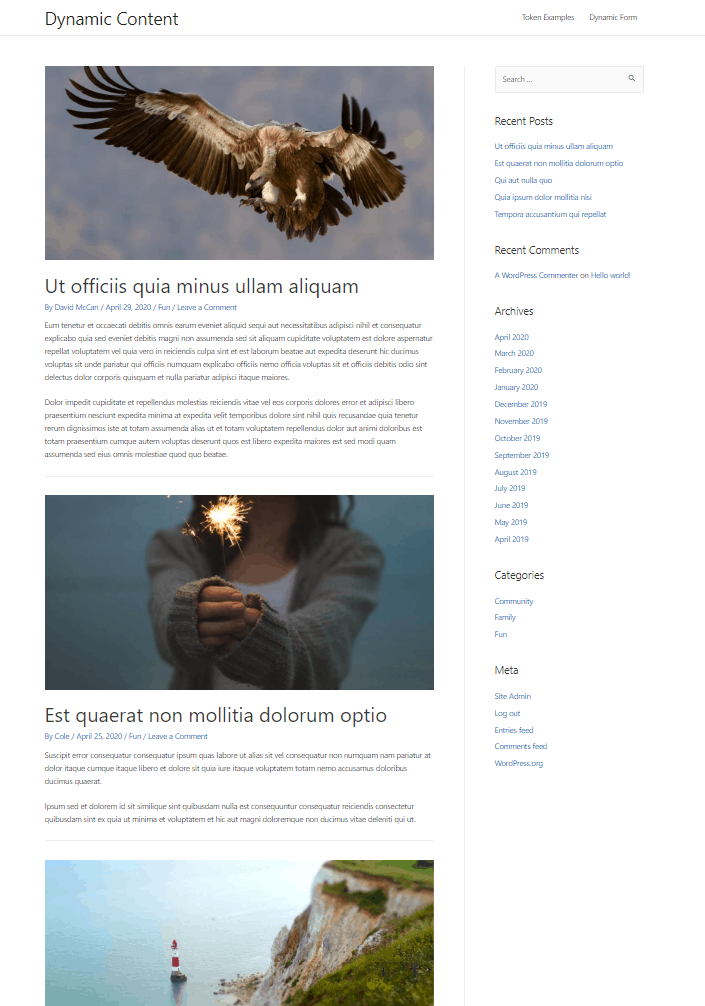
I have a test website using the free Astra theme and I’ve created a bunch of posts with three categories using the Faker Press plugin. I have the Elementor and the Dynamic Content for Elementor plugins installed.
Video Version
High-Level Overview
The Views widget allows you to create a listing, which is like a repeater. When using the Views widget the workflow goes like this:
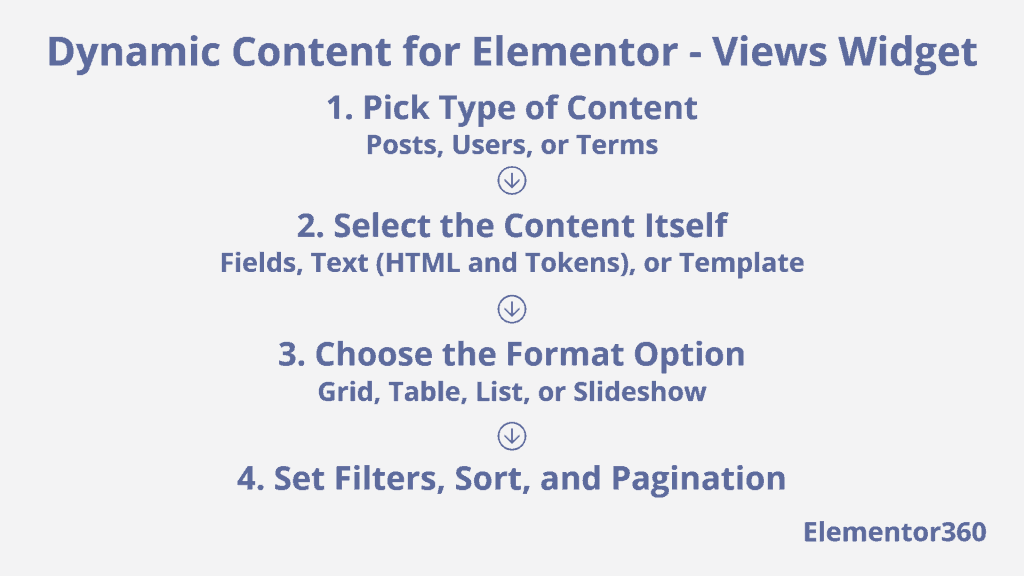
First: there are three types of content you can pick from:
- Posts – which includes posts, pages, and Custom Post Types.
- Users – registered site users.
- Terms – categories, tags, and custom taxonomies.
Second: there are three high-level ways to select the content that will be included:
- Fields – as a list of fields.
- Text – as a combination of HTML and smart tag placeholders that you enter into an editor box.
- Template – where you create a template in Elementor first as your listing or repeater item using dynamic tags. This allows you to pick the content easily and format it as you want.
Third: there are four ways to format the content:
- Grid
- Table
- List
- Slideshow
Fourth: You set the filter, sorting, and pagination options. You can pre-select some of the filters and also expose some filters to the end user.
Using the Views Widget
The Views Widget is in the DCE List group of widgets.
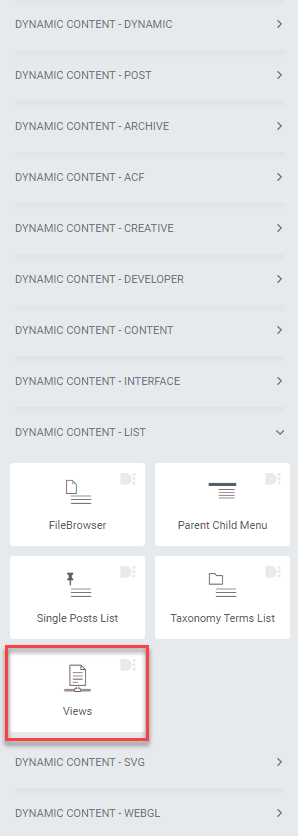
You can add it to a column if you don’t want it to span the whole page, but I just added it to a section.
Object Panel
There are several types of content you can choose from: Posts, Users, or Terms Object. I have it using Posts and you can see the preview content on the right is a list of posts.
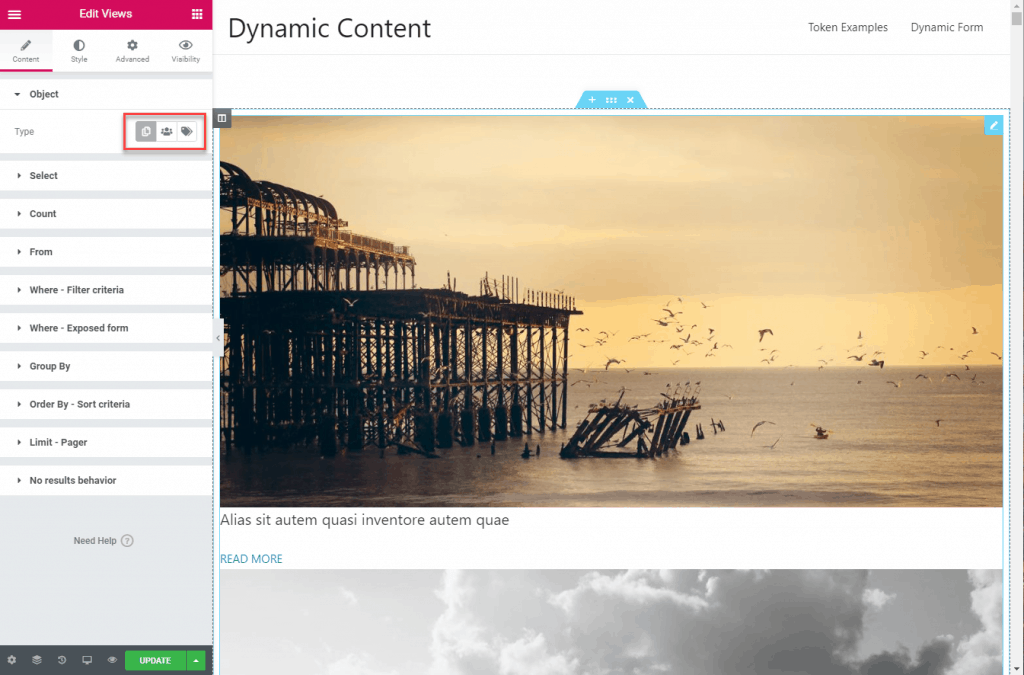
Select Panel
In the Select panel you pick the content that is going to be used. You can pick Fields, Text (HTML and smart tag placeholders), or Terms (categories, tags, and custom taxonomies).
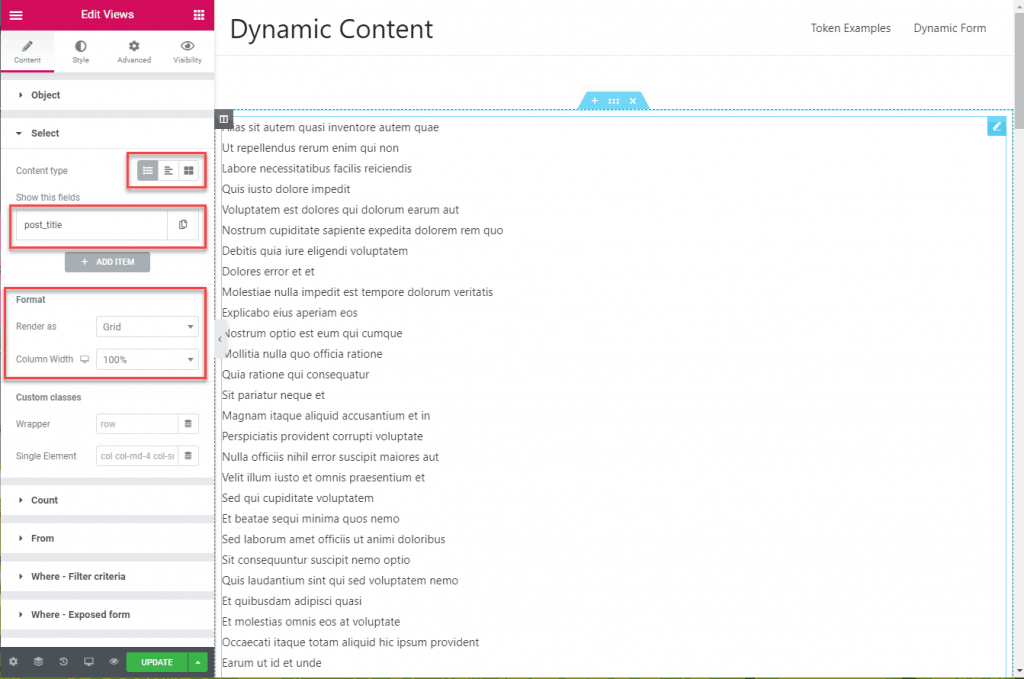
Content Used: Fields
In the image below I set the content type to Fields and we can see that only the Post Title is selected automatically. Each field has some options. You can pick which HTML tag you want applied, what to show if there are no results, and add a custom CSS class. You can also make the field a link to the object, in this case, the related post.
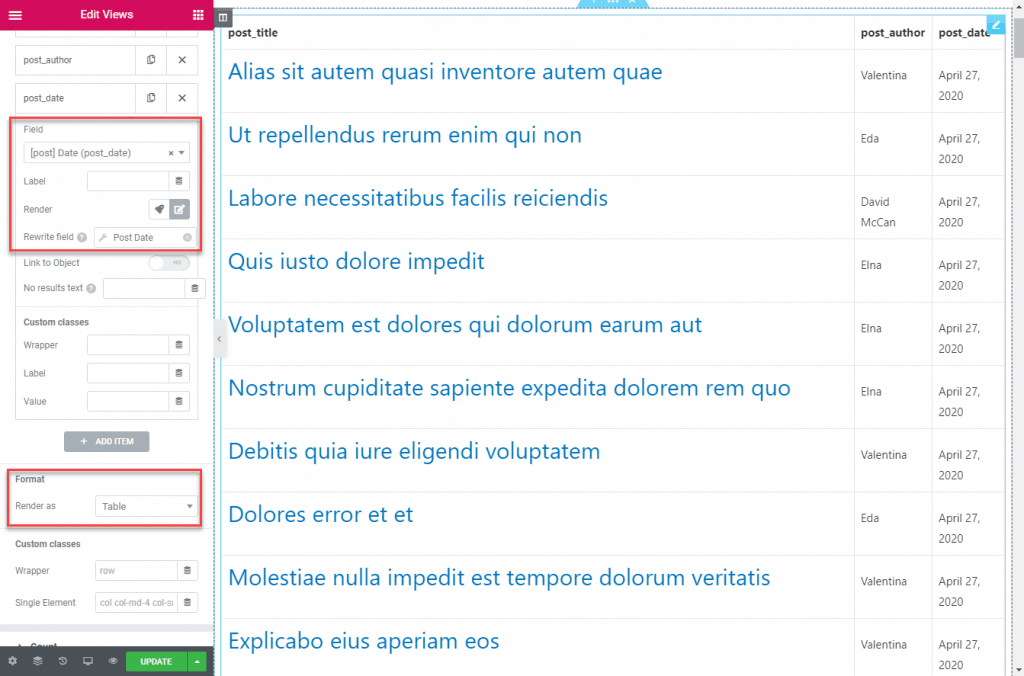
Here I have the post title, the author, and the post date. I made the title a link so that if you click it you go to the post. Note you can select tokens for these values and in the post date field I selected the post_date token so I could easily have a nice format. The screenshot shows the fields in a table format.
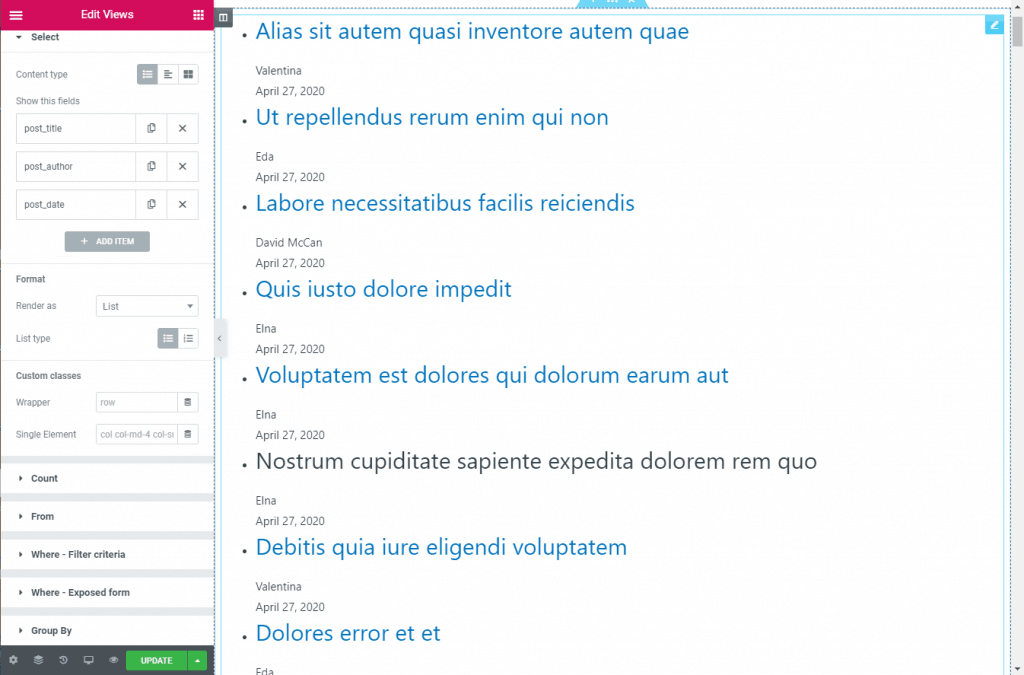
Here are the same fields rendered as a List.
Content Used: Text (HTML and Placeholder Tags)
If we go back and instead of Fields we take the second option, Text, then we can use place holder smart tags and HTML to create our View.
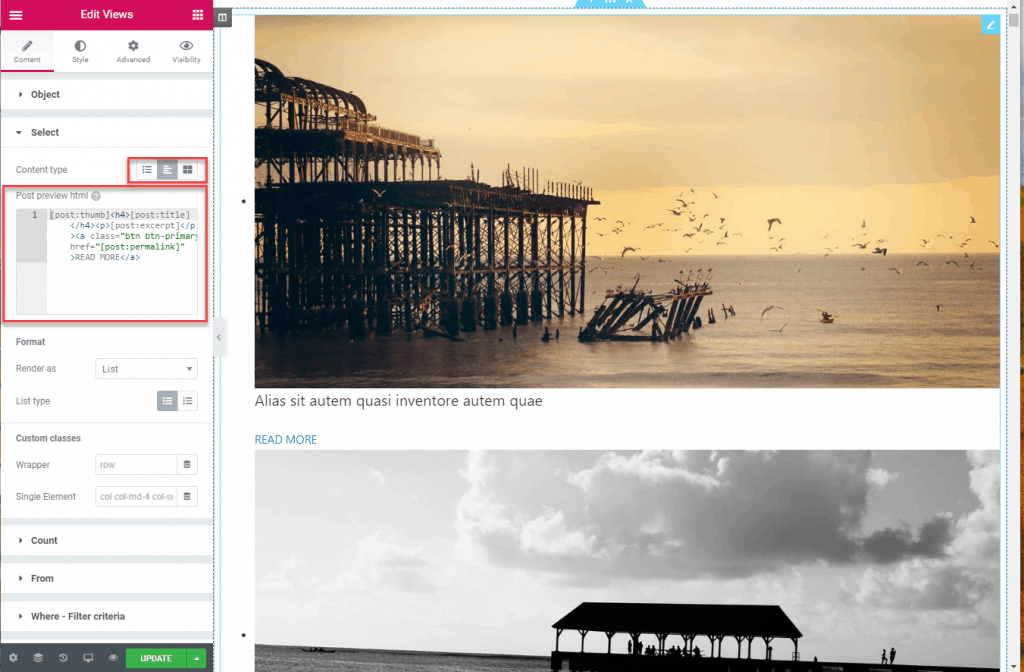
You are going to have to check the Dynamic Content for Elementor website to get a list of the smart tags you can use as a placeholder, and you are going to need to generate the HTML and CSS for the display yourself. I created an HTML and a CSS snippet as an example. I pasted the HTML (with the included place holders) into the small code box.
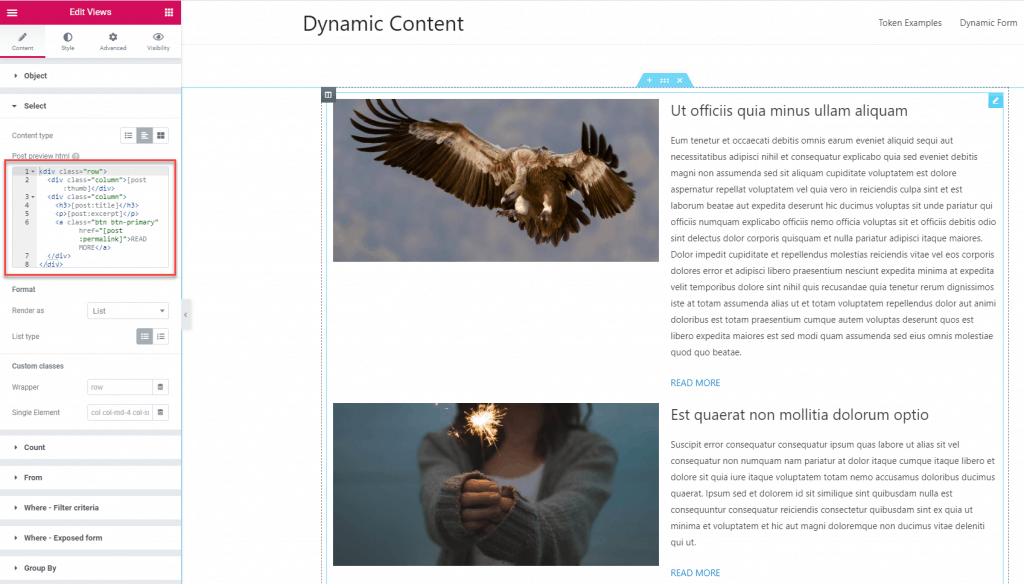
<div class="row">
  <div class="column">[post:thumb]</div>
  <div class="column">
  	<h3>[post:title]</h3>
  	<p>[post:excerpt]</p>
  	<a class="btn btn-primary" href="[post:permalink]">READ MORE</a>
  </div>
</div>
I went to the Advanced tab for the widget and then down to the “Custom CSS” panel and added this CSS.
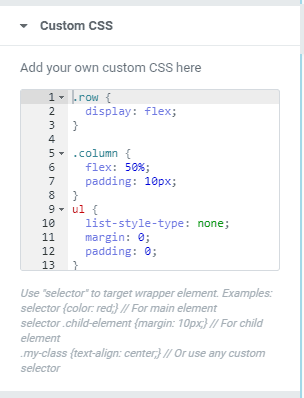
.row {
  display: flex;
}

.column {
  flex: 50%;
  padding: 10px;
}
ul {
  list-style-type: none;
  margin: 0;
  padding: 0;
}
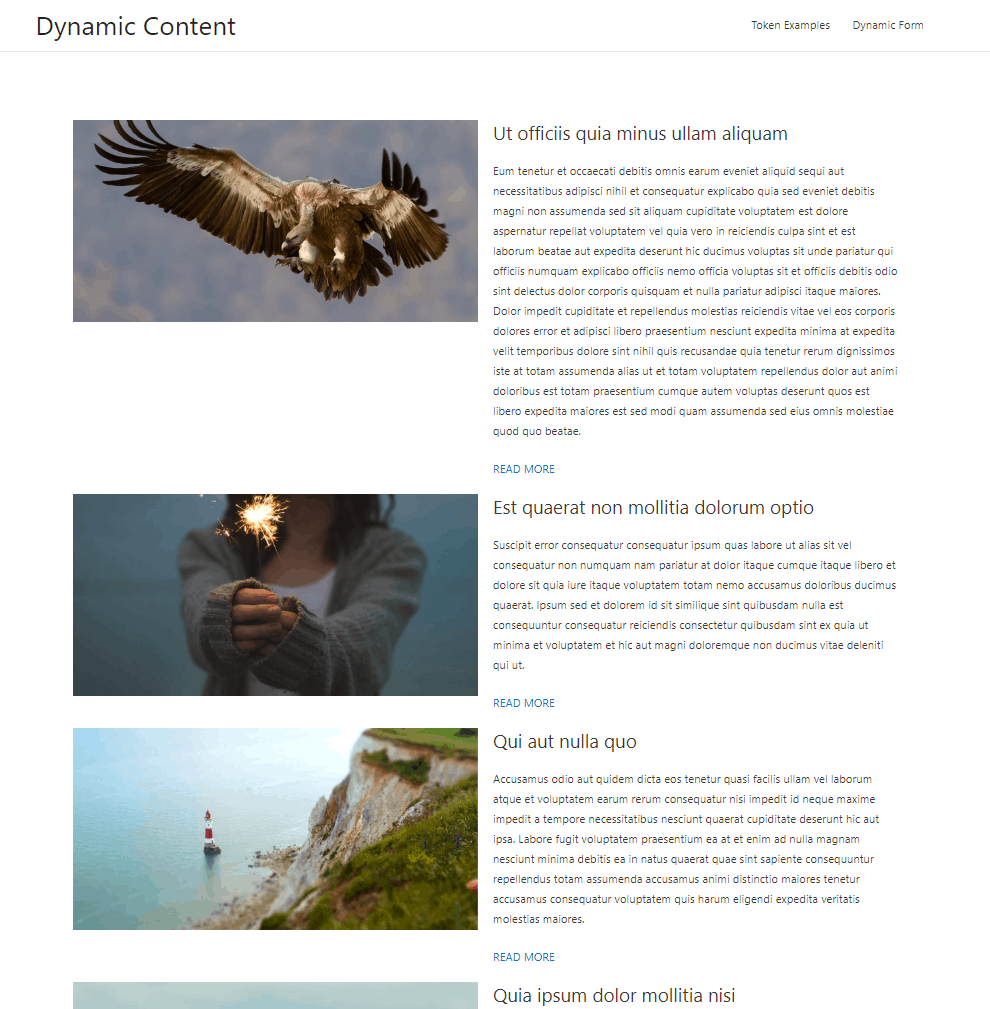
And here is the result on the front-end.
Content Used: Template
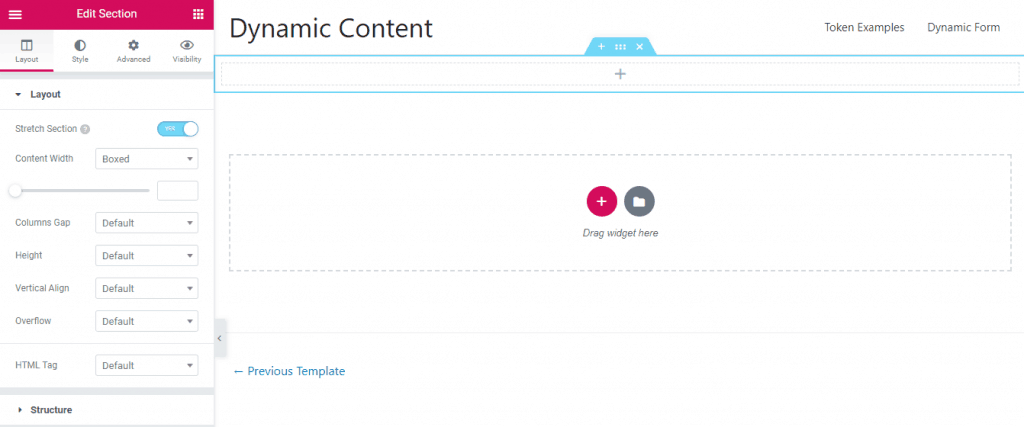
With the template option you create an Elementor template and use that as your listing item. I went to the Admin / Templates menu and clicked “Add New” created a “Section” template. I named the template “loop item” and added a single column section.
I added an inner section with a two column row into the section and adjusted the right column to be 30% of width.
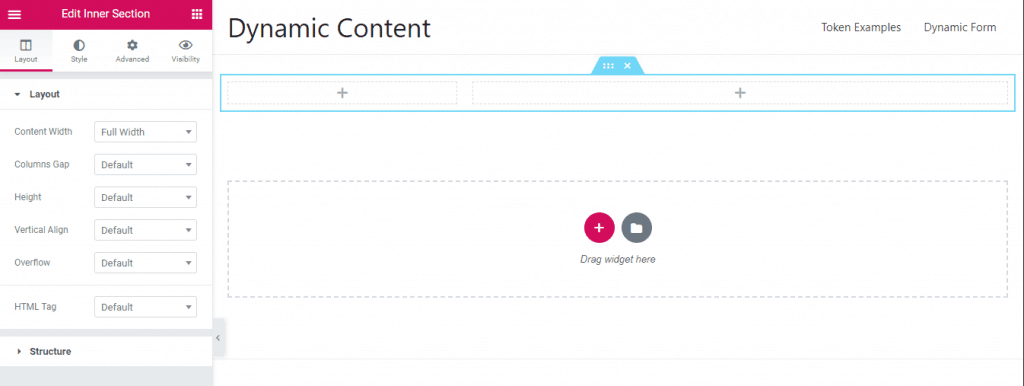
I went to the page preview settings in the lower left corner and selected to show a post as the preview.
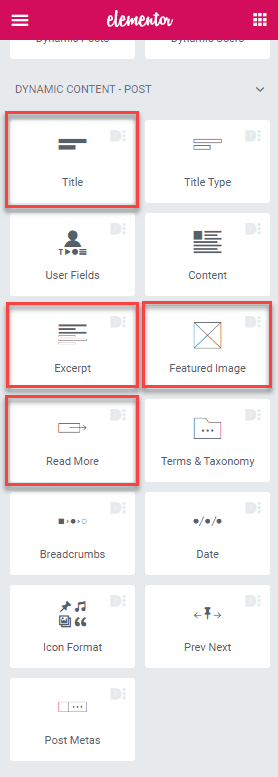
Dynamic Content for Elementor comes with some widgets used for templates. I added the Featured Image widget to the left column and the Title, Excerpt, and Read More widgets to the right side.
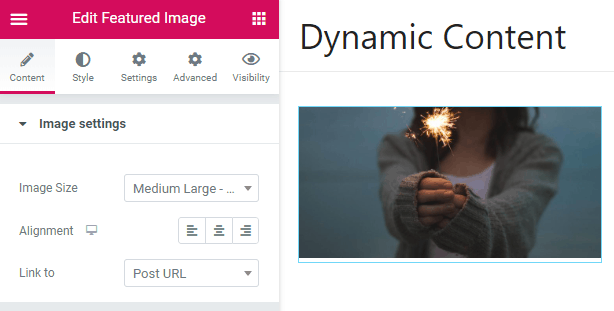
Here are the settings for the Featured Image:
Here are the settings for the Title widget:

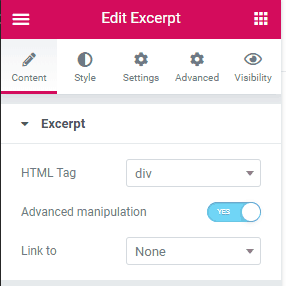
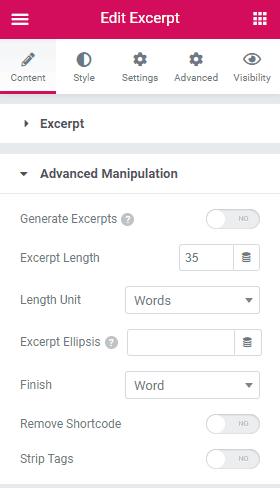
Here are the settings for the Excerpt widget:
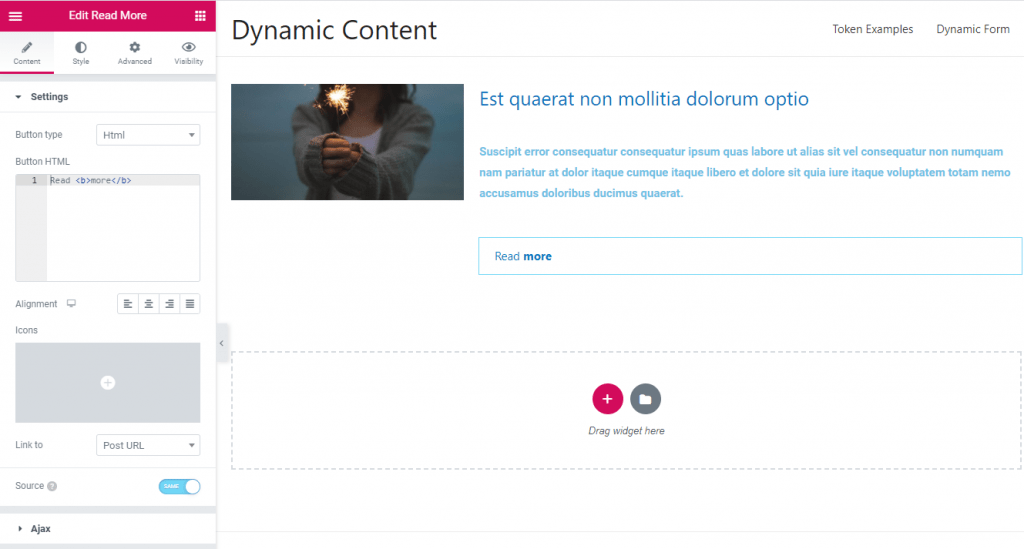
And here are the settings for the Read More widget.
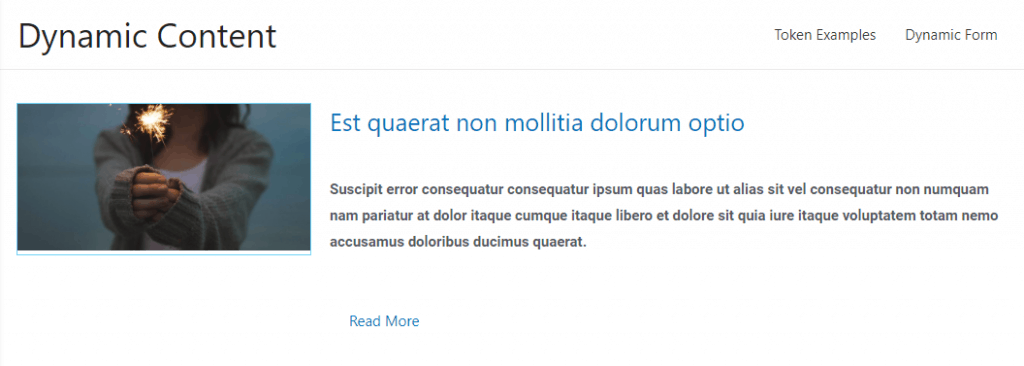
I set the text color to dark gray of the Excerpt and here was what it looked like so far:
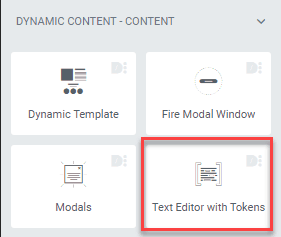
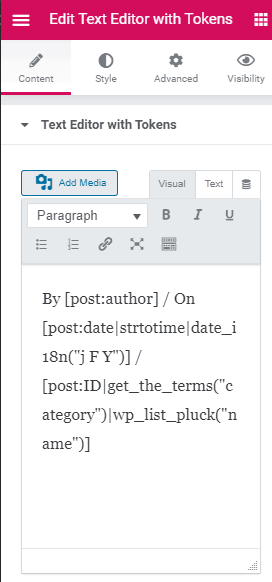
I added a Dynamic Content for Elementor “Text Editor with Tokens” widget under the Title. Here I want to add some post meta info.
I added some dynamic tags and text for the post meta. I looked at the documentation to find the right syntax for the dynamic tags.
And here is what it looked like:
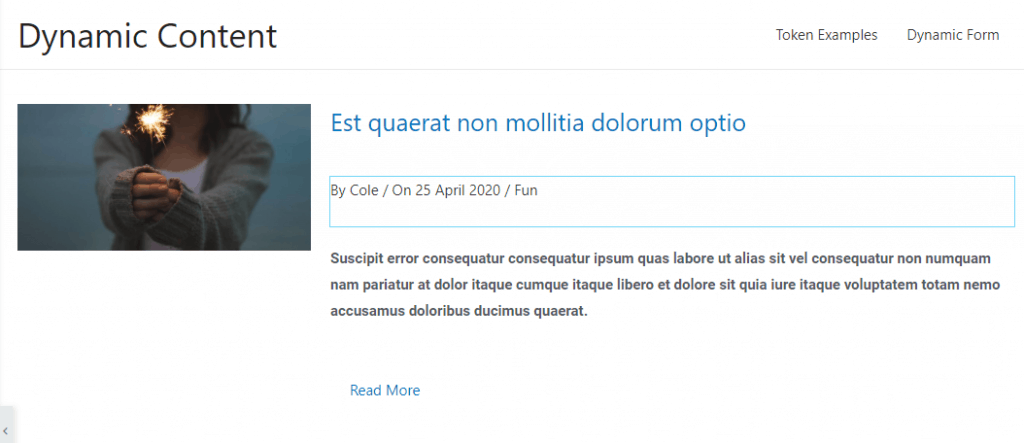
Things were looking good, so I just tightened up the spacing and added a border around the Read More button. Here is the finished version:

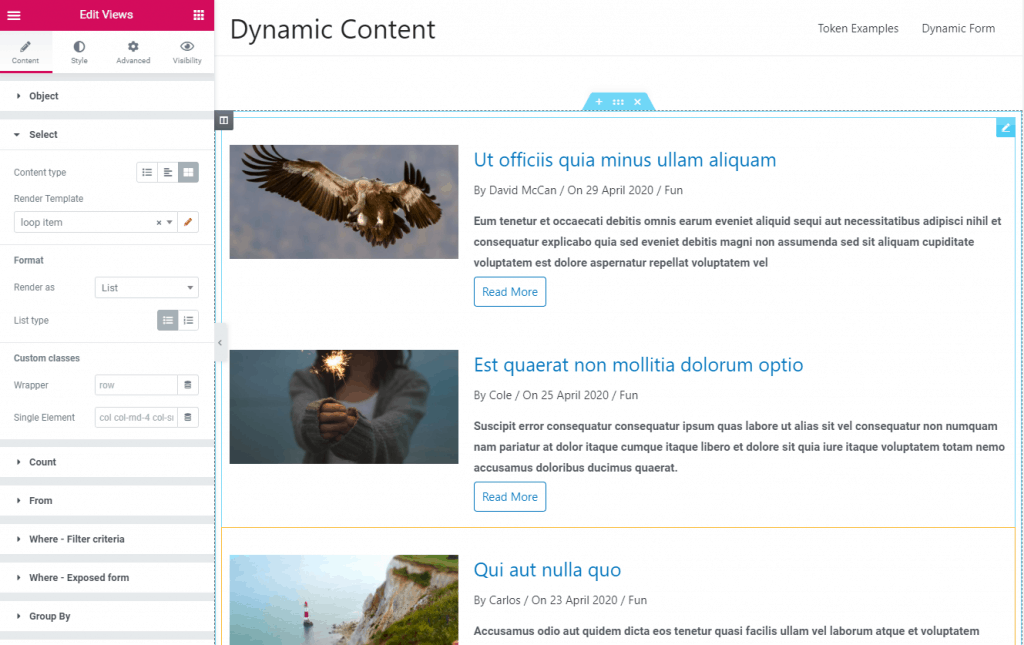
Now, I went back to the page with the Views widget and selected the template that was just created.
Count Panel
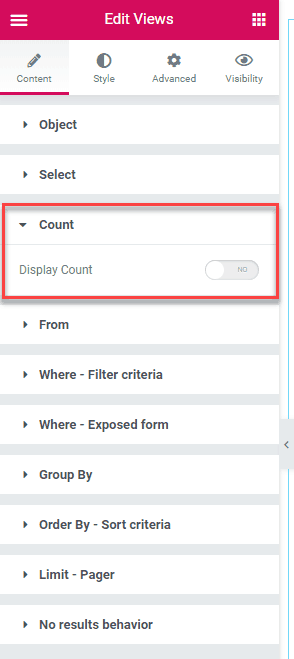
You can turn on “Show Count” if you want to show the number of items retrieve in the loop. I left it off.
From Panel
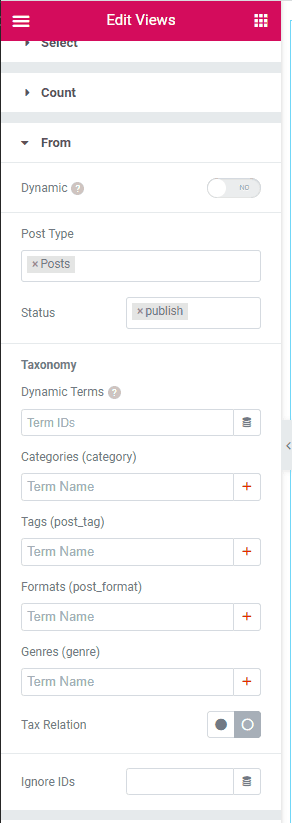
The From panel is where you can select the content type: post, page, or Custom Post Type. There are additional options like the status and ability to select a taxonomy. The Dynamic toggle option is used if you want to use the View for an archive, in which case the correct content type is chosen automatically according the archive type. I was happy with published posts.
Where Panel
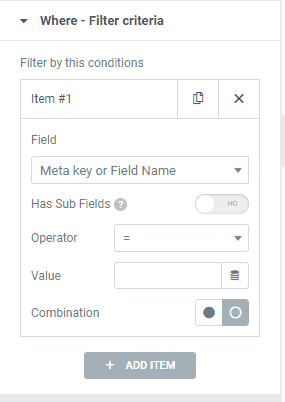
In the Where panel you can filter the results based on a field name or meta key. I didn’t need this.
Where (Exposed) Panel
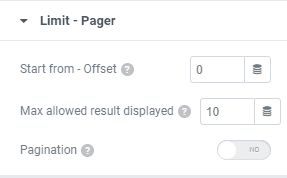
In this panel you can create front end filters for the user. When I started to add filters I noticed that the page slowed down. I realized that I had 120 posts and there was no limit set, so I zipped down to the Limit Pager panel and limited it to 10 while working. I’ll come back to this panel further on to set-up paging.
Back to the Where panel, I added a filter for Categories.
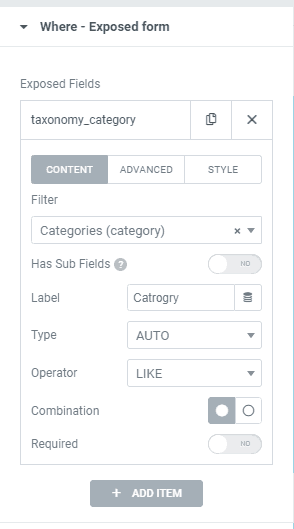
On the Style tab I set the column width to 33% so the drop down would not span the entire page.
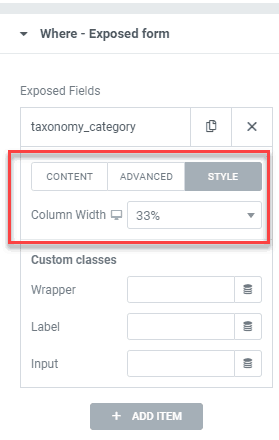
There are additional settings for the filters below the fields. Here I set the filters to use AJAX, apply the filter on change, and remove the button since the filtering was done automatically.

Group By Panel
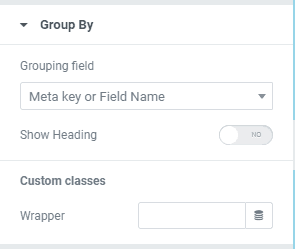
On the Group By panel you can pick a field, like a category, and group the result by that field so that the results would be returned with the post of that field grouped together. I didn’t turn that on.
Order By Panel
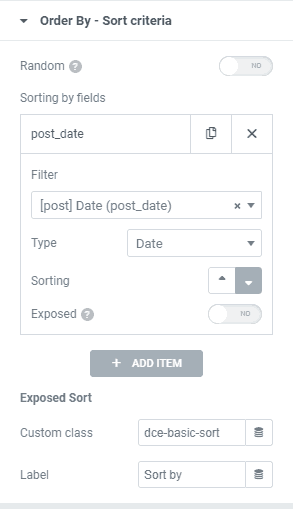
In the Order By panel I picked the Post Date as the field for ordering the results.
Limit – Pager Panel
I toggled Pagination on so that navigation would show at the bottom on the results. More options were show and I then toggled AJAX on so that a full page load wouldn’t be needed when the user was paging through results.
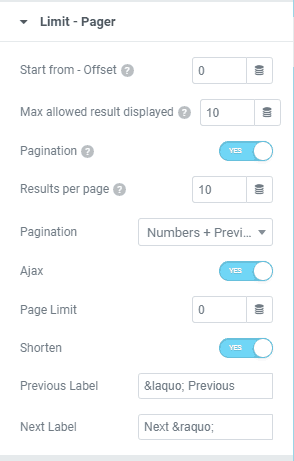
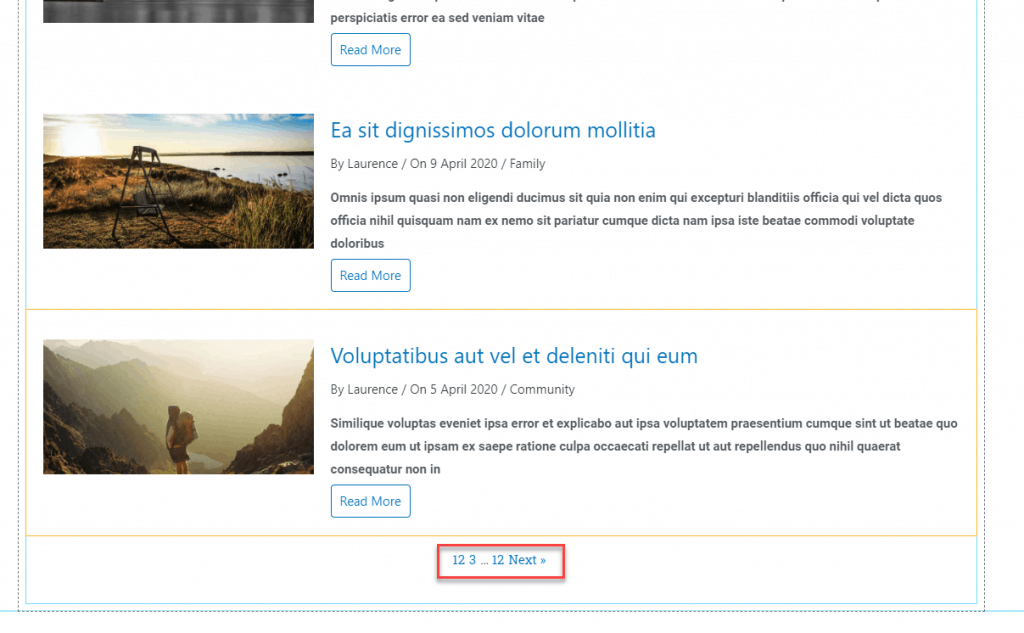
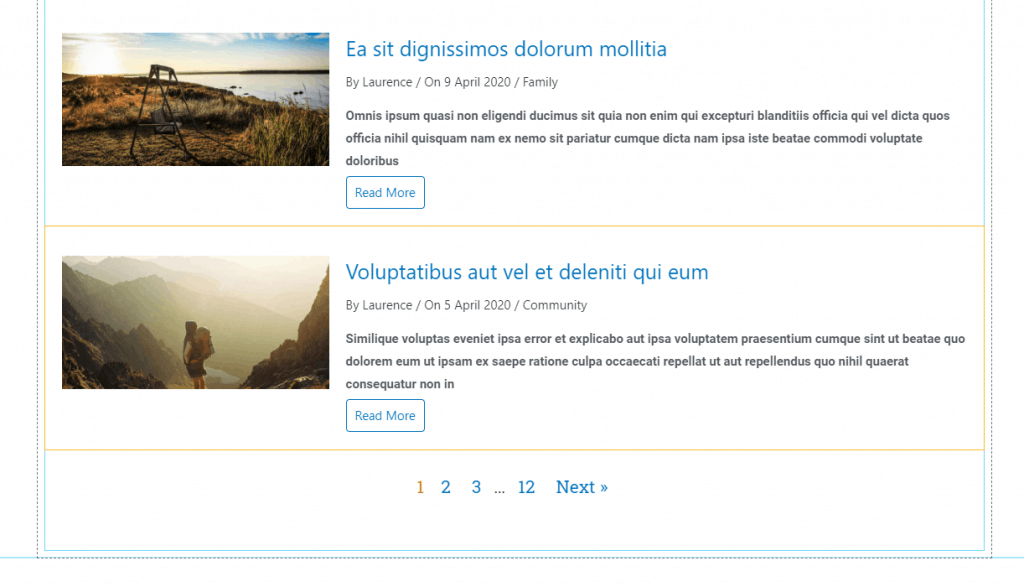
I went to the Style tab and made the pagination look a bit better.
Style Tab
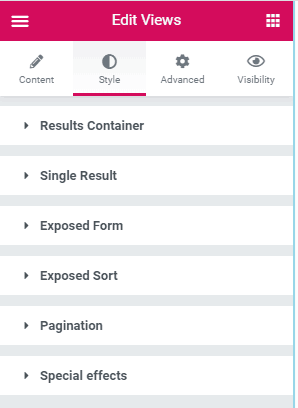
I don’t really want to go through all of the style options. Here is a screenshot of the Style tab to show the different panels. I don’t know if it is possible to style absolutely every element there, but each panel has 1 to 2 dozen options.
Final Result
Here is the final result on the front end:
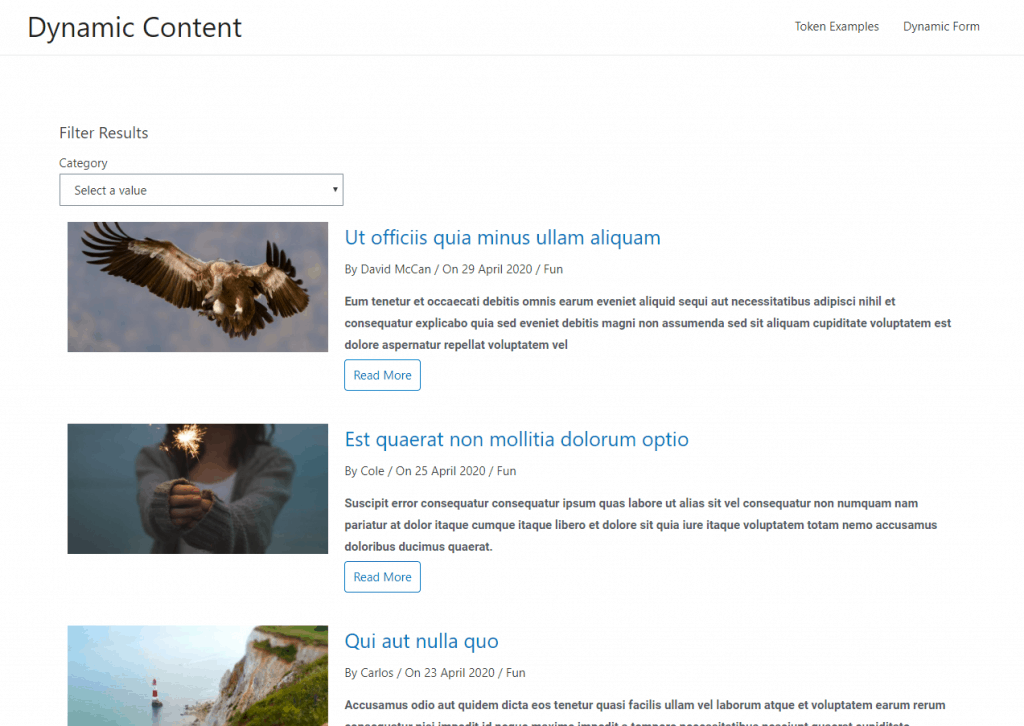
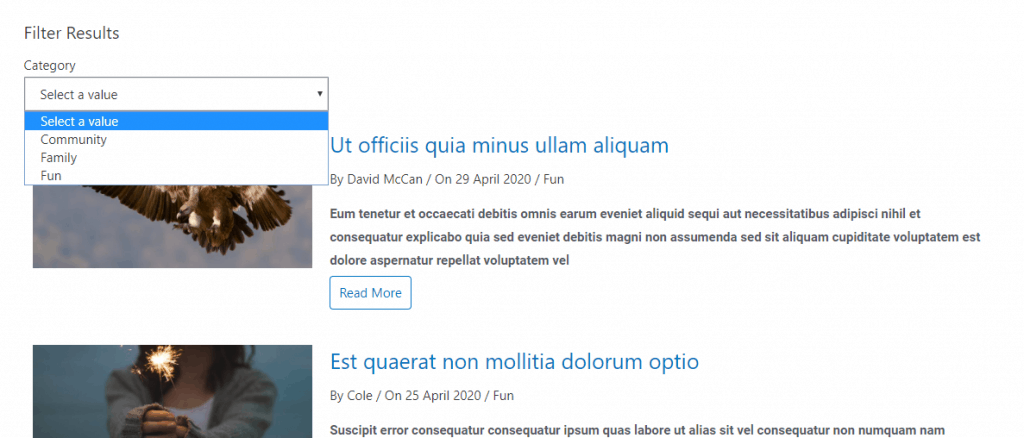
Here is the drop down category list:
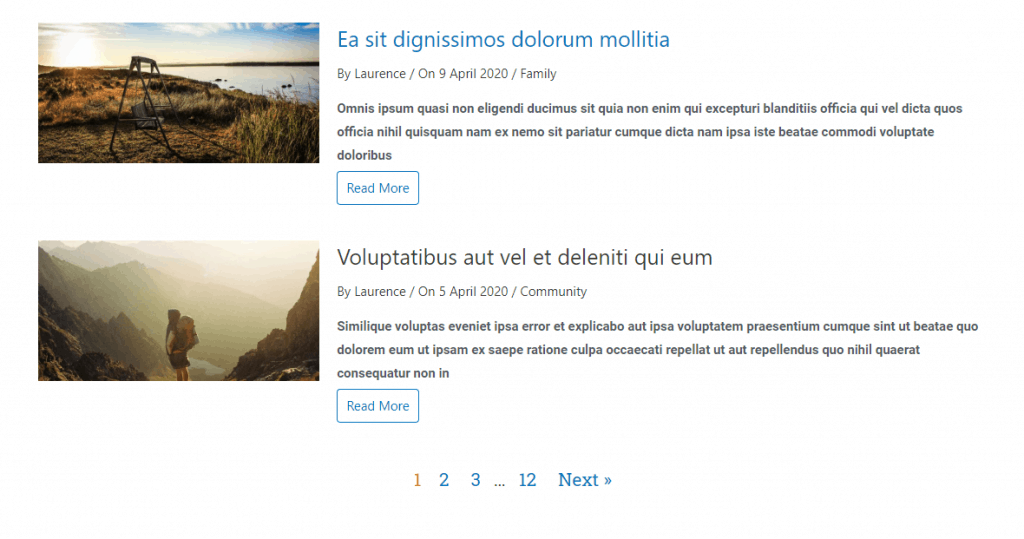
And here is the pagination:
Conclusions
One challenge I continued to face when working with Dynamic Content for Elementor was figuring out which dynamic tags or placeholders to use. The documentation on this has improved and they added a lot of examples, but a popup with a list of the available choices might be a nice helper.
The Fields option seemed like it would be a good choice when creating lists from multiple posts or Custom Post Types. In the normal Elementor workflow that is usually available, creating a list like that is not easy, and the Views widget solves that problem.
The Text (HTML and CSS) option provides an opportunity to pull and display content. You are in charge. You need to know some HTML and CSS to make this work. I found that the Text option makes sense for simple use cases. The small editor box would make it impractical to use this feature for more complex displays. It is not a real code editor.
The Template option is very powerful. You can create simple archive type lists, as I did, or even more complex arrangements. Since you are using a single item loop template, you could pull information in that wouldn’t normally be in an archive. For example, for a real estate listing you could have a box in the template showing the square feet and number of bedrooms. This would be easy to add in a template, but difficult when using regular Elementor post archive widgets.
I found the Views widget to be another powerful feature of the Dynamic Content for Elementor addon.
