Elementor 3 – What You Need to Know
Introduction
The first version of Elementor was released in 2016. Elementor 2 was released in 2018. Now in August 2020 Elementor 3 just came out of beta. Most of the changes relate to three areas: Code Cleanup, Global Styles and Site Settings, and the Theme Builder. Some people see these changes as being incremental improvements, but I’ll point out how Global Styles are more of a game changer than people might realize. I’ll take a look at each of these three areas, show what changed, how they work or what the change means, and discuss what you need to keep in mind when moving forward.
Video Version
What To Do Before You Update
It is a good idea to check your Elementor addons to make sure they have been updated to Elementor version 3. Also, take a good back before starting. If you can, test out the update on a local development site or an online staging site. Once you are ready, update the free version of Elementor first, aka “Core,” and then update the Pro version of Elementor.
Code Cleanup
Some page builders add extra DIV tags to support their builder, styles, and animations. Oxygen and Beaver Builder are known for having cleaner output with fewer extra DIVs, but Brizy, Divi, and Elementor are known for adding extra output. Opinions are divided on how bad these extra DIVs are. They make the download size of the page bigger, which could slow up load times. Some say that with a good caching plugin this doesn’t matter, while others say that it is important. In any event, users begged the Elementor team to clean up the code and with version 3 some DIV elements were removed.

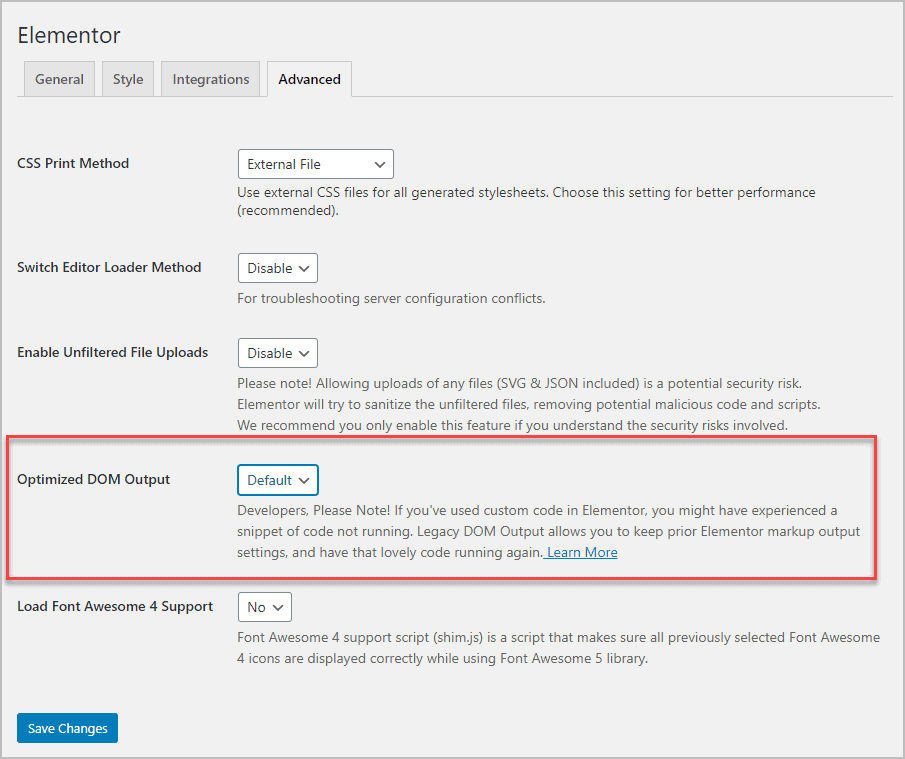
The Elementor team calls this change Optimized DOM. DOM refers to the “document object model,” or the hierarchy of HTML elements on a web page. So “Optimized DOM” is their way of saying they optimized the number of HTML elements output.
Potential problems can arise because Elementor addon providers or users may be using these DIVs for their layout, styling, and effects. To minimize disruption, Elementor by default only uses this optimized output on new websites, but there is an option to manually turn it on for existing sites.
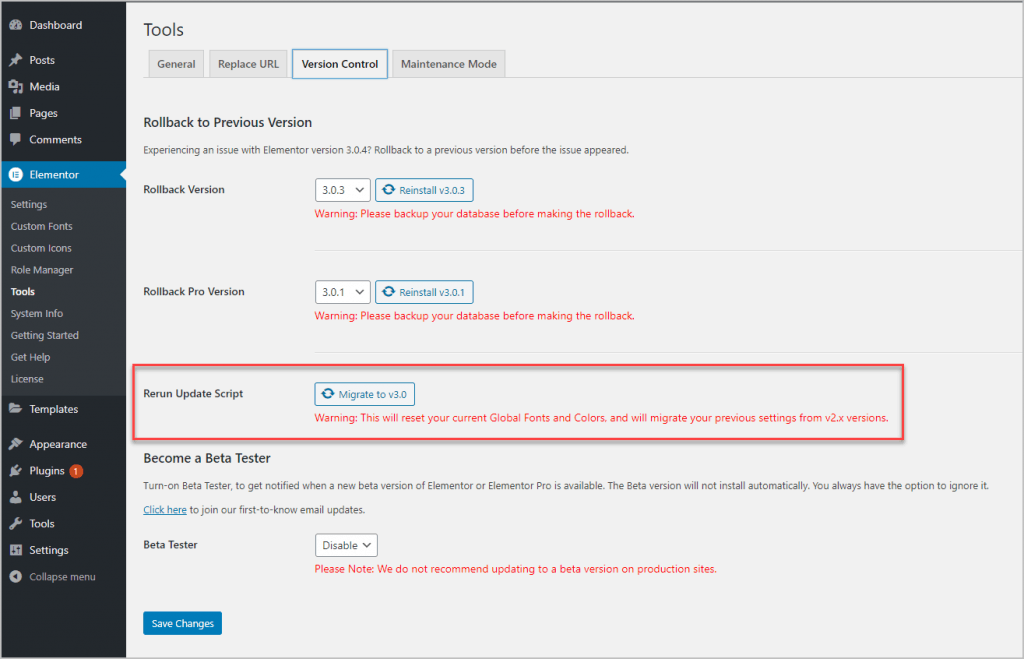
Elementor also added a Tool link to rerun the migration script that is run when upgrading from version 2 to version 3.
Editor Preference Settings – What’s Changed
OK, lets go into the Elementor editor and see what has changed. Not a big deal, but the color and font have change and I guess this gives you a clue which version of the editor you are in.


Click on the hamburger menu in the upper left corner. Here are the version 2 and version 3 panels side-by-side.
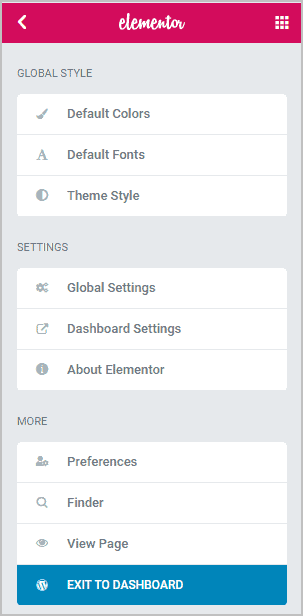
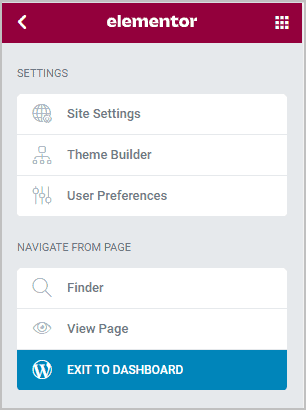
The first 4 items have moved into the Elementor 3 Site Settings area. The Theme Builder area in version 3 is new and will be discussed below. The link to Dashboard Settings and Preferences moved to User Preferences in 3.
Site Settings
Let’s take a look at the Site Settings area. Note that when you see the blue title background it indicates that you are editing global settings and not page settings.
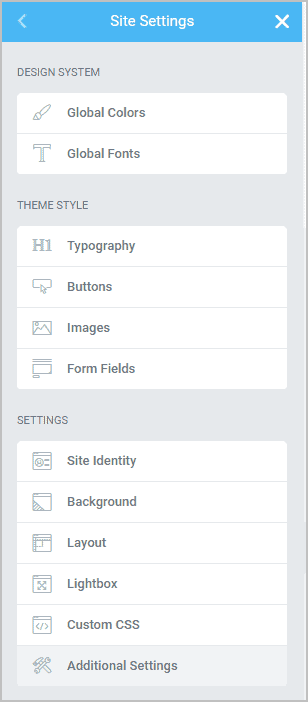
Default Colors and Default Fonts from version 2.x were renamed to Global Colors and Global Fonts under Design System. The Theme Style settings have been listed, and then there is a general Settings area.
Design System
When you go into the Global Colors area you see for default Elementor colors:
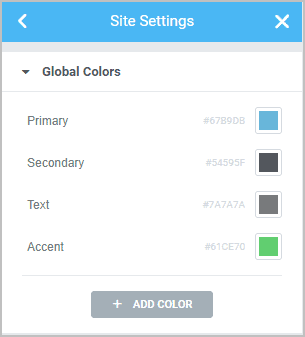
These are Elementor colors. Some things to note about the Global Colors. First, you can add colors and give them a name. Here I’ve added a second accent orange accent color. Being able to add you own colors is pretty powerful and is useful for sites that use more an a handful of colors.
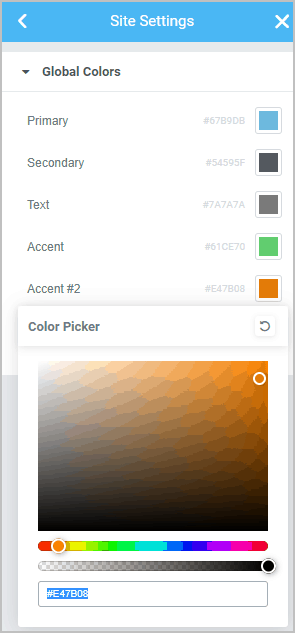
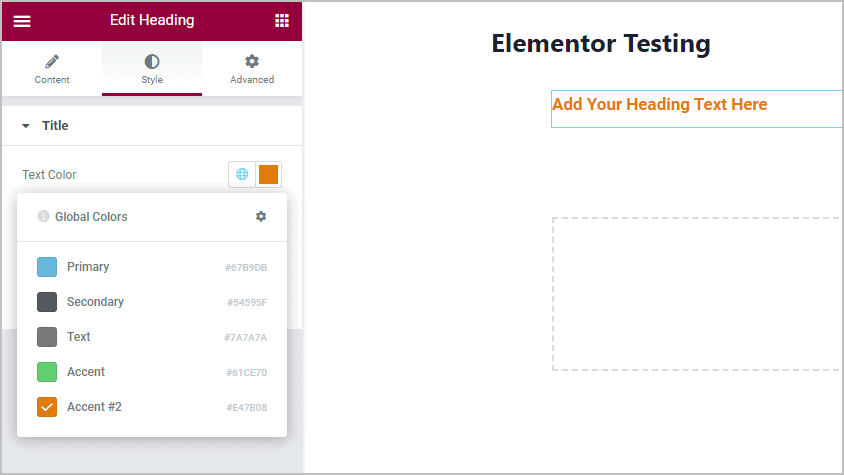
The second thing to note is that Global Colors are also linked colors. Here I’ve added a heading and notice next to the color picker there is a globe icon. If you click on that it opens the global color list and that color is linked. When that globe is blue then that indicates that it is using a global color. If you later change that global color it will change everywhere it is used.
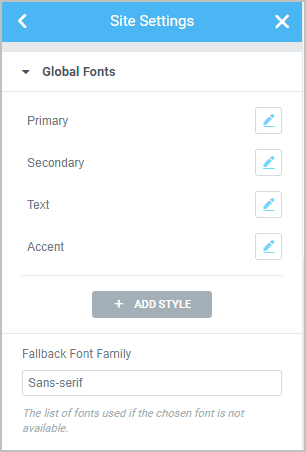
The Global Fonts area works in a similar fashion. You start with 4 font settings and you can add more. Note the default fallback at the bottom.
The typography settings for each one allow you to make the full range of adjustments. Though there are defaults, there is no font size default, so be sure to add that.
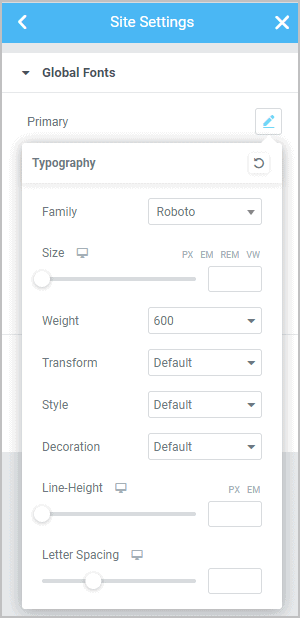
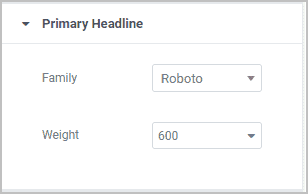
This is different that version 2.x where the Default Font settings were very basic.
Theme Styles
If we look into the Theme Styles area the first panel is for Typography. The first thing you see is a big noticed that for these to work you have to go into the Elementor settings and disable Default Colors and Fonts. The wording on those tells us that “Checking this box will disable Elementor’s Default Colors, and make Elementor inherit the colors from your theme.” This is interesting, since these Typography settings have nothing to do with your theme. I guess what they are implying is that these settings are now your theme settings, or this is your “Elementor theme.” This wording appears for all of the Theme Styles panels.
There are settings for Body, Link, and headings from H1 to H6. Note the globe icon next to them. This is how you can make the HTML elements linked to Elementor global settings.

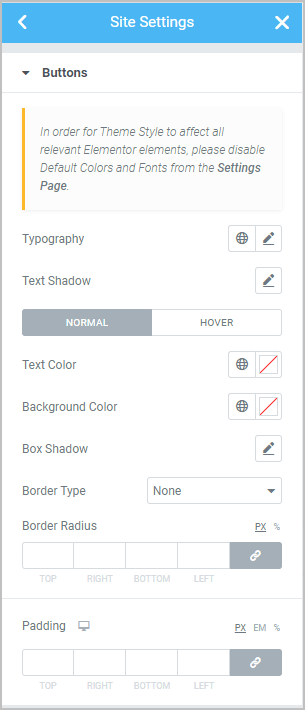
The button settings allow you to set the design styles for your Elementor buttons.
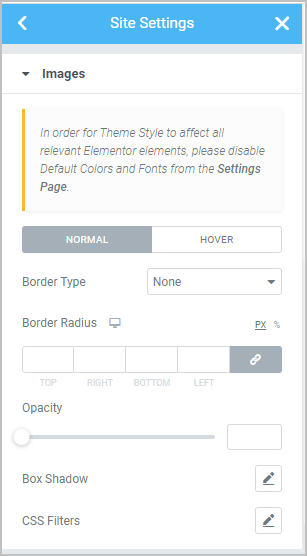
Here are the image style settings:
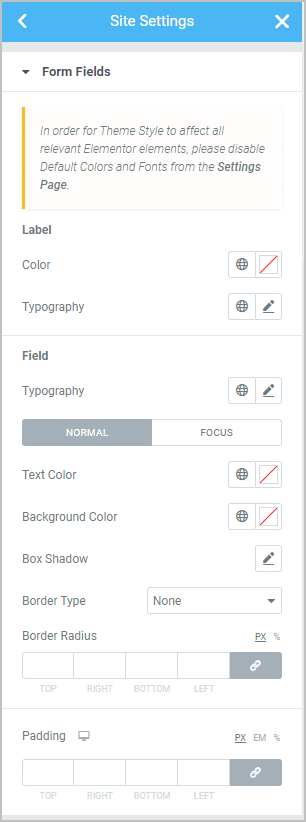
Form field settings:
Settings
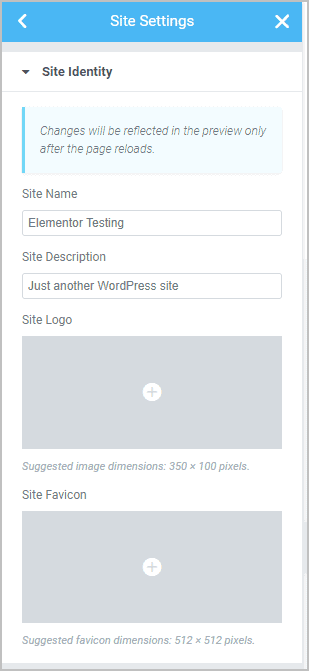
Next we have some settings panels that replicate the default core settings found in most WordPress themes. Here are the site identity settings:
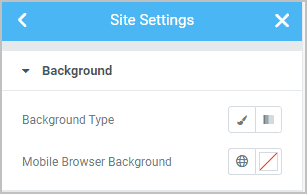
The background settings allow you to select an image, a color, or a gradient.
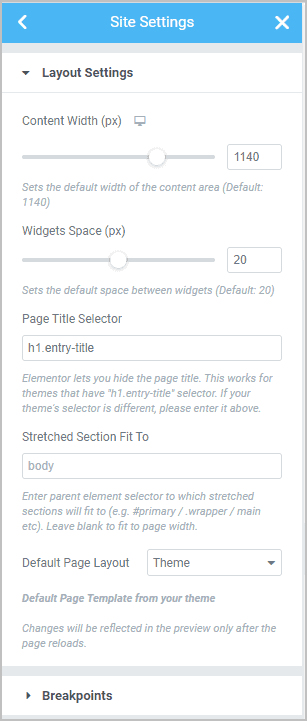
Most of the Layout options were settings that have been moved from the admin menu in version 2.
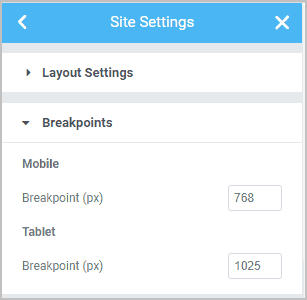
Breakpoint settings have been moved from the admin area.
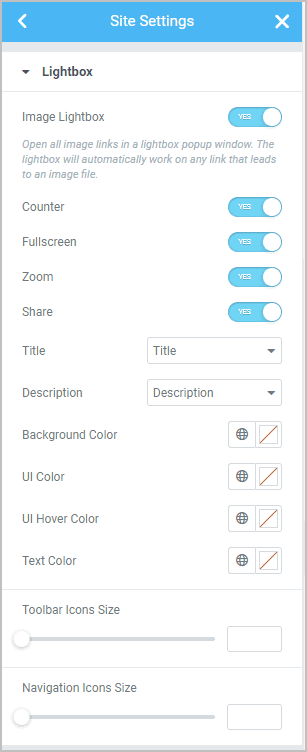
The extensive lightbox settings are new.
Theme Builder
The theme builder was introduced in version 2. Previously, the only way to access the theme builder was through the admin menu.
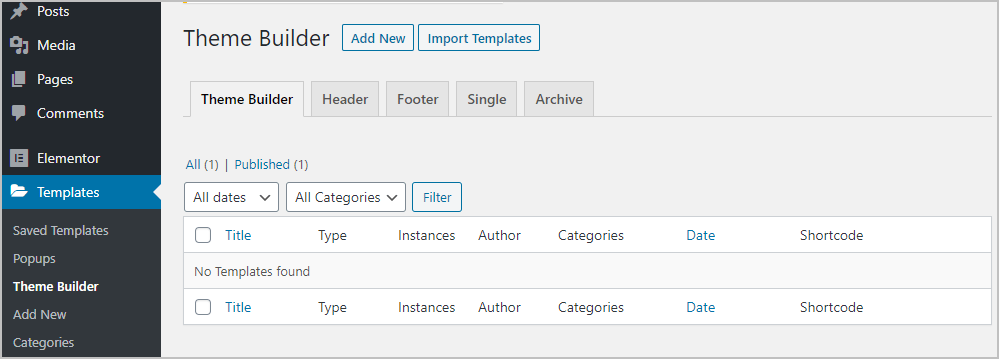
Now there have been some nice UI enhancements to make the Theme Builder easier to use and make it easier to track theme parts. You access the new theme builder from within the Elementor editor. Click on the hamburger menu in the upper left corner and you will see it in the list.
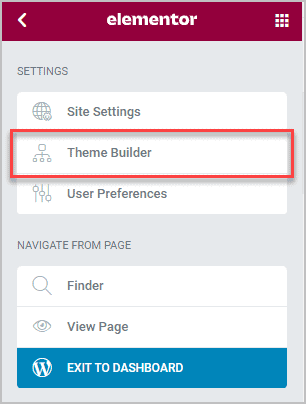
When you click on the Theme Builder item then the new user interface opens.
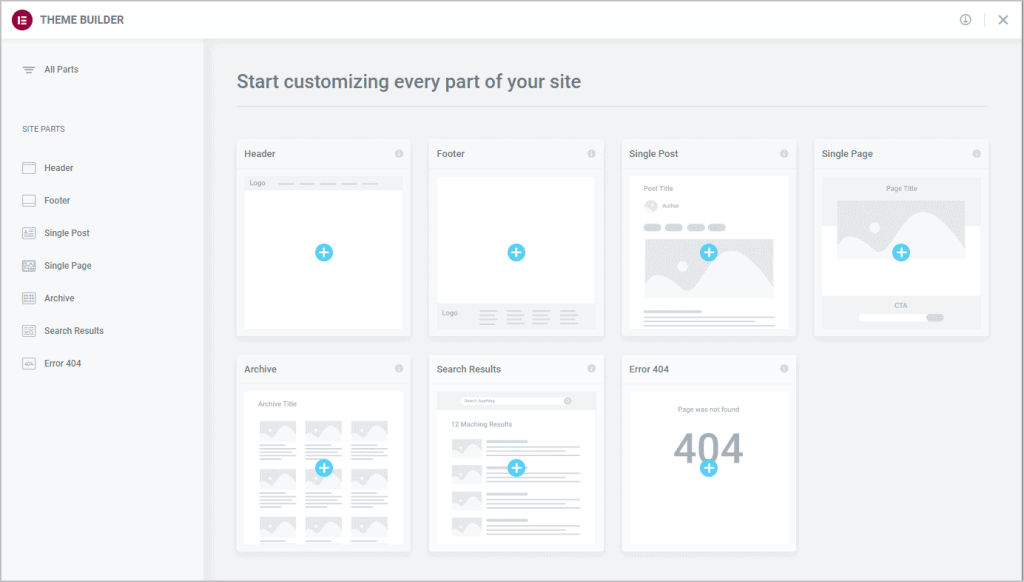
One nice thing right off is that you can see on this overview page all of the theme parts that you need to create and the ones that you have already created. When you click on one of the blue circle plus icons then the template library opens and you can select from the pre-defined templates, or close that and create your own.
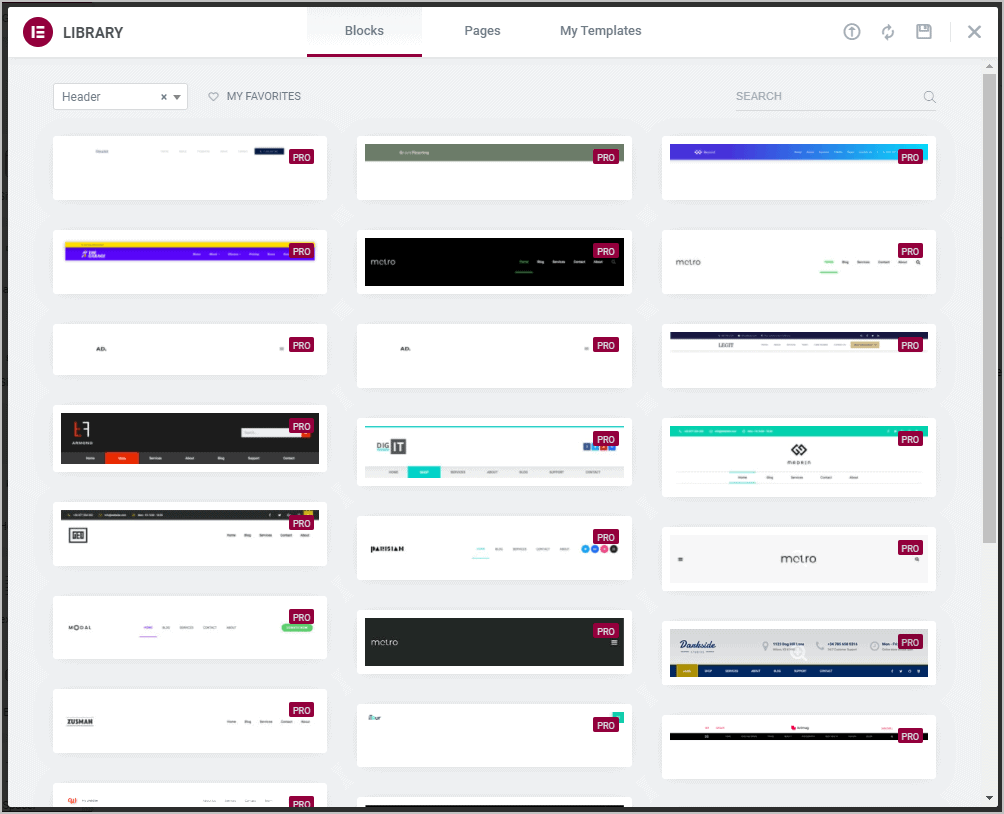
I added one of the Header blocks and it opens it in the editor. Note that the site logo is a placeholder. On the left in the settings, there is no way to change it.
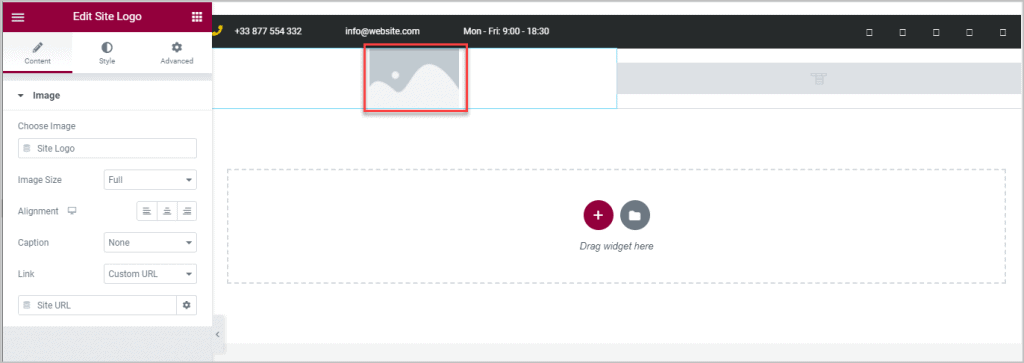
This is different behavior than Elementor Pro version 2.x where a logo was imported with the block. Here is a screen shot from a site with Elementor 2.x:

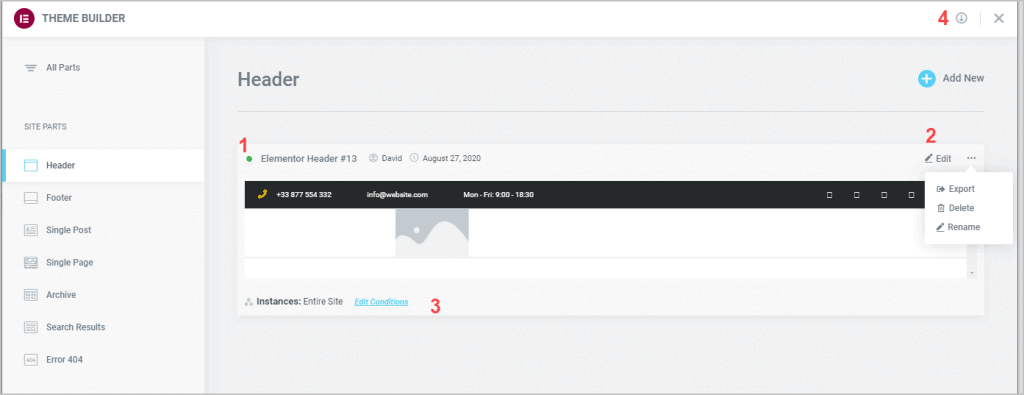
I saved it and this is what it looks like in the theme builder.
- The green dot indicates that it is actively assigned.
- There is an edit link and a hot dog menu to export, delete or rename it.
- You can access the display conditions from this screen.
- You can import a template into the theme builder.
User Preferences
A new addition to the User Preferences panel for version 3 is the option to set the width of the widgets panel.
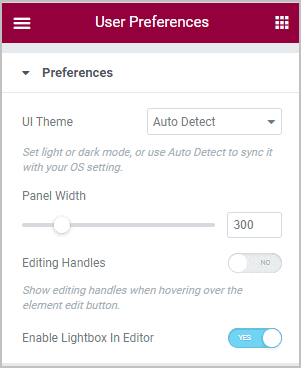
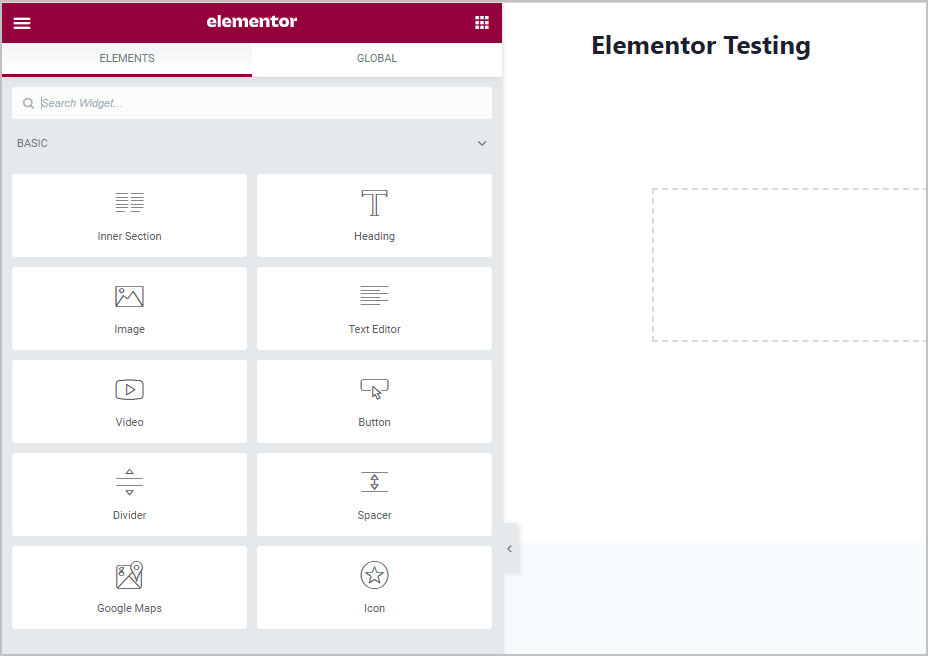
I thought this might allow for more widgets per row, like the Flexible Elementor Panel plugin, but sadly it didn’t. To test I changed it from 300 to 500. This was the result. Maybe this helps when editing on mobile?
Summary and Conclusions
Code Cleanup: The Elementor team responded to user feedback and removed some of the extra DIVs from the opt-put to make Elementor pages more performant. It is good that they did this, but be careful with updating.
Global Styles and Site Settings: The last few versions of Elementor 2.x introduced some new setting areas. With version 3 these came together and were refined into the Global Colors, Global Fonts, and Theme Settings areas. This is a nice change and I like the global options and the linked styles. I this is potentially very powerful as the ability to create your own global colors and font styles is something that you don’t usually find in a theme Customizer. This is a big deal and I expect to see designers taking advantage of these new features.
The new Theme Builder interface is a nice update that will make the theme builder easier to use and easier to set and see conditions. The new Theme Builder UI is a nice refinement.
All in all, Elementor 3 is a good jump forward and prepares the builder for future growth and changes. I wonder what’s next? I saw that by moving the default Customizer options into the Elementor interface, combined with the new global options and theme settings, users no longer need to fiddle with theme settings. Perhaps Elementor will make it possible to do away with a theme in the future?




Awesome article. You have described all changes of Elementor 3 with text and images. That’s why we understand easily what has changed in Elementor 3. Thanks for sharing this article.
Thanks. I’m glad it was helpful.
Thanks for the great post, I appreciate the detailed explanation,. I’m using the Ocean WP
theme, and there seems to be redundancy with overlapping controls with it and Site Settings on Elementor. Why would I use one over the other? Cheers
I think that some of those options in the Elementor Site Settings that are also in the Customizer were added by Elementor so that people wouldn’t need to go to the Customizer, maybe for if people are using the Hello Elementor theme, for example Site Identify or page background options. The thing about those items is that you can set them in either place. They are just two places to set the same thing.
Things like Typography or Colors are different. If you are not using the Elementor Pro theme builder, or something similar, then you will want to match what you set in the Customizer with what you set in Elementor in order to take advantage of Elementor’s global style options. Or you can just use the Elementor settings to use the theme’s styles if you want to skip using the Elementor global options.
Hope this helps,
David