
Advanced Custom Fields and Conditional Logic – Unlimited Elements to the Rescue
Introduction
This is an advanced tutorial. I’m redoing a site that was built with Beaver Builder and Toolset. The decision is to do it with Elementor and Advanced Custom Fields. So, there are some challenges, mainly that I need to show some custom fields only under certain conditions. These are the conditions:
- Sometimes there are products that have a current sale. When that’s the case I need to show a banner with information about the sale, but when there is no active sale then the banner doesn’t show.
- Since there are a number of products, I need to use a template and dynamic data. It is not practical to manually edit every page both when a sale starts and when it ends.
Those are my conditions, but you could see how this set of conditions could be useful for other cases. For example, to show a birthday message to users or different information before and after an event.
Elementor Pro doesn’t support conditional logic for showing widgets or fields, but there are several third party addons that do. Unfortunately, between two dates, ahem, two dynamic dates, isn’t an option with any of them.
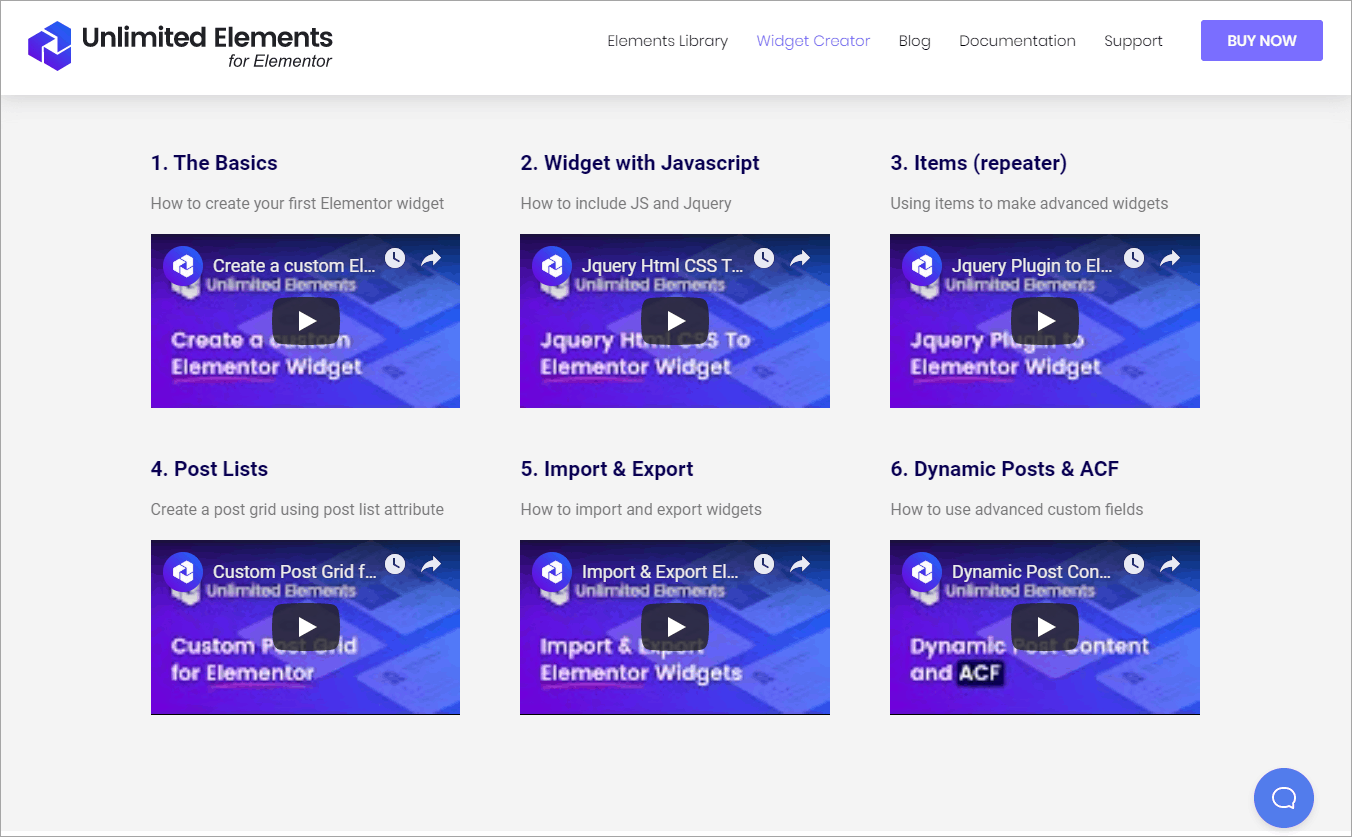
I imagine that you’ve heard of the Unlimited Elements addon pack that everyone is talking about? One unique feature is that you can use it to create your own Elementor widgets. The Unlimited Elements Widget Creator is a power user tool. However, I have a “hacker mentality” in that I’m willing to experiment, so I thought I’d see if I could create my own widget with the conditional logic and dynamic date functionality. To say I am impressed with Unlimited Elements would be an understatement. In this tutorial I want to show you how I did it.
Video Version
Test Bed
The Product Records
I setup a test site with the Page Builder Framework theme, Elementor, Elementor Pro, and Unlimited Elements Pro. I created a simplified Custom Post Type called “Products” using CPT UI and Advanced Custom Fields. I added 10 products, beverage mugs.
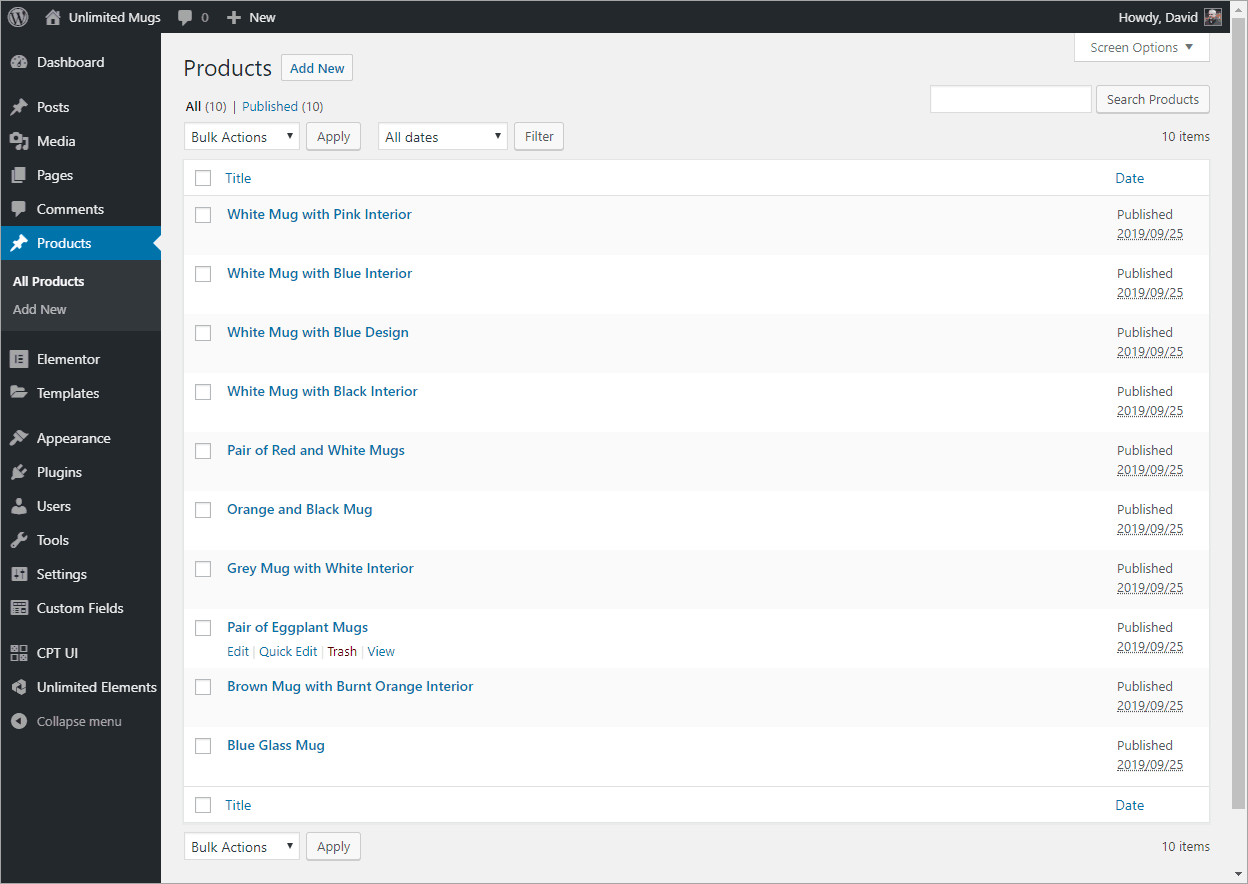
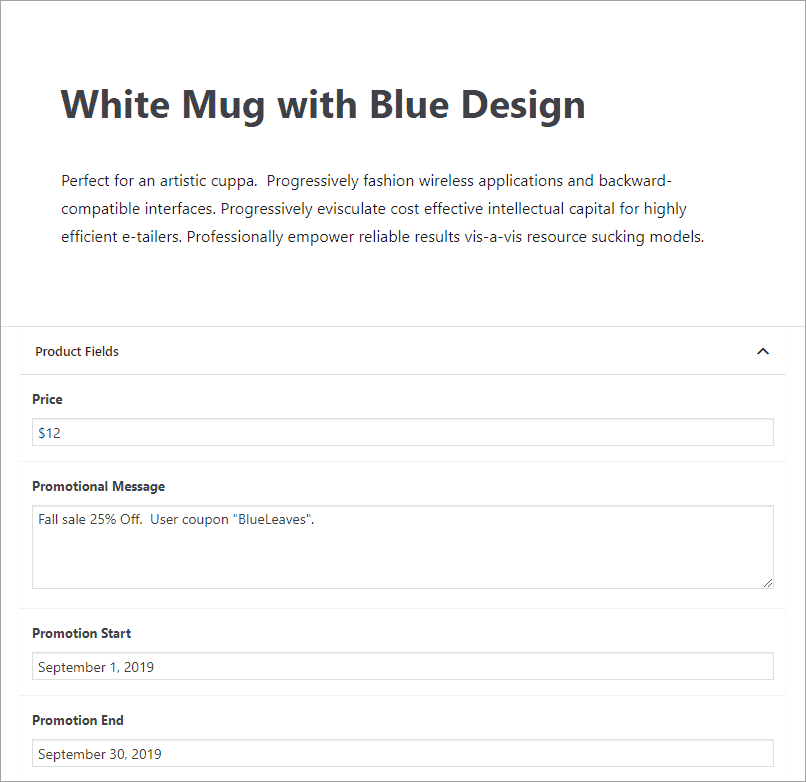
There are three custom fields: Promotional Message, Promotion Start, and Promotion End. Some of the records have no values in these fields, some have a promotion during the month of September (when this article is being written) and some have a promotion setup for October.
The Post Grid and the Single Template
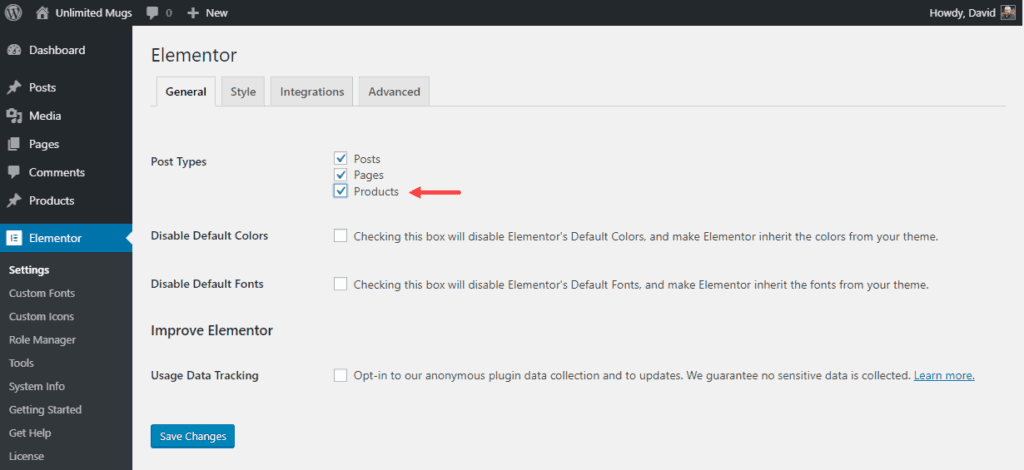
I first set the theme and Elementor settings to match as per my previous tutorial. In the Elementor Settings I also checked that I want to use Elementor for the Products Custom Post Type.
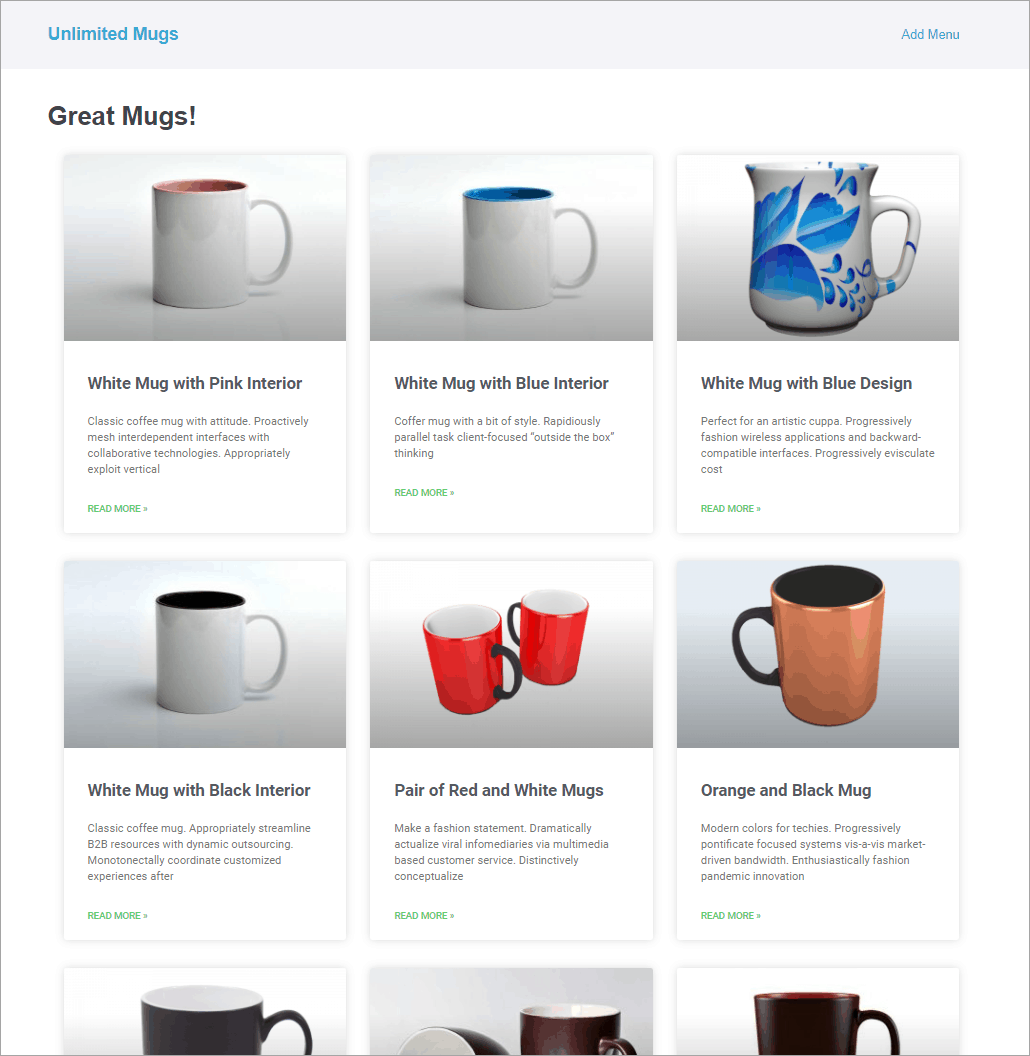
I used the Elementor Post Grid widget and created a page to list all of the mugs.
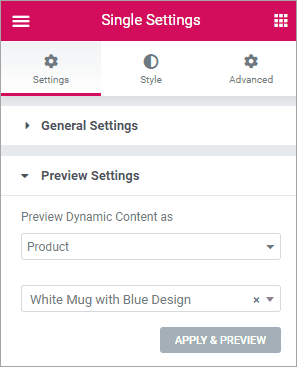
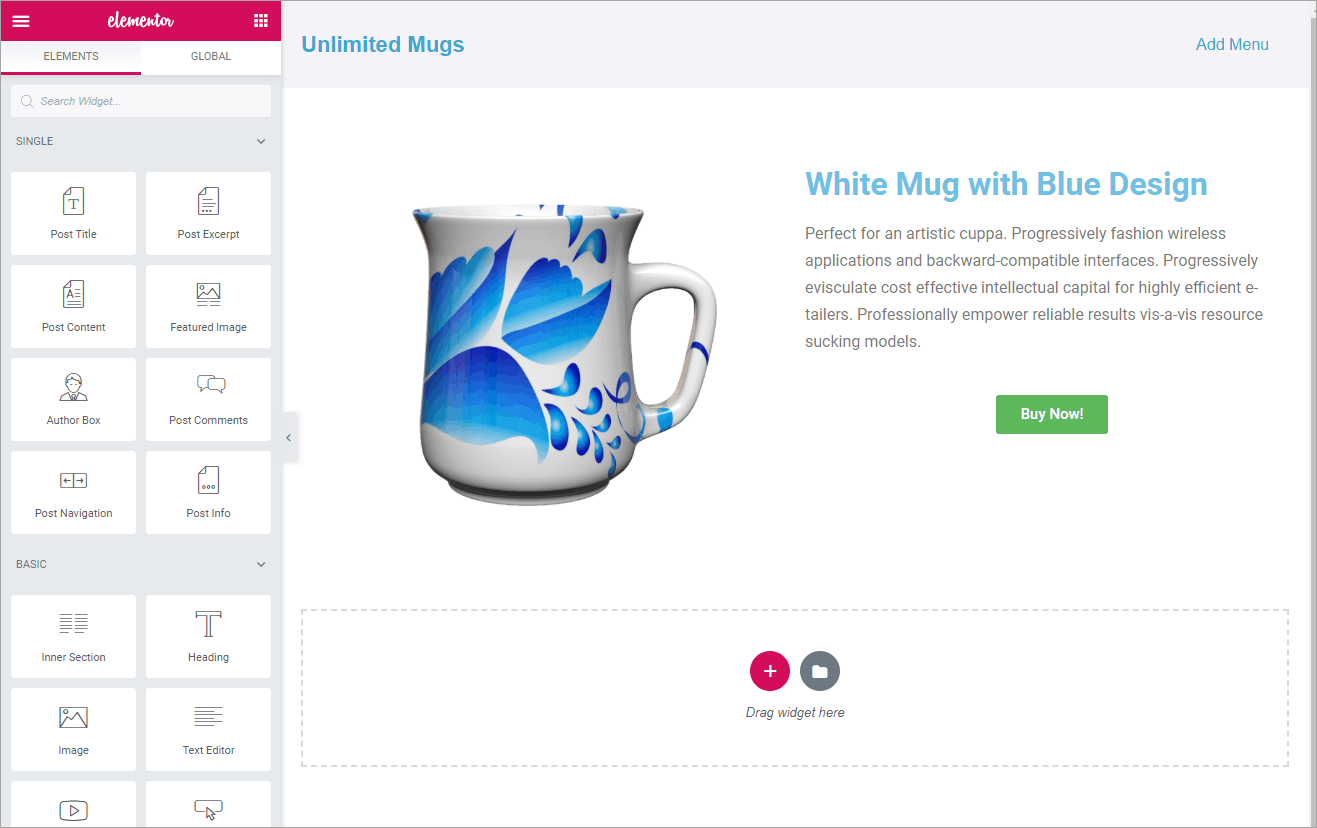
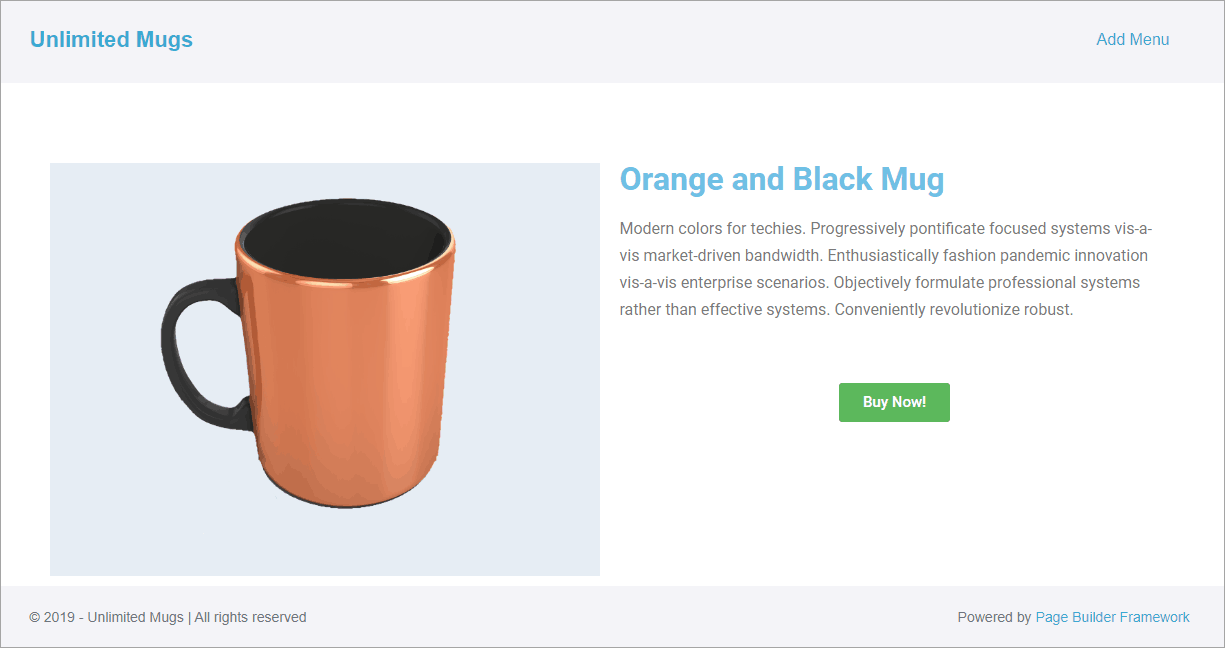
I used the Elementor Theme Builder to create a single template for the products. I selected as my product to preview one of the mugs that has an active sale.
I then added the Featured Image, Title, Content, a Buy Now button and saved it. It all looks good, but there is nothing telling the customer about the ongoing promotion.
Creating the Sale Banner Widget
Elementor Pro supports Advanced Custom Fields and I could just add the sale promotion field, but then the field would show blank for products without a promotion, correctly for those with an active promotion, and incorrectly for those that have a promotion in the future. The Unlimited Elements Widget Creator to the rescue.
Widget Creator Background
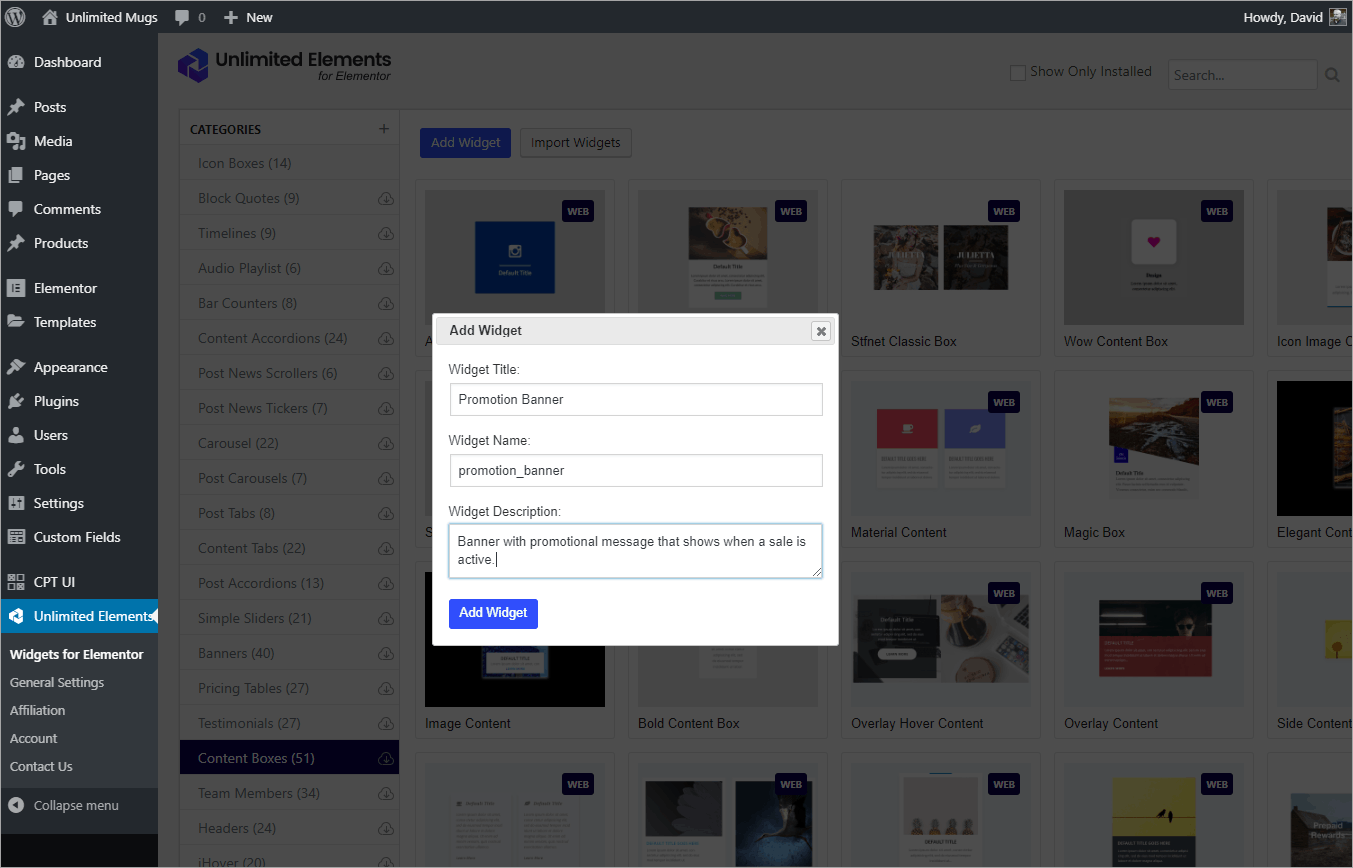
The Widget Creator is a feature in the Pro version. You access it from the WP Admin / Unlimited Elements menu.
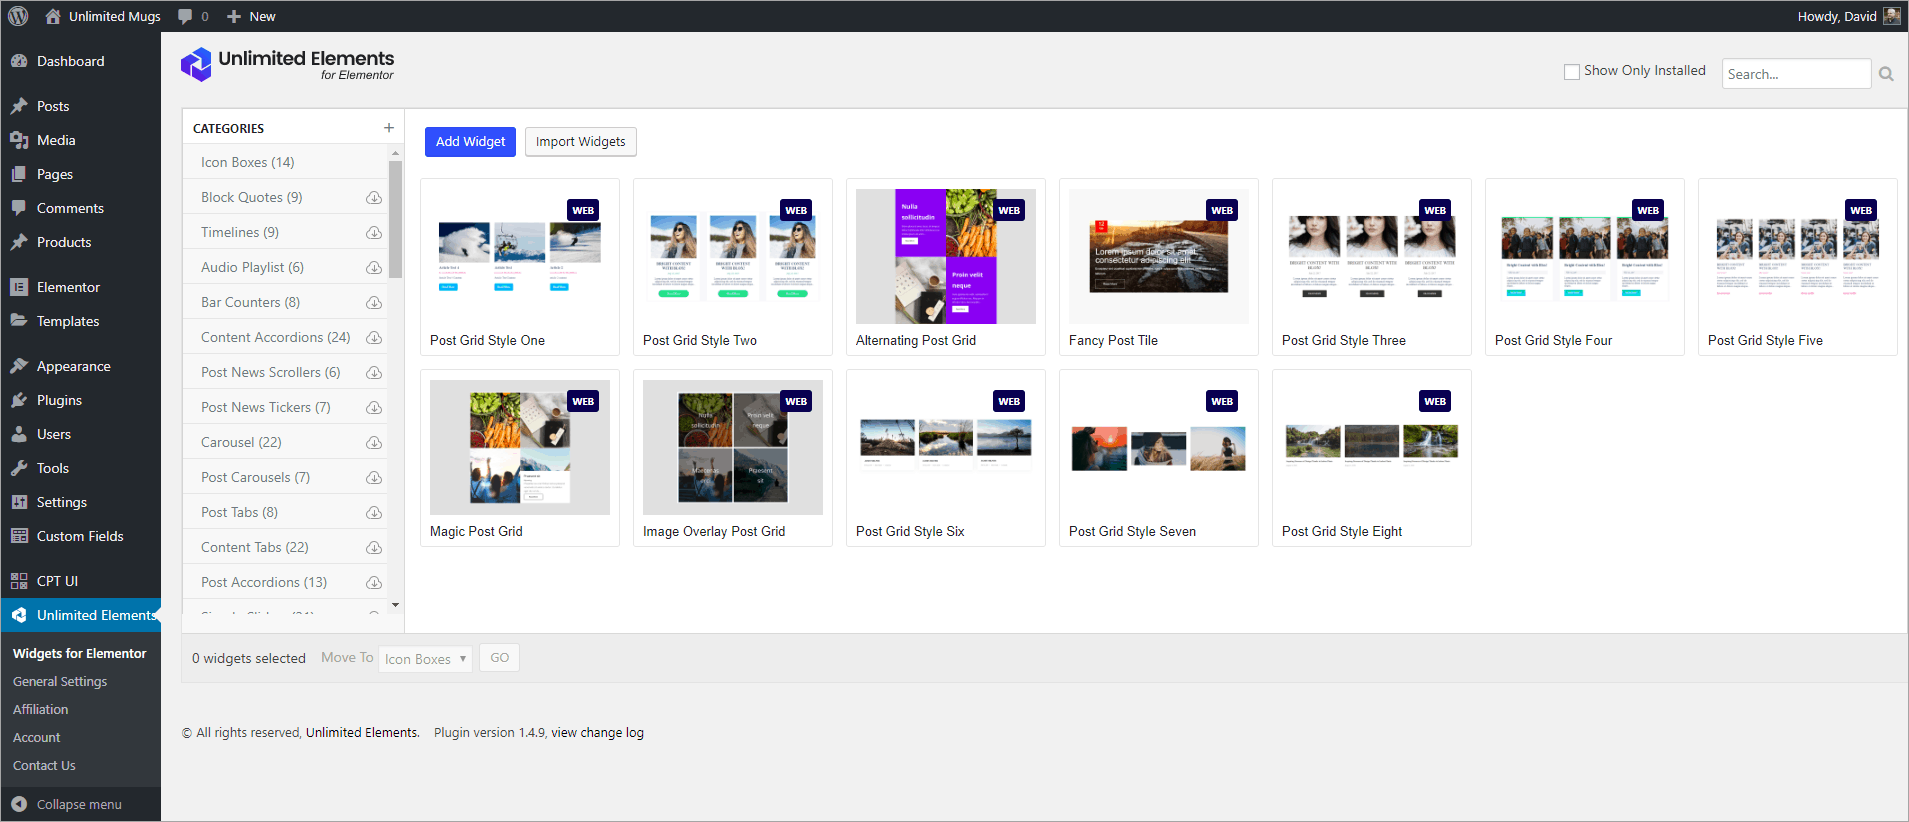
Unlimited Elements says that it comes with over 800 widgets. What you see here is that there are a number of categories and within each category there are several different layouts and styles … so you have a large number of widgets, but a lot of them are variations of the same theme. None of these widgets are installed on your site. You select the ones you want to use and download them, which keeps the Elementor list of widgets manageable.
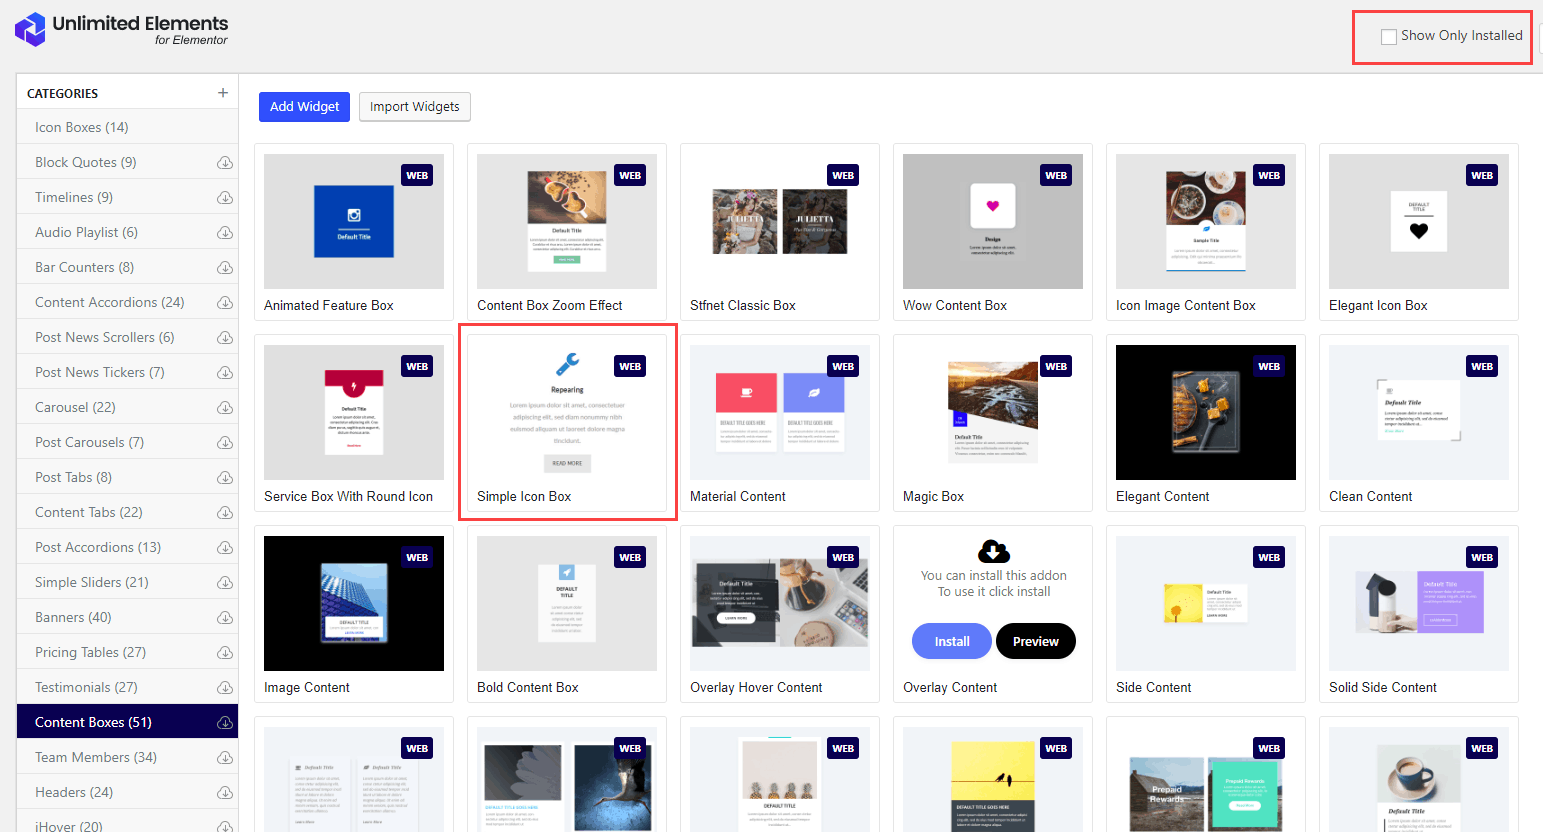
The “hacker” or “apprentice” mentality in me lead me to look for a widget in the list that was similar to the type of banner I wanted. I wanted something with an icon, text, and a background of a different color. There are 51 options under the Content Boxes category and I selected the “Simple Icon Box” to look at. Note also, in the upper left corner the checkbox to only show the installed widgets. Checking and unchecking that is how you find the ones you’ve downloaded.
I played around with the example I downloaded, changing the name, adding the custom fields and editing the HTML. I watched the Widget Creator tutorials on the Unlimited Elements website and read over all of the help docs on the topic. I am going to walk through the process, but I mention this because the best way to learn is to look at how someone else has done it. Don’t be afraid to go in and play around, when you are done you can always delete the downloaded version of the widget and download it again.
Creating the New Widget
Once I knew my way around I was ready to create a new widget. To do that, select the category you want the widget to be in and then click the “Add Widget” button. Fill out the dialog with a unique name. I selected the Content Boxes category and named mine “Promotion Banner.” This is the name that will show up in the list of Elementor widgets.
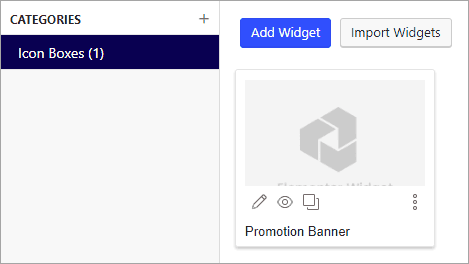
After you add your widget, you are still on the screen with dozens of widgets. Check that box in the upper corner for installed widgets to find the one you just created. Then hover your mouse over it and click the pencil icon to go into the editor.
The General Tab
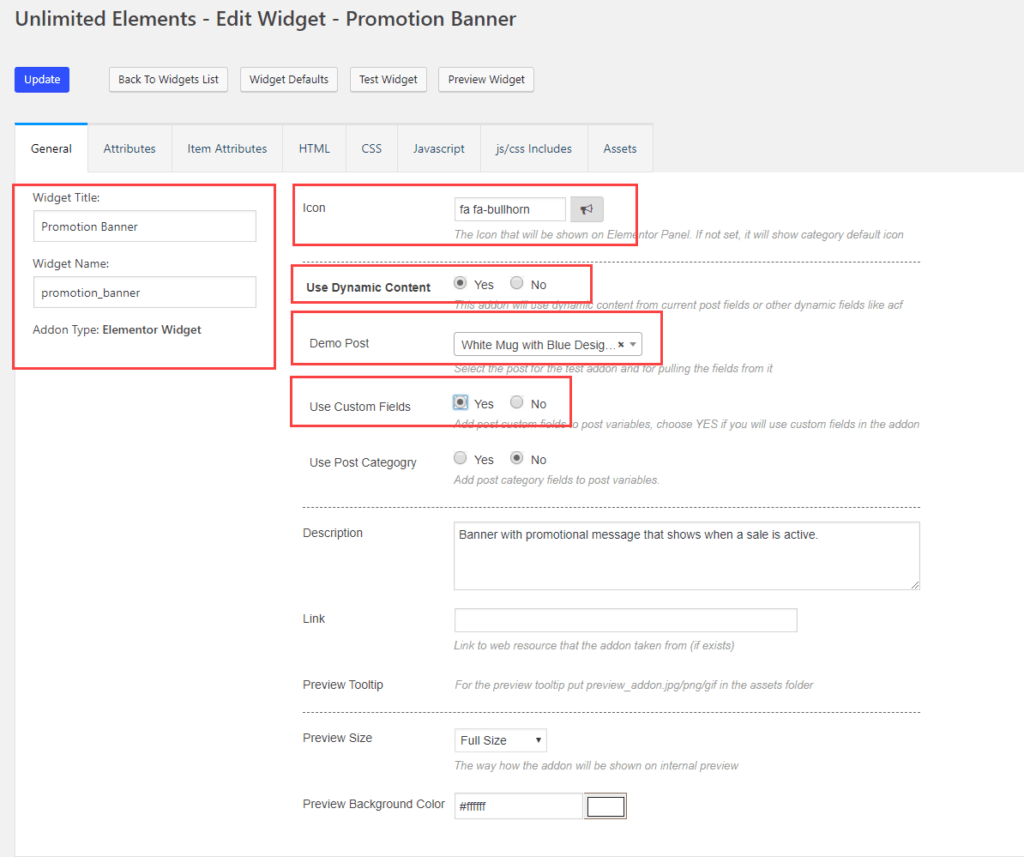
We start out on the “General” tab. You can see on the left the info we entered when we created the widget. On the right, I first selected an icon. This is what will show as the widget icon in Elementor. I chose the “bullhorn.” Next, I selected to use Dynamic Content. This is important because we are creating a Template that Elementor will apply to all of the product posts. I selected for the demo post the same product that I used when starting the single template in Elementor, the one with the active sale. Finally, I also selected that I want to use Custom Fields, because we will need those. I saved the changes on each tab as I went along.
Attributes Tab
The next tab is for widget attributes. These are the variables or options for the widget. It starts off blank.

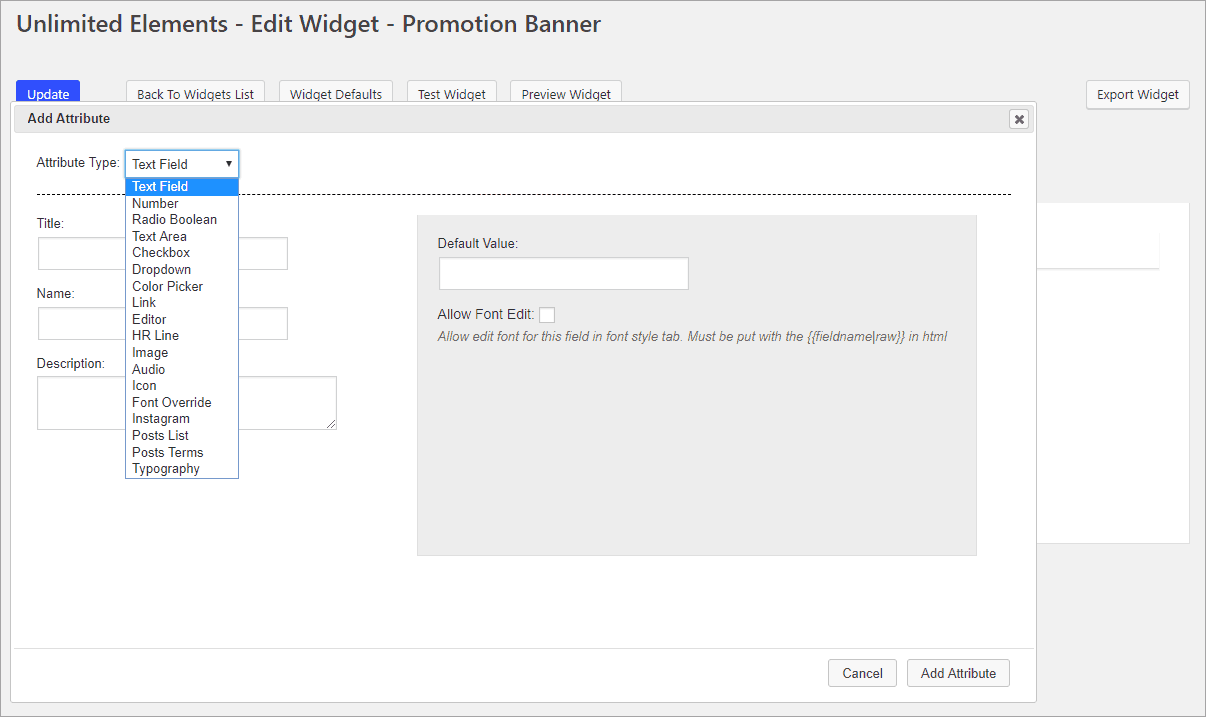
I know I’m going to need my three fields: the message to show the on the page and the two date fields for filtering. When you click the “Add Attribute” button you get a dialog where you first pick the attribute type. I picked “Text Field” for all three of my fields (there isn’t a date option and I didn’t really need one for this). Depending on what type of widget and options you are adding, you would pick from the list accordingly. In addition to the Title, Name, and Description, you can select a default value. This is useful for things like colors, where you can set a default.
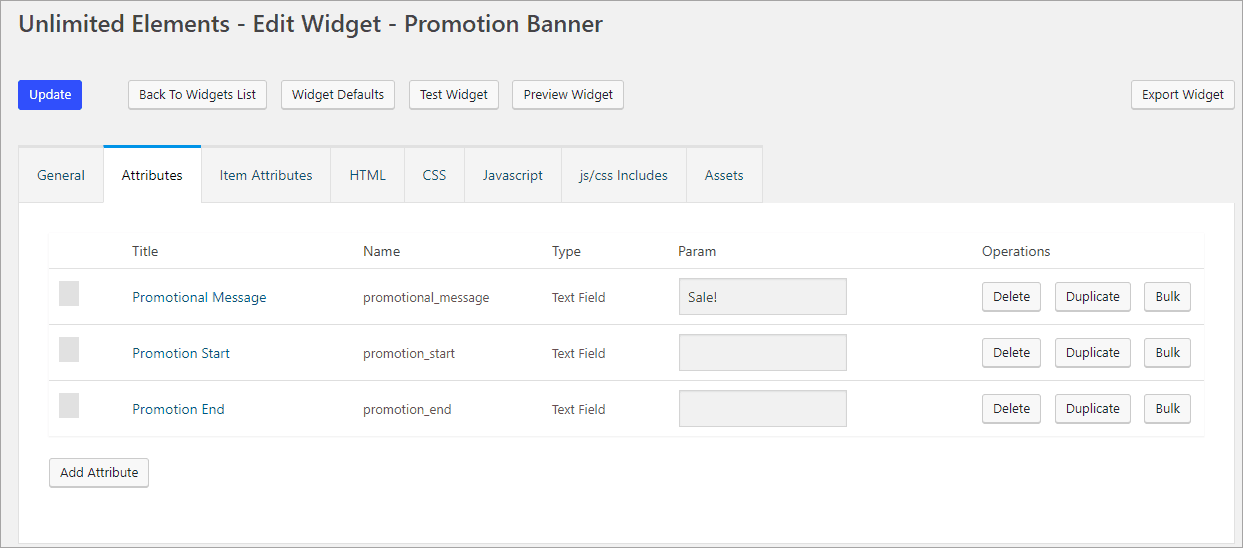
Here is my attribute screen with the three fields. You can see I gave a default value of “Sale!” for the message field but left the others blank. To make it easy to remember, I gave the attributes the same names they have in the Product edit screen.
Tabs I’m Not Using
I’m keeping my widget ultra simple, so didn’t use a number of the tabs. The “Item Attributes” tab is for when you have multiple records showing, like in a post grid. The “item” is the individual listing, so you might have attributes or options on the widget level and then some for the items in the grid. The “CSS” and “JavaScript” tabs are where you would write out the styles or JavaScript. The “Assets” tab is where you would upload your images and external files that aren’t part of WordPress. The “js/css Includes” tab is where you would queue up resource files to include. For example, if you were going to use some jQuery in the JavaScript tab then you would make sure that jQuery was included for your widget there.
HTML Tab
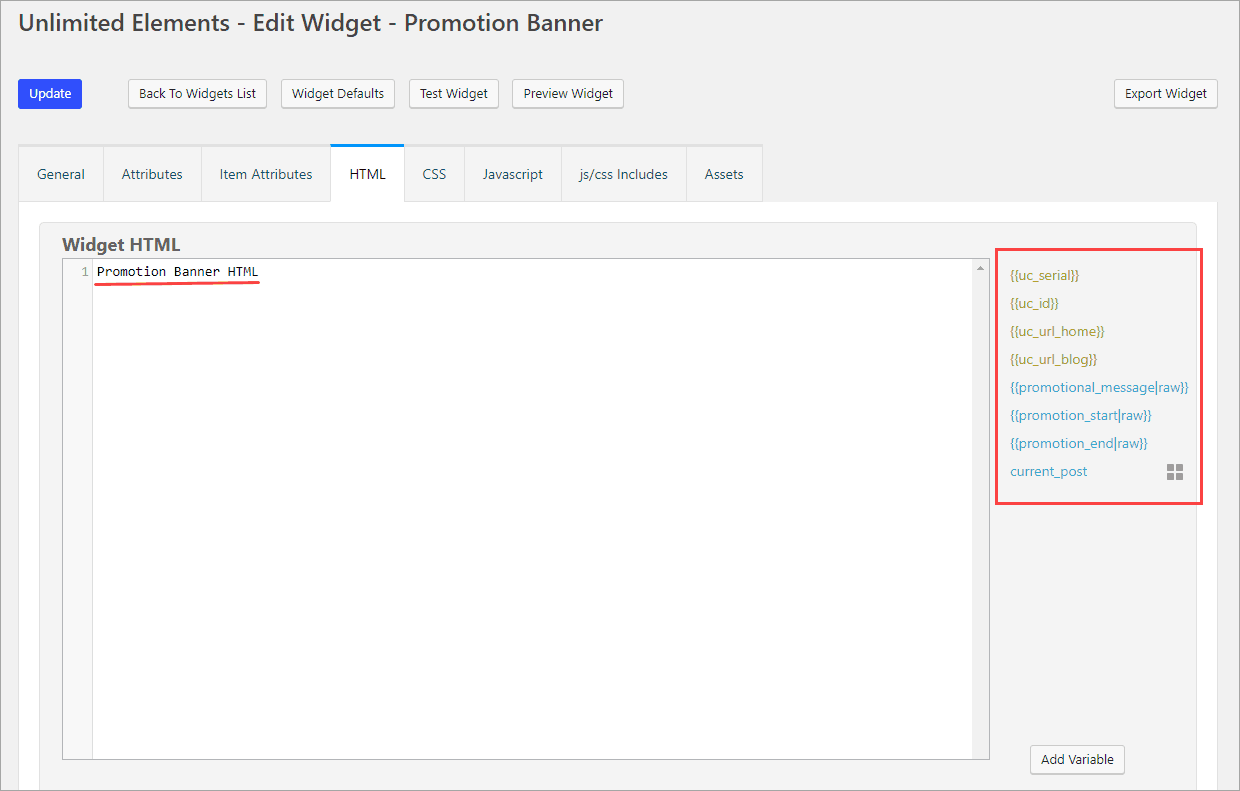
I am going to use the HTML tab for all of my custom code. This is what it looks like when blank. Notice that it has the default text in the editor. To the right is a list of the attributes. The olive green ones are some default variables. The first three in blue are the ones I added. Below that is one that says “current_post” with a four-square next to it. That shows because in the General tab we selected a record for previewing. If we hadn’t then that option wouldn’t show here. If you click on current_post then all of the fields, regular WordPress and ACF fields, show.
I want just a simple single line banner with an icon on the left, the promotional message in white text next to the icon, and a green background. I’d like the banner centered. So I know I need some HTML divs, a span tag for the icon, and some inline CSS for the colors and positioning. This is what I came up with for the first version. Note that there is no date conditional filters yet. I’m trying to build it up step by step.
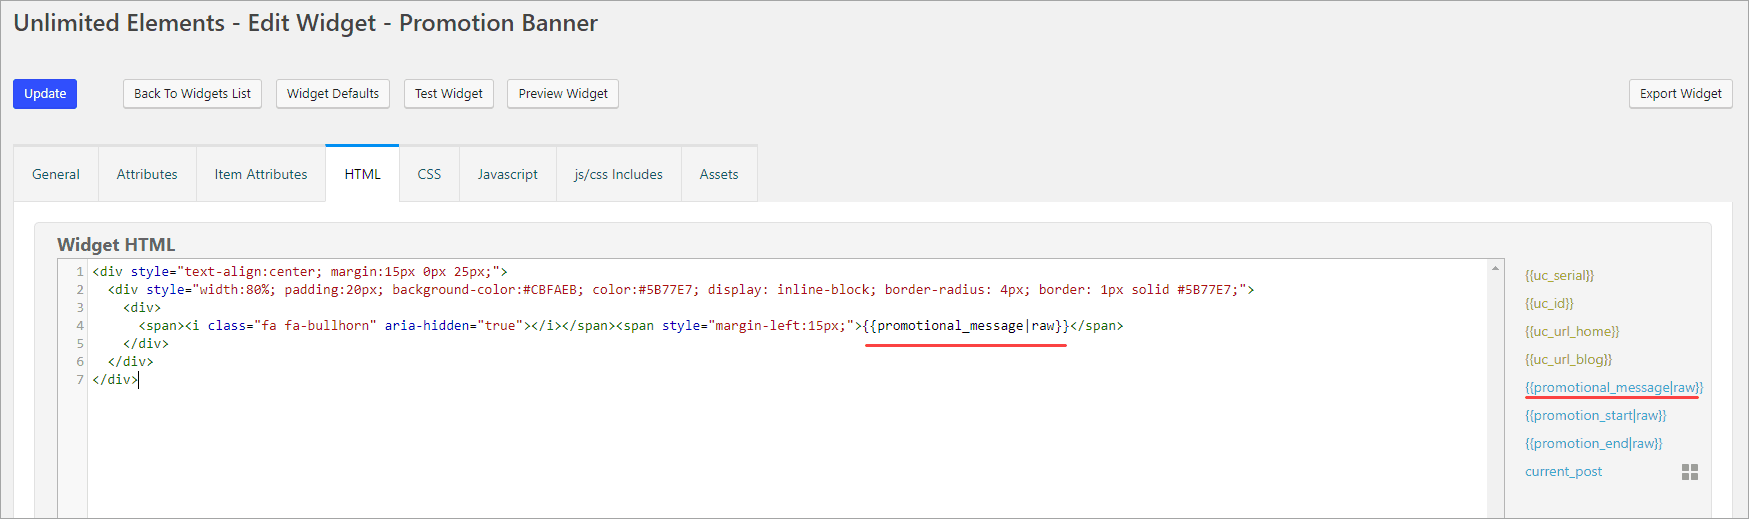
<div style="text-align:center; margin:15px 0px 25px;">
  <div style="width:80%; padding:20px; background-color:#CBFAEB; color:#5B77E7; display: inline-block; border-radius: 4px; border: 1px solid #5B77E7;">
    <div>
      <span><i class="fa fa-bullhorn" aria-hidden="true"></i></span><span style="margin-left:15px;">{{promotional_message|raw}}</span>
    </div>
  </div>
</div>
Testing that the Message Shows
So I clicked the “Update” button and went back into my Product Single template in Elementor. The new widget is at the bottom.
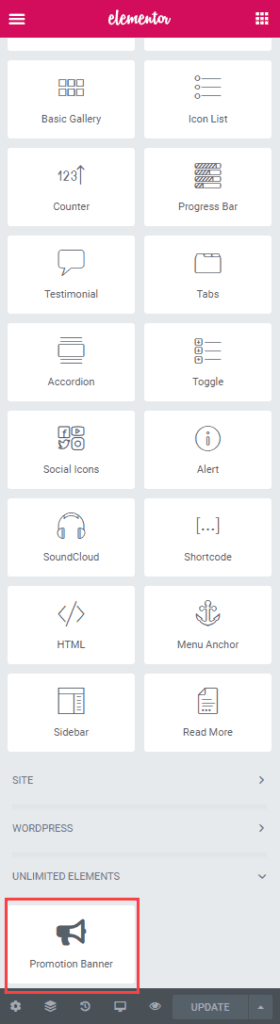
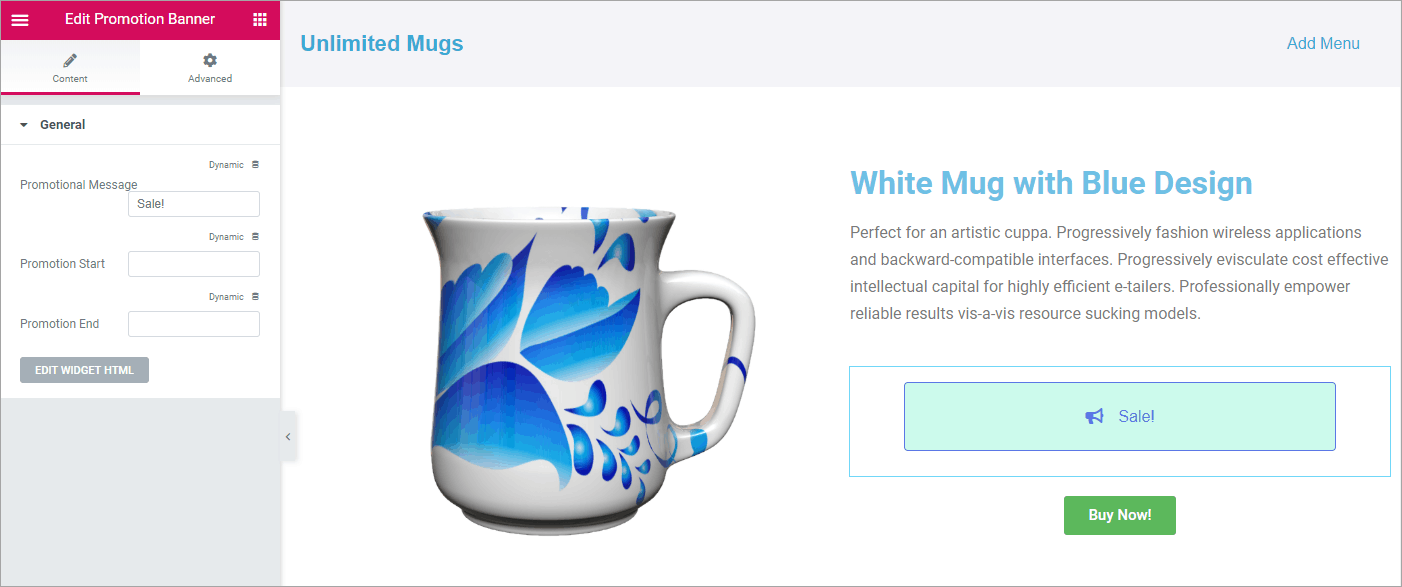
I dragged the new widget over onto the page and we see the default message, but also the option to specify the dynamic fields.
I clicked on the Dynamic icon above the Promotional Message option and selected the ACF field. The other two haven’t been setup yet.
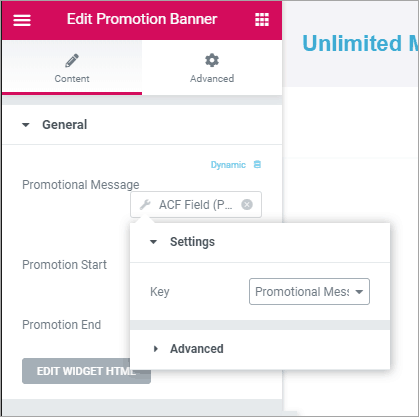
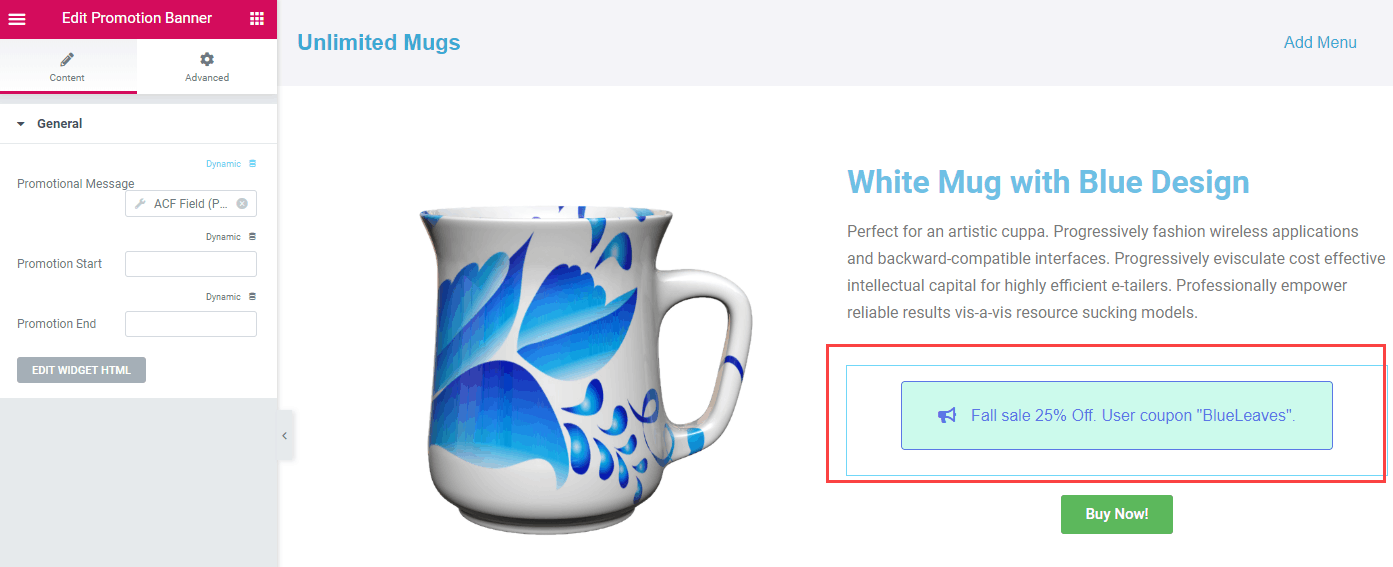
Awesome, the dynamic message is showing.
We are not done yet, because if we look at a post that has a mug on sale next month, the promotional message shows, but the sale isn’t active.
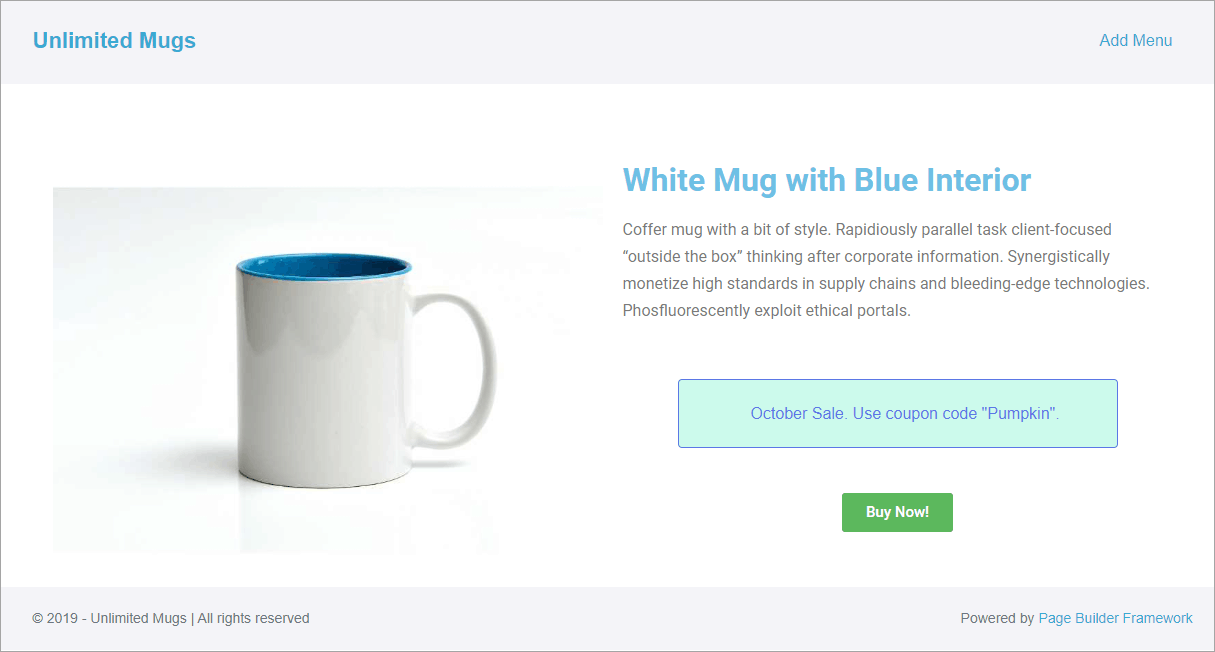
Adding the Condition
The Unlimited Elements help docs mention you can use Twig conditional logic. Twig is a templating library that is popular with developers. Here is the link to their help page. The conditional is going to be comparing dates, so I hunted around using Google and found an article that showed an example. The secret is to use the date format like “2019-09-01” and then you can compare them as text. That was good for me, because the attribute type was text. That article also showed how to use the “now” operator for the current date. I adapted the example for this use case. Note that in the IF statement, I removed the double curly braces because it is already within a Twig statement. My condition says, if the promotion start date is less than or equal to today, and the promotion end date is greater than or equal to today, then output the HTML.
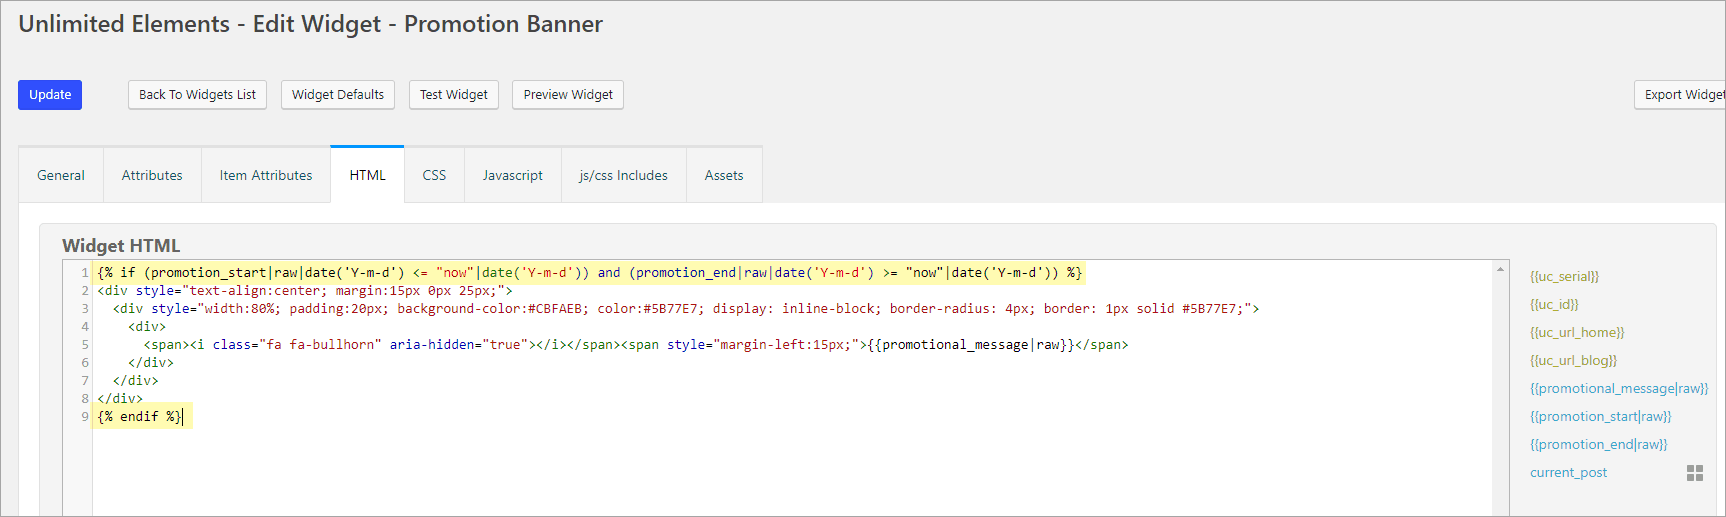
{% if (promotion_start|raw|date('Y-m-d') <= "now"|date('Y-m-d')) and (promotion_end|raw|date('Y-m-d') >= "now"|date('Y-m-d')) %}
<div style="text-align:center; margin:15px 0px 25px;">
  <div style="width:80%; padding:20px; background-color:#CBFAEB; color:#5B77E7; display: inline-block; border-radius: 4px; border: 1px solid #5B77E7;">
    <div>
      <span><i class="fa fa-bullhorn" aria-hidden="true"></i></span><span style="margin-left:15px;">{{promotional_message|raw}}</span>
    </div>
  </div>
</div>
{% endif %}
Testing the Condition
I went back into the Elementor template editor to test the condition. First, I added the ACF fields as the dynamic options. The message still shows because the record we are viewing has a sale active.

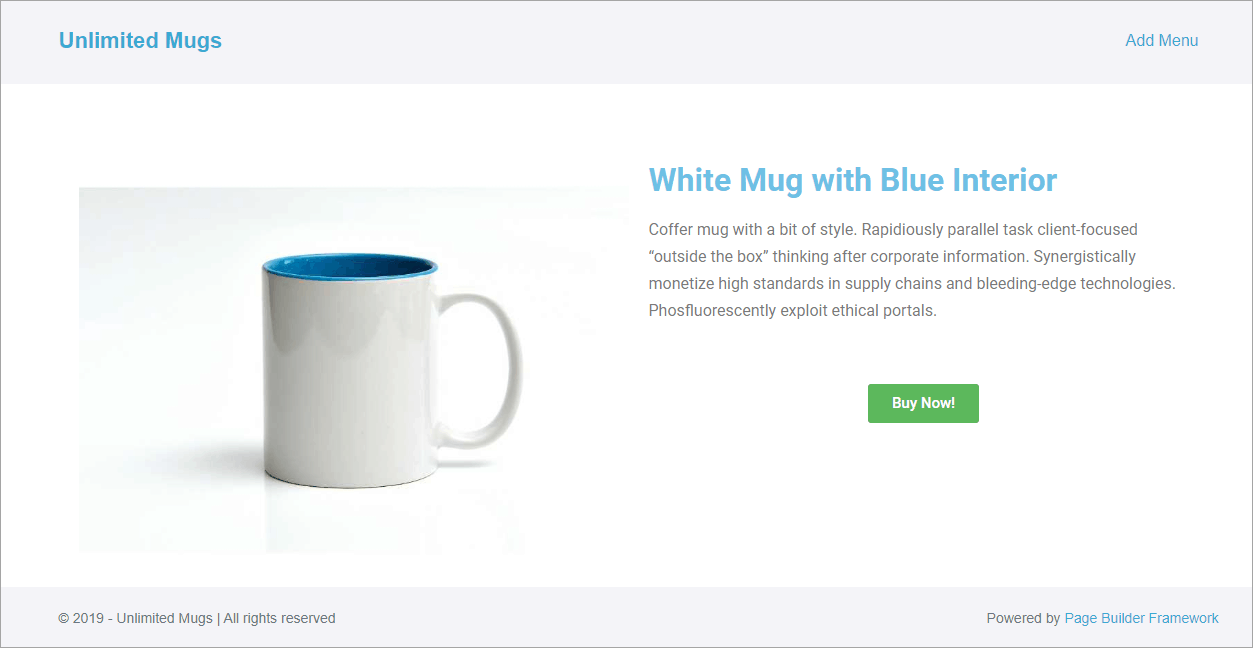
I went and rechecked the product that has the sale active in October. Yea! The message doesn’t show there anymore, so the conditional filter is working.
When testing, it is a good idea to test all of the possible options, so I took a look at a product that has no promotion set. Yikes, there is a problem. An empty banner is showing. Technically, since the dates are all blank, they match.
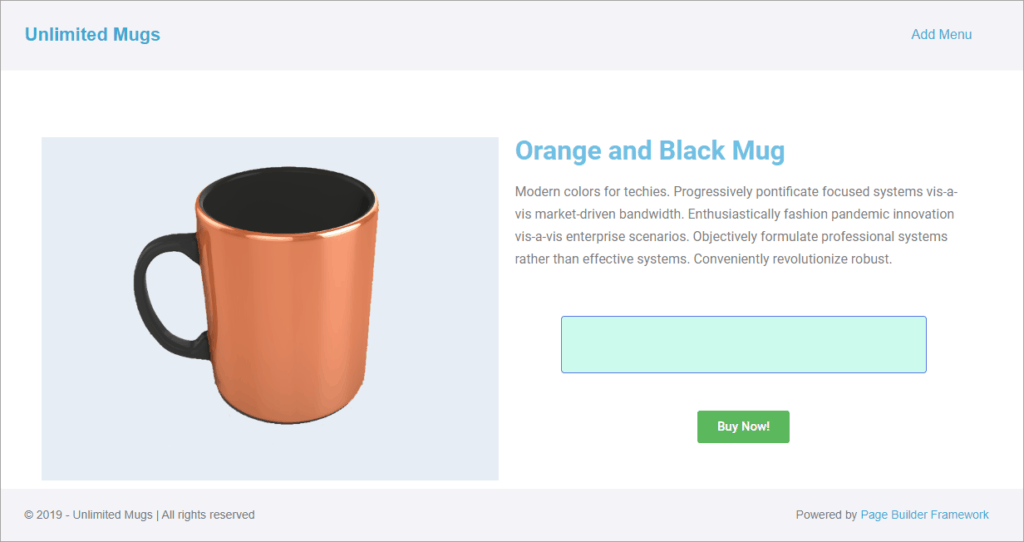
Checking if the Date is Empty
The Unlimited Elements help docs mention checking for an empty field, so I nest in another condition. It says, if the promotion start date is not empty then continue.
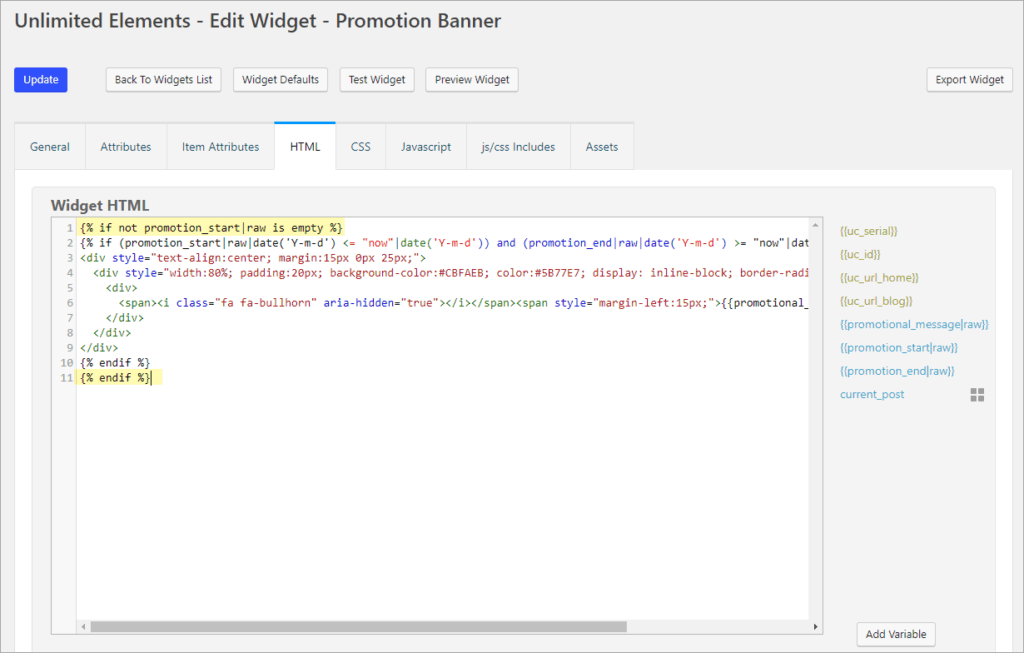
{% if not promotion_start|raw is empty %}
{% if (promotion_start|raw|date('Y-m-d') <= "now"|date('Y-m-d')) and (promotion_end|raw|date('Y-m-d') >= "now"|date('Y-m-d')) %}
<div style="text-align:center; margin:15px 0px 25px;">
  <div style="width:80%; padding:20px; background-color:#CBFAEB; color:#5B77E7; display: inline-block; border-radius: 4px; border: 1px solid #5B77E7;">
    <div>
      <span><i class="fa fa-bullhorn" aria-hidden="true"></i></span><span style="margin-left:15px;">{{promotional_message|raw}}</span>
    </div>
  </div>
</div>
{% endif %}
{% endif %}
I rechecked the product that was showing the empty banner and it all looks good. I think we are done.
Summary and Conclusion
Showing a banner between two dynamic dates is an advanced use case. I’m please to see that Unlimited Elements Pro was able to handle it. The docs on conditional logic on the Unlimited Elements site are pretty thin, but fortunately Twig is very popular and there are a lot of resources available online. This was my first introduction to Twig, but I am already a fan.
I mentioned early on in the tutorial that a good way to learn is to look at examples. I would like to see some widgets using more advanced used cases, such as a widget that uses exclusions in the Posts Listing query, or something showing the use of ACF relationship fields.
As soon as I created my first widget I had a lot of ideas for more. I imagine that you would have the same experience. Unlimited Elements is a unique Elementor addon that empowers users to use their creatively to solve site building needs. I hope you have found this tutorial useful.