Dynamic Content for Elementor: Using Dynamic Date Conditions
The Elementoror360 website is two years old and it is time to update. The first step was to switch to the Blocksy Pro theme. The next steps involve replacing the functionality of several plugins with Dynamic Content for Elementor. I didn’t know about Dynamic Content for Elementor when I first built the site and only learned of it 6 months later, after I had everything working. So, in this tutorial I’m going to use Dynamic and replace three plugins: Unlimited Elements for Elementor, NinjaTables and NinjaTables Pro. These are practical examples, not general overviews.
Video Version
Showing the Sale Banner on the Single Resource Page
How I was using Unlimited Elements
Unlimited Elements for Elementor has a very cool feature: its widget creator. With the widget creator you can make your own Elementor widgets using JavaScript, CSS, and the Twig layout engine. I created a tutorial showing how to use it to create a widget that displayed conditionally based on a date range.
The Elementor 360 website has a resources section of the site where I list themes and plugins that work well with Elementor.
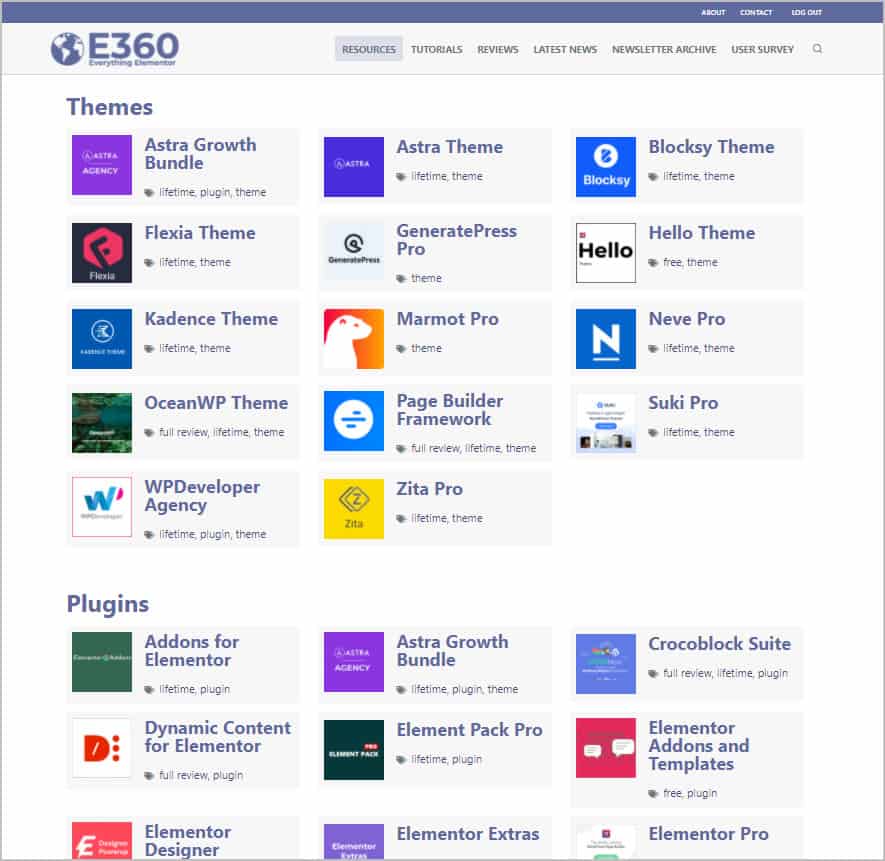
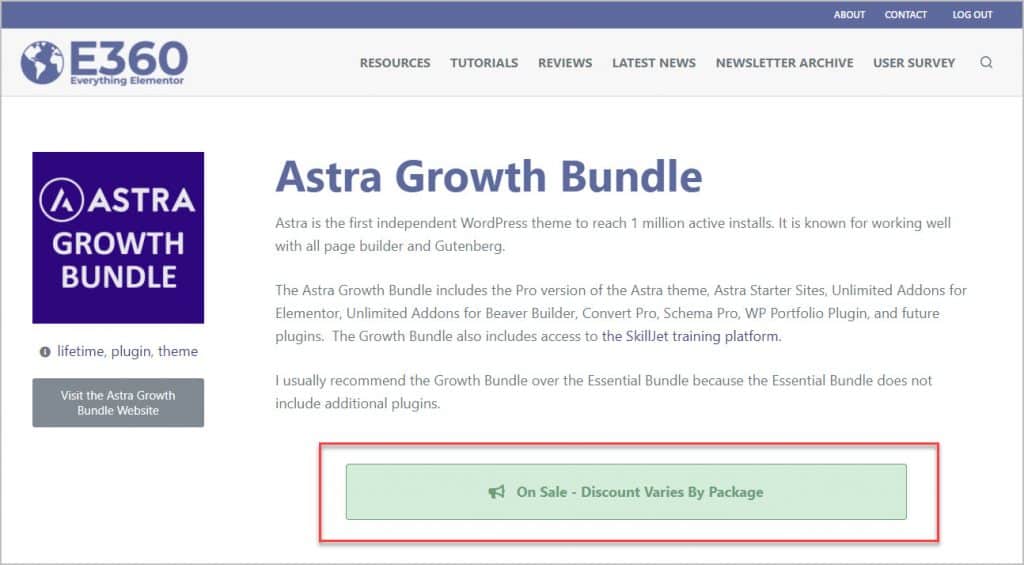
Each of the resources has its own page with a short description. When a resource is on sale I use the widget created with Unlimited Elements to show a sale banner.
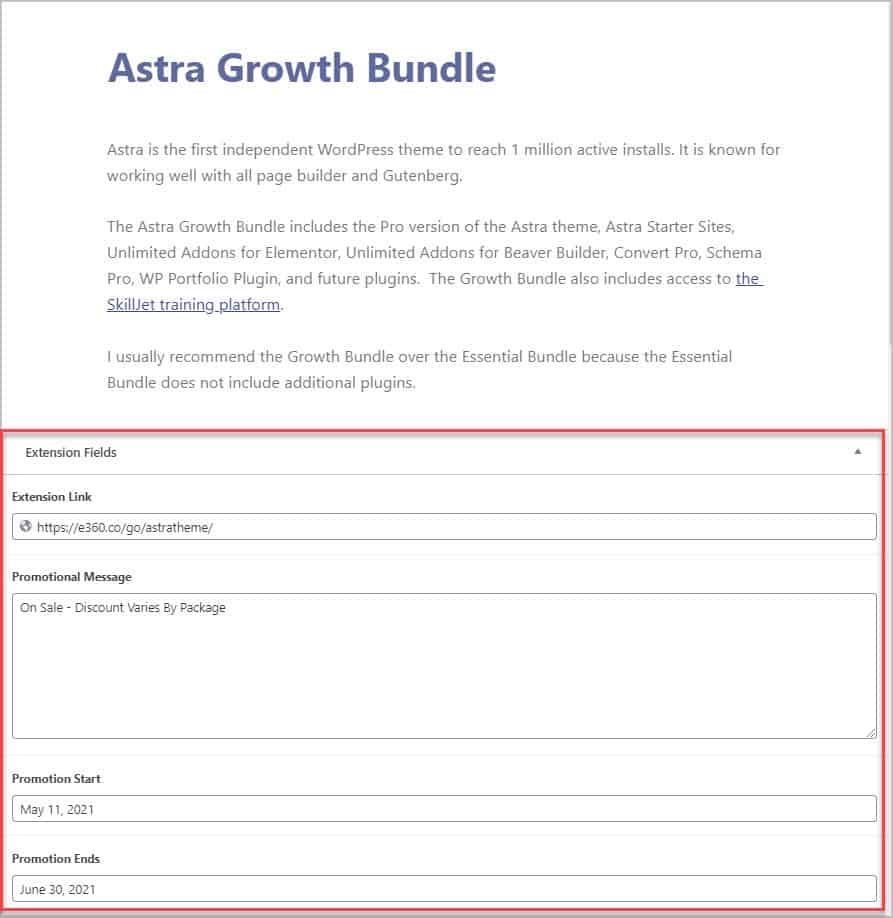
I use some custom fields for this. There is a link to the theme or plugin’s website, a message to show about the sale, and a start and end date. With these four fields I can automate showing and expiring the display of sales information.
Using Dynamic Visibility Conditions to Show the Sale Banner
I opened the Elementor template for the single resource page and you can see the Sales Banner widget that I had created with Unlimited Elements.
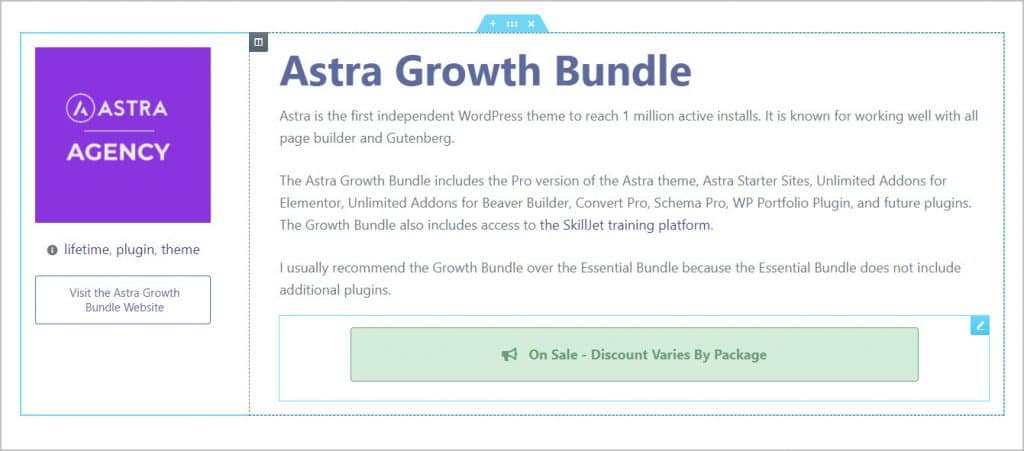
I deleted that widget and added a button instead. I added the icon, set the button text to show the promotional message and the button link to go to the resource link.
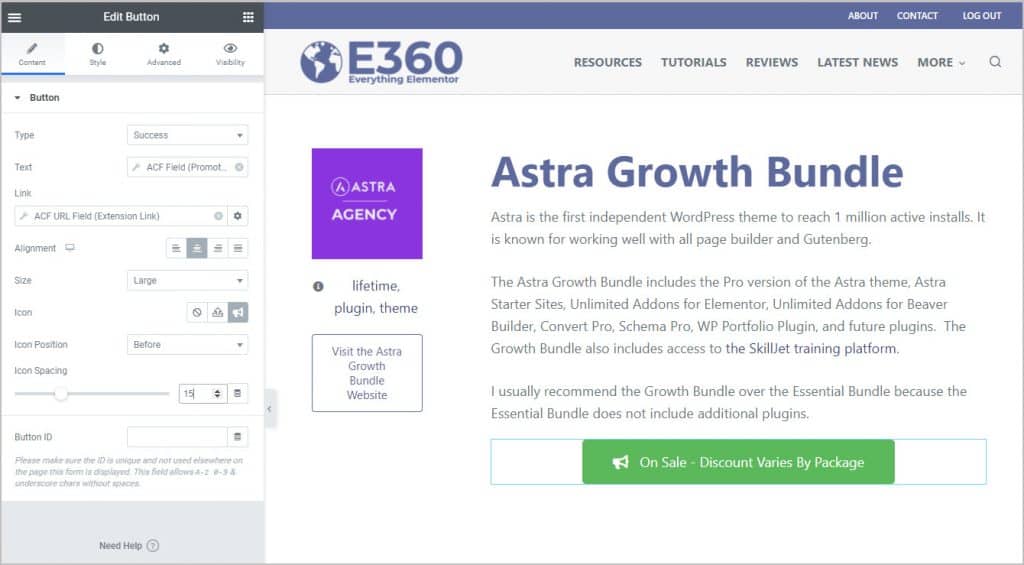
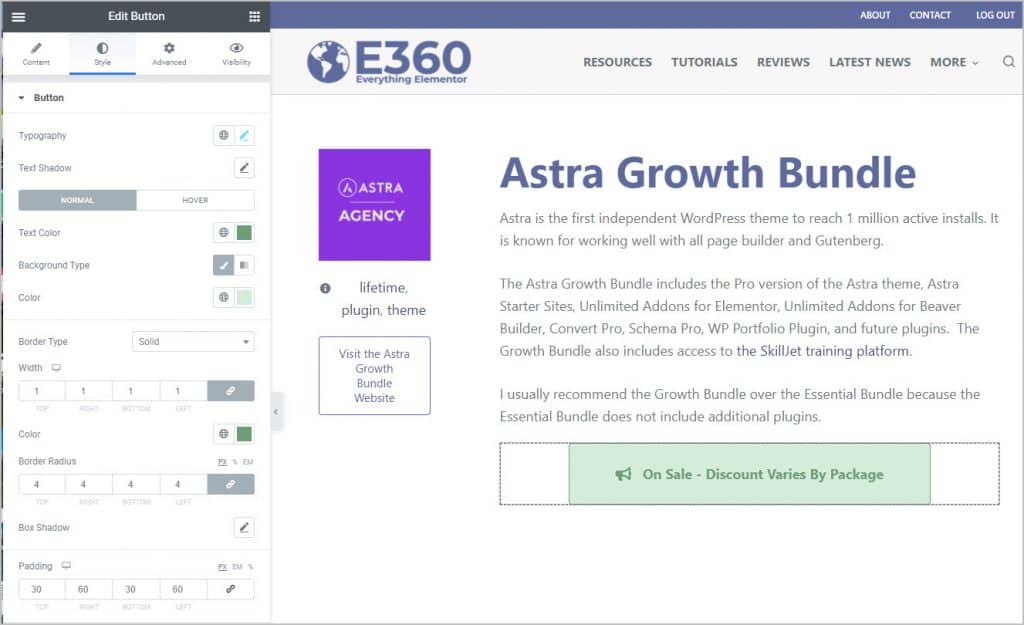
I then styled the button to look like the old banner.
I then went to the Visibility tab for the button and enabled the visibility display option.
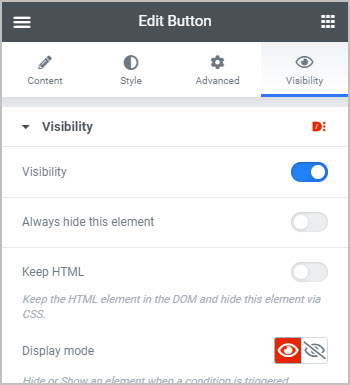
Then in the list of condition options, on the Date & Time panel, I enabled the Use Dynamic Dates option. For the Date From field I selected the ACF start date and for the Date To field I selected the ACF end date. I saved the template.
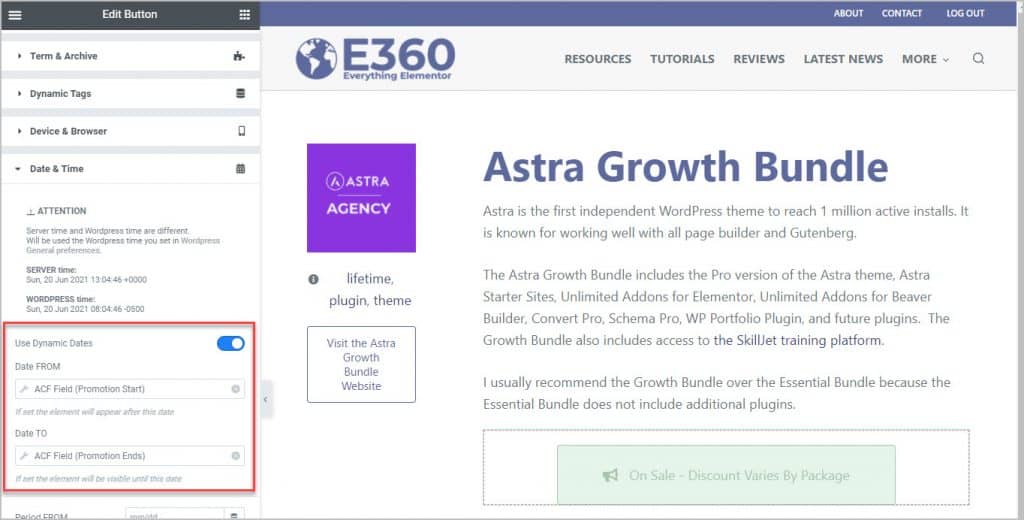
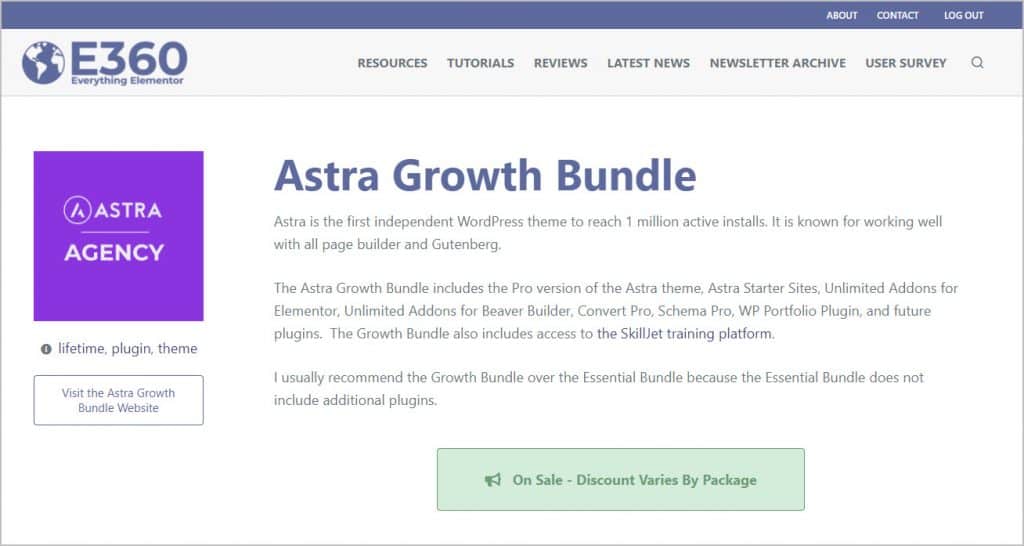
This is what the final result looked like for a resource that has an active sale going.
I also checked a resource that didn’t have an active sale to make sure the conditions were working properly, and a on sale button did not show, so everything is working correctly.
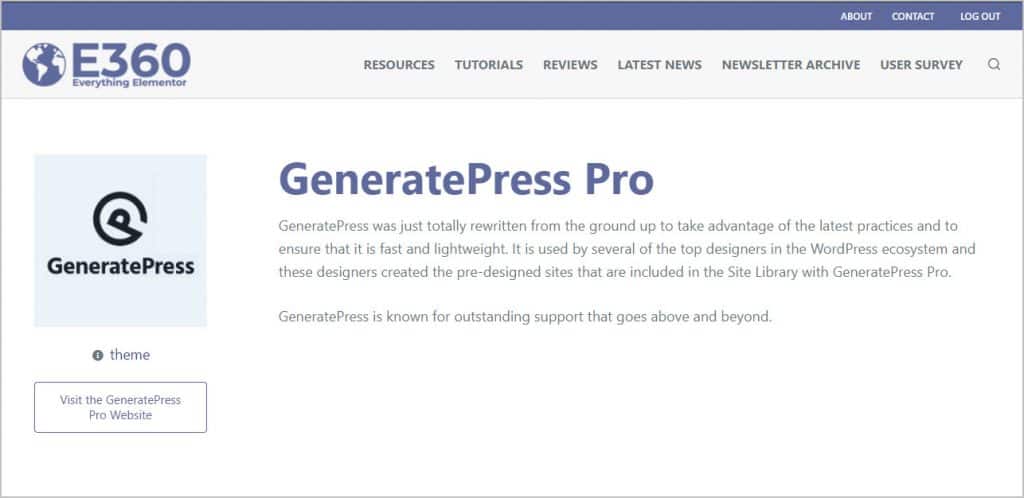
The sales banner widget was the only place where I was using Unlimited Elements, so I can now remove that plugin since it was no longer being used.
Creating a Current Sales Page
How I was using NinjaTables
NinjaTables is made by the ManageNinja team. I really like their plugins and use them on all of my sites. There isn’t really anything wrong with NinjaTables except that I don’t need it any more.
When people are looking for sales they don’t want to click on each resource to find them. So, I created a page that showed the themes and plugins that currently have a sale going.
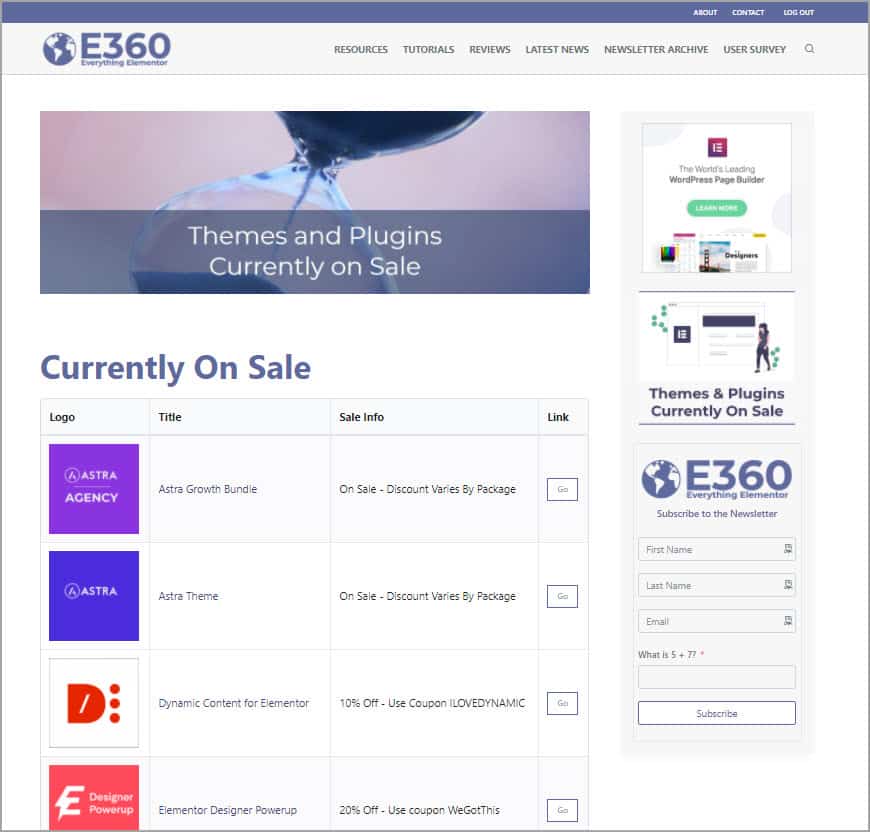
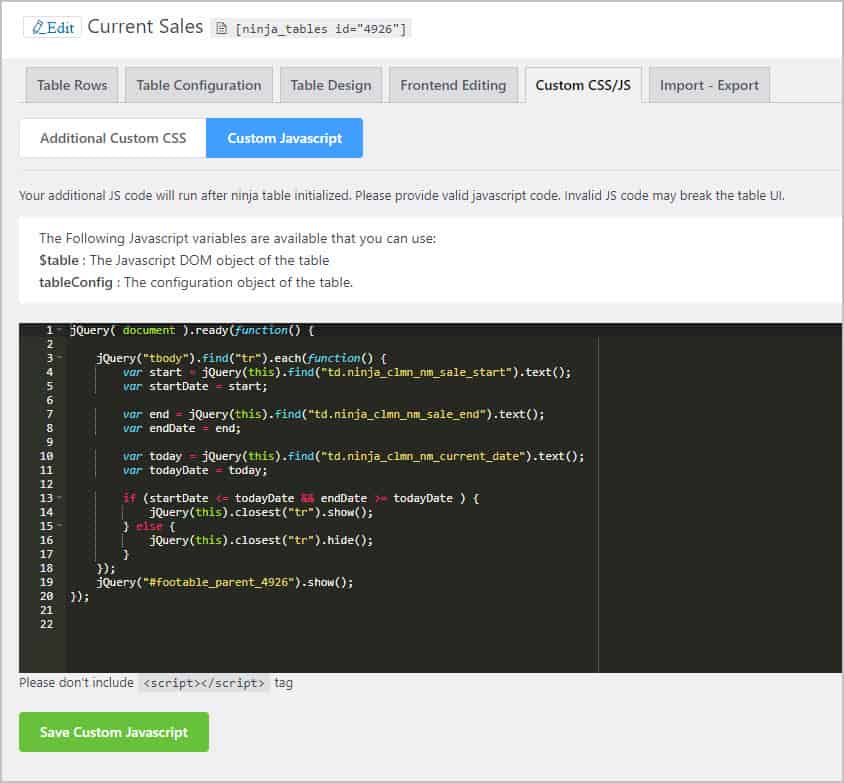
That list was a table created using NinjaTables. The challenge was to only show the items that were on sale by checking the start and end date range ACF fields for each item. When I first created the site, there were not many tools that had dynamic display options and it was a challenge to find a solution that worked with ACF custom fields. That type of option is more common now. What I did, was I used NinjaTables to get the full list of items and had the start and end date as hidden fields. I then used JavaScript to hide the items that weren’t on sale. This worked OK, though there was a second delay as the rows of items not on sale were hidden.
Creating The On Sale Loop Item
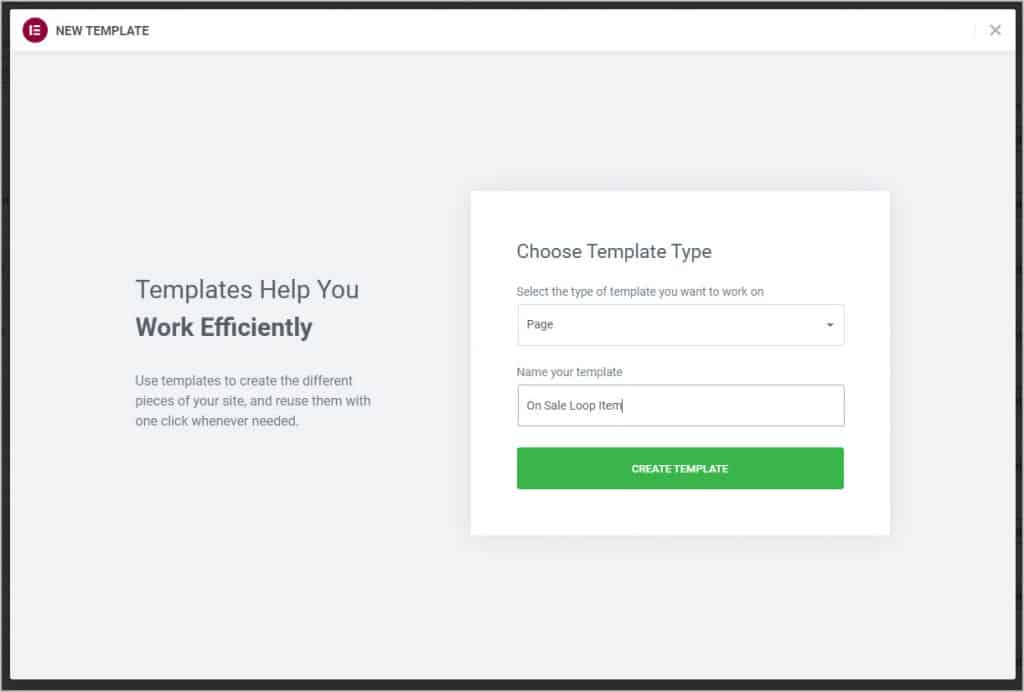
I was thinking to use the Dynamic Posts v2 widget that is part of Dynamic Content for Elementor. It allows you to create a template to use as a loop item. So, I went to the Admin Elementor Templates menu and clicked to add new. I gave it a name of On Sale Loop Item.
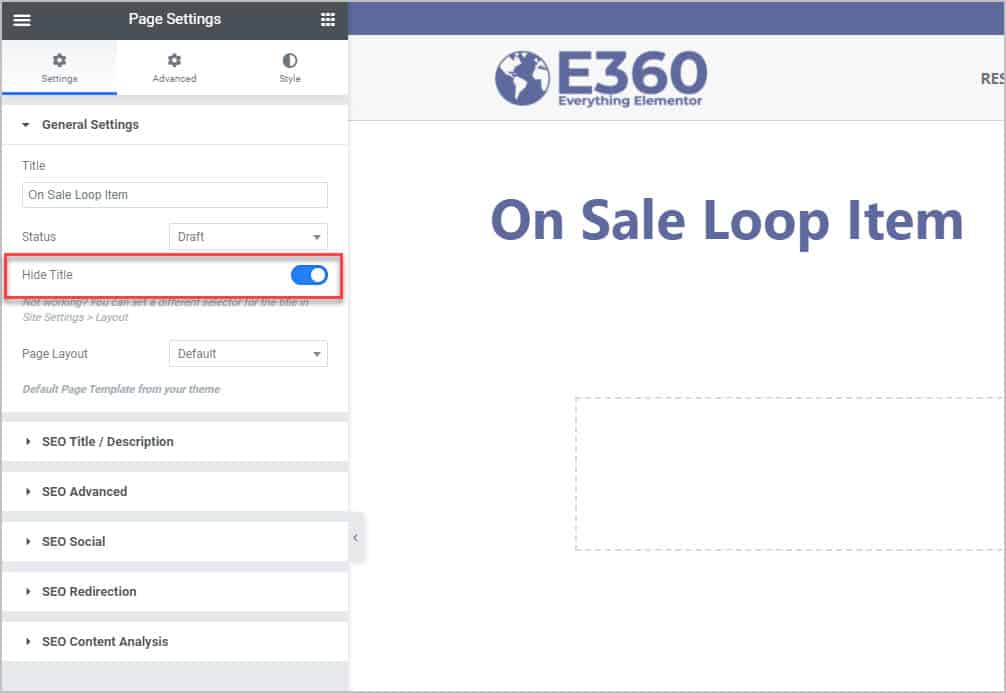
I disabled the post title as we don’t want that to show.
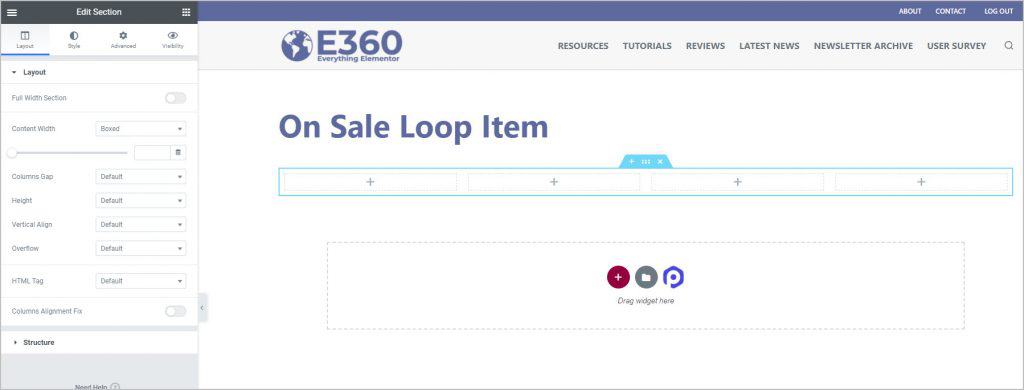
I added a section with 4 columns.
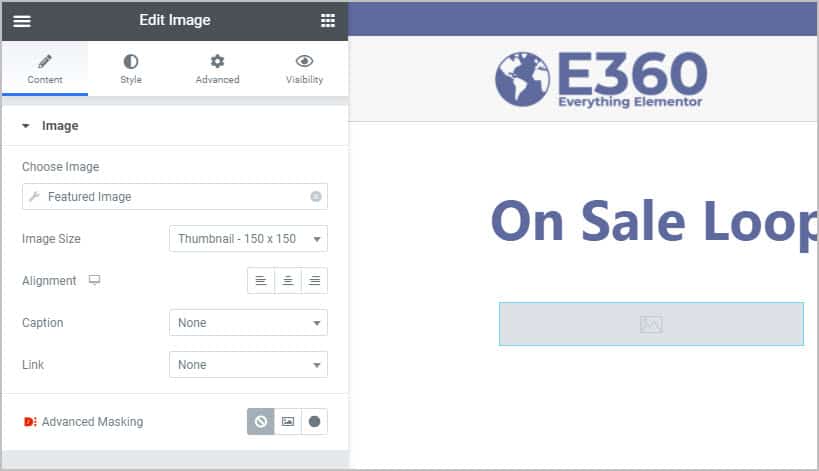
I added an image widget to the first column and used the dynamic option to pick the featured image.
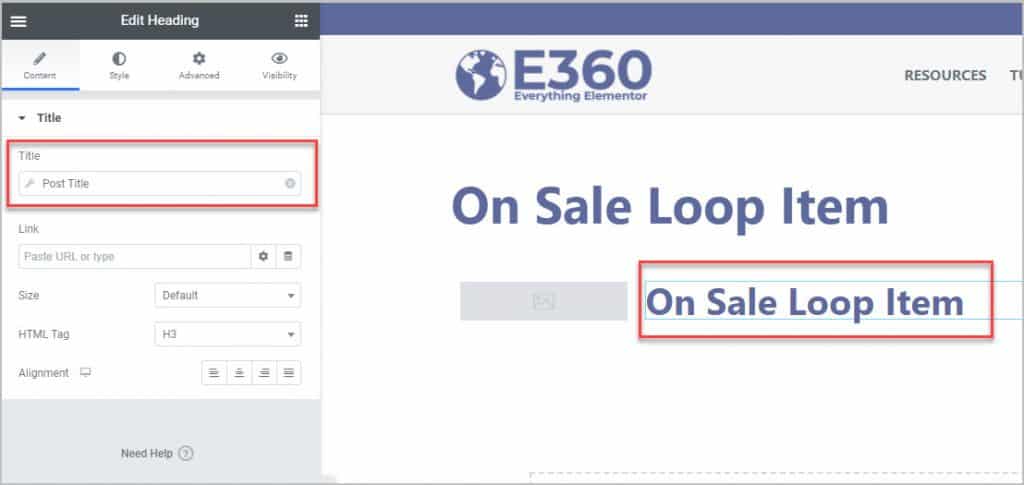
I put a heading widget in the second column and used the dynamic data option to set it to show the post title.
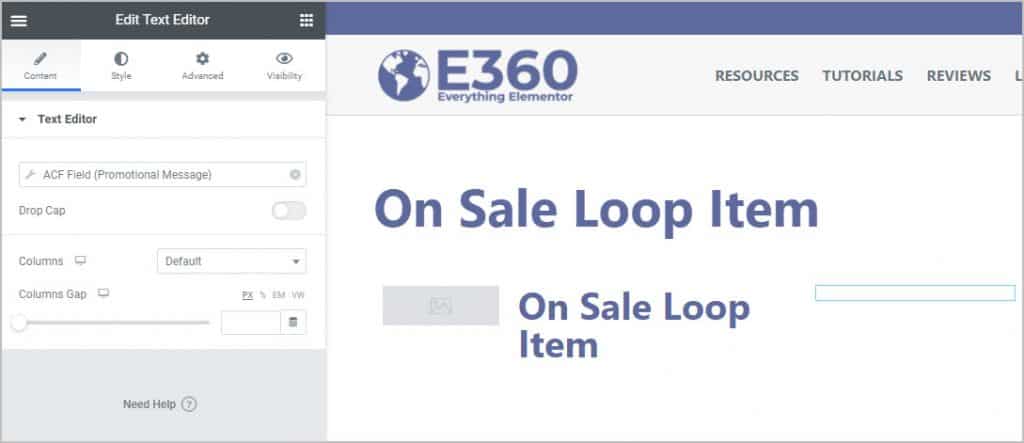
I added a text widget to the third column and set it to show the ACF promotional message field. Nothing shows in the editor, so I would need to tweak the typography later.
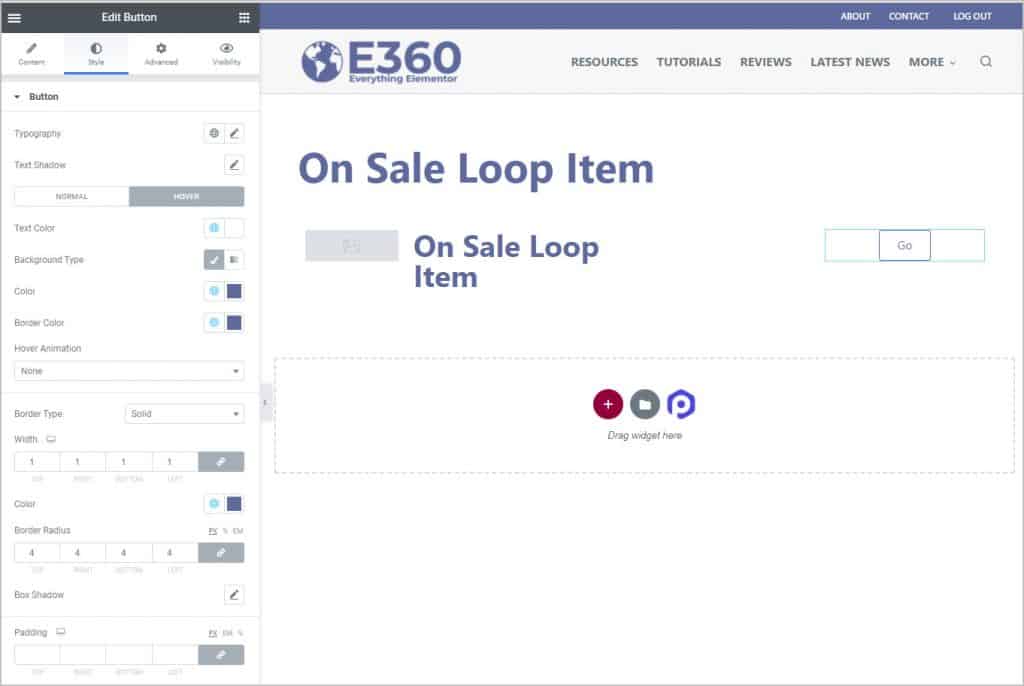
I then added a button widget to the fourth column, set the text to Go, and the link to the resource link.
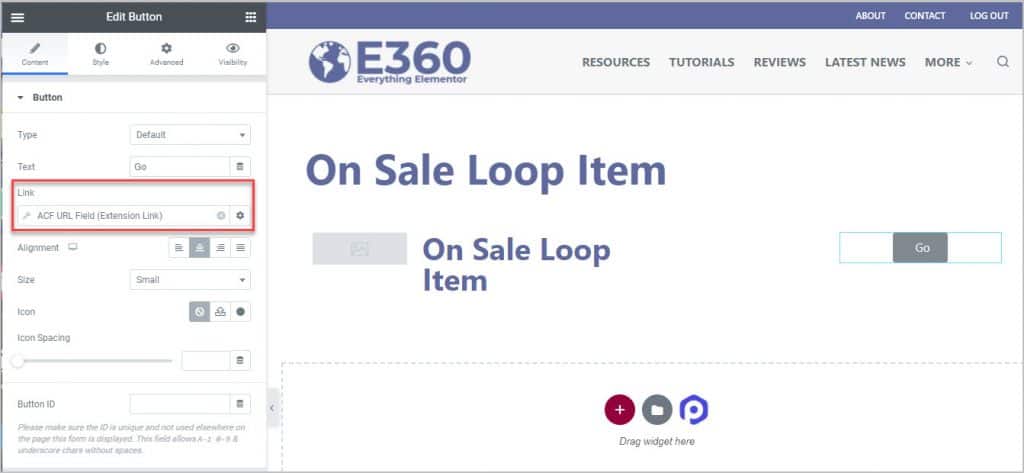
I styled the button.
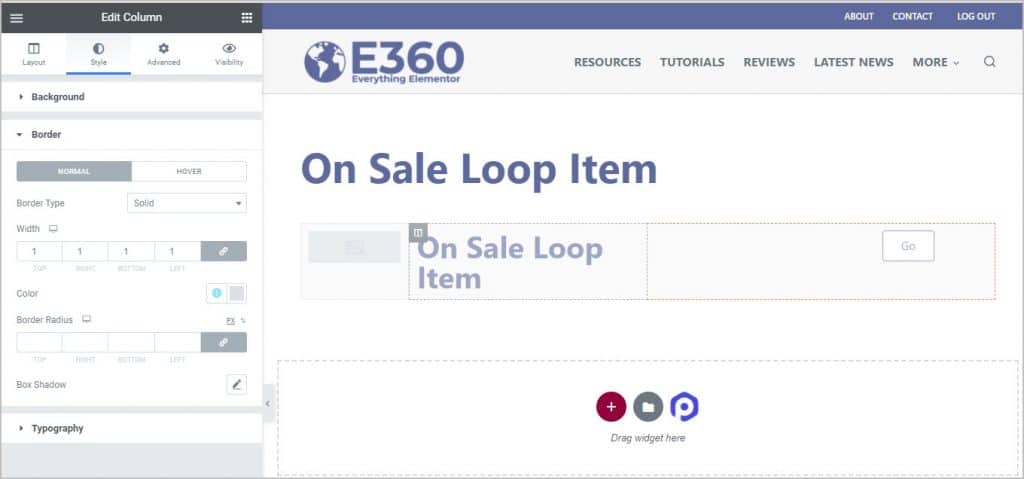
I gave the section a light gray background and added a light purple border to each of the columns. I adjusted the column sizes, set the content to be in the horizontal middle of the row, adjusted the typography and so on. The loop item template was done.
Using the Views Widget to Create the Current Sales Page
I opened the Currently Sales page. It was a Gutenberg page using a Ninja Tables block.
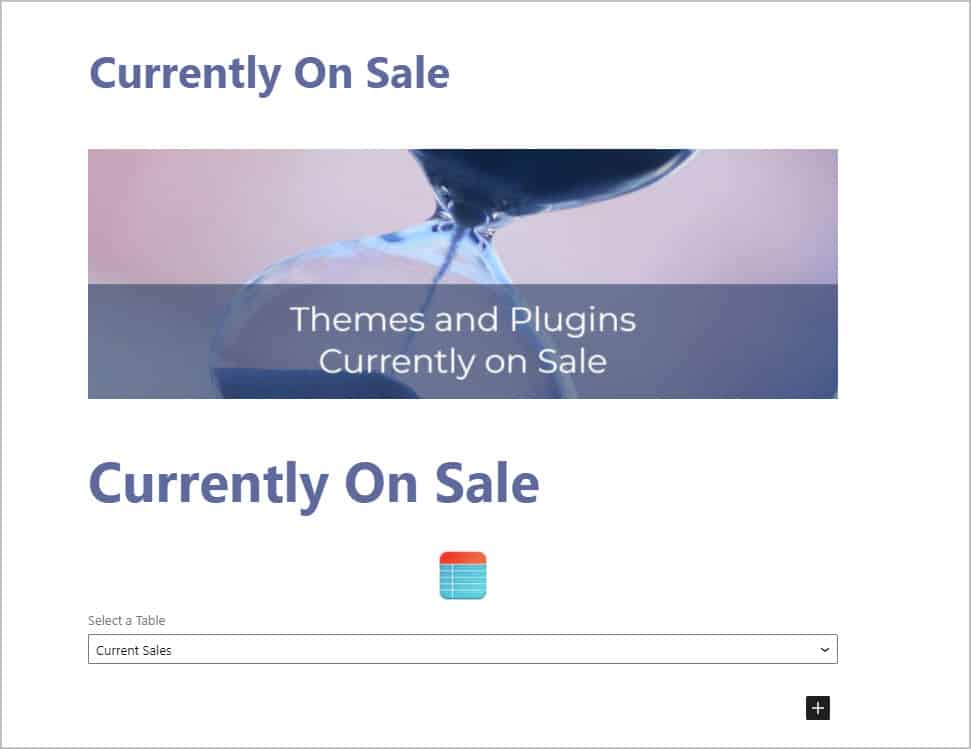
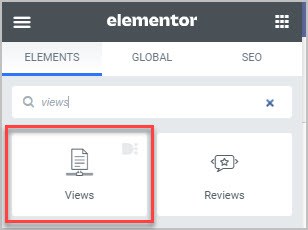
First, I deleted everything out of the Gutenberg page and then I opened it in Elementor. I disabled the page title and then added the Views widget to the page.
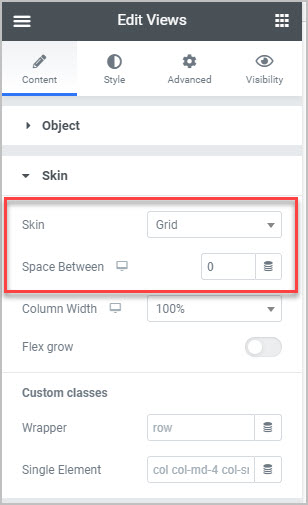
I set it for the skin for a grid layout with no spacing between.
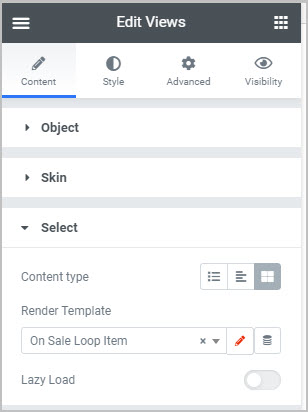
In the Select panel I chose to use a template for display and picked the one made earlier.
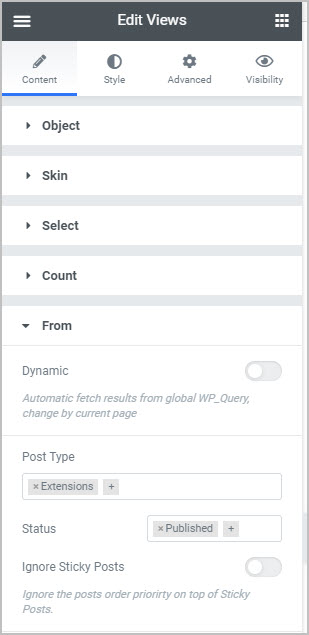
In the From panel I selected the Extensions post type. This was the post Type I was using for the resources. Now we had the resources showing.
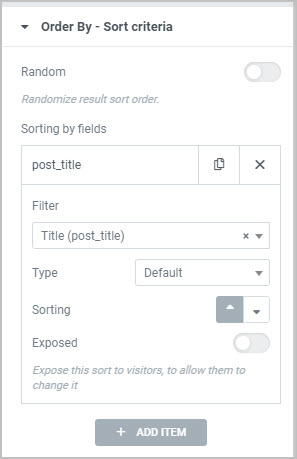
I set the sort order by filtering on the post title.
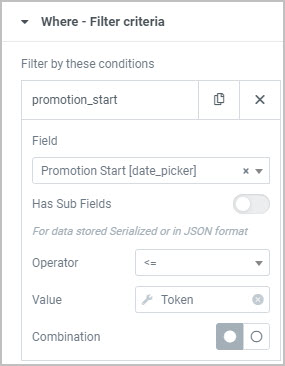
Now we can enter the custom date display condition. I selected the promotion start field, the less than or equal to operator, and for value, I picked the dynamic token option and entered “[date|Ymd]”.
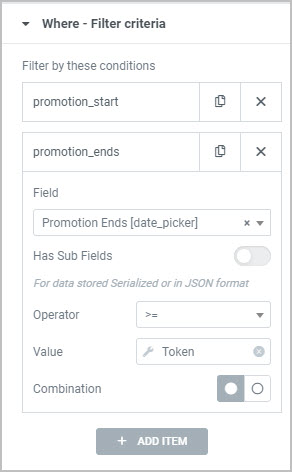
For end date I selected that custom field with the same value token.
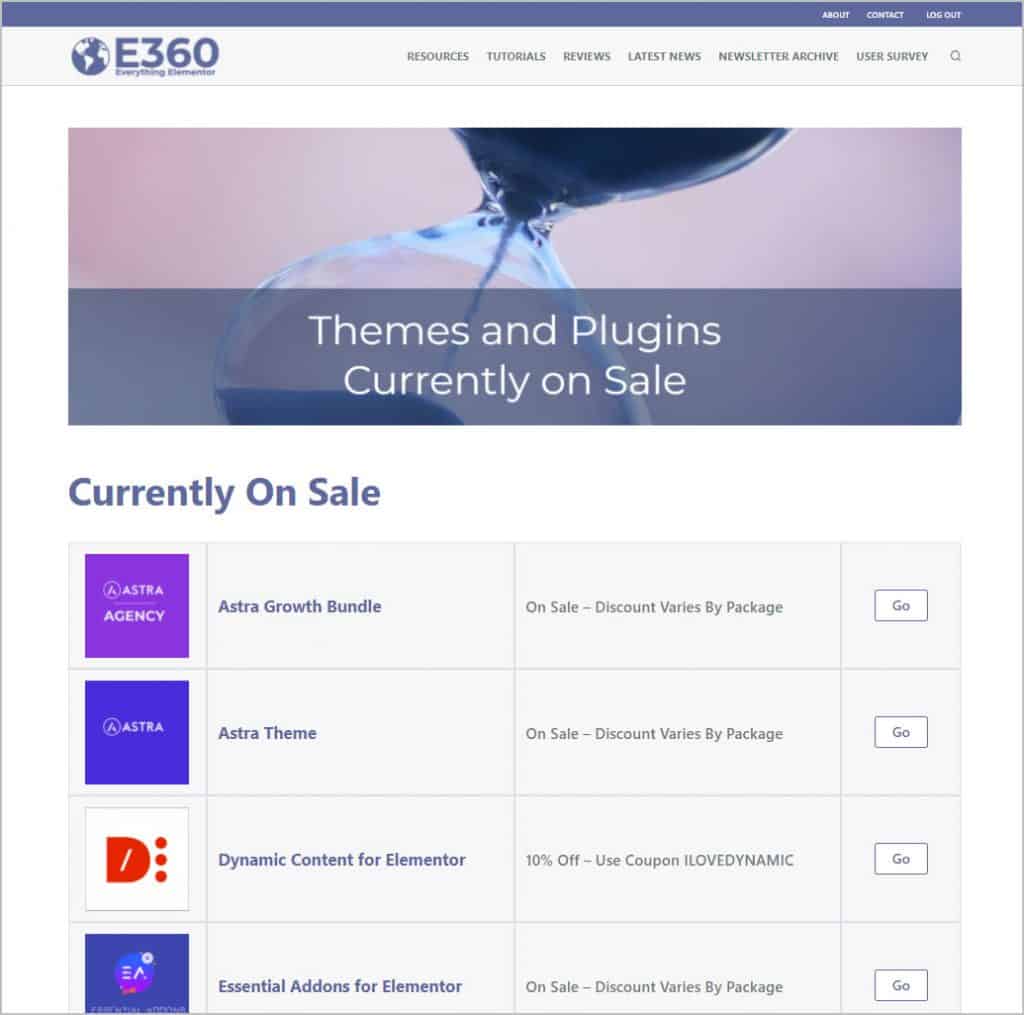
This is what the final result looked like, which is very close to the previous version. I verified that the correct items, only those currently on sale, were showing.
Now that I was done, I could disable and remove the two Ninja Tables plugins.
Discussion and Conclusions
This is the second tutorial where I’ve worked on updating an existing Elementor site. In the first tutorial we looked at the process I use for changing themes on an live site. In that tutorial I switched from the Page Builder Framework Theme to the Blocksy Theme and in the process I was able to eliminate a few plugins that were no longer needed. Now I’m looking at ways to use fewer plugins by using Dynamic Content for Elementor, which is a power tool.
The conditional display of content is advanced functionality. In my case it is an automation feature so I don’t have to manually turn on and off the display of the sales information for each resource.
There is nothing wrong with Unlimited Elements or Ninja Tables. I was using those tools to conditionally display the sale banner and to list the themes and plugins that were currently on sale. When I first built the website it took me about a day to create the sales banner widget using Unlimited Elements. I had to learn how that widget maker worked and learn about the Twig templating engine it used. It look me a good half a day to figure out and test the JavaScript that I used to hide the rows of the item that were not on sale for the Current Sales page. This was after creating the table. Today, it took me about an hour to test and style both the changes to the single resource page and the Current Sales page. Dynamic Content for Elementor Visibility extension was a better solution and is a good example of using the right tool for the job.
I also used the Dynamic Views widget. It has the ability to use a template for the loop item. Programmers are familiar with the process of looping over results to process and/or display them. That is something that most Elementor post widget hide from users, but by exposing this option the Dynamic Posts option is more flexible. The Views widget also gives you the ability to filter by a custom date condition using custom fields and tokens, a powerful option.
I still have work to do to bring the Elementor360 site up to date. I was pleased that I can reduce the number of plugins used by bringing Dynamic Content for Elementor into the mix. Have you had a similar experience updating your sites? If so, please let me know in the comments below.
