
Elementor Pro and Meta Box Dynamic Data
Introduction
As site builders and content creators we often want to use custom fields and Custom Post Types to organize our content. This allows for the entry and display of content that doesn’t normally fit into the content area. WordPress doesn’t support the display of all of the Custom Post Type data by default the Elementor Pro Theme Builder fills in this gap with its support for dynamic data.
WordPress has a few options for creating custom fields and Custom Post Types. The three most popular on WordPress.org are Advanced Custom Fields, Meta Box, and Pods. Crocoblock JetEngine and Toolset are two other options with Elementor support.
Meta Box is the second most popular custom field solution. It supports more field types than the others. In terms of custom fields and Custom Post Types, Meta Box also has more features than the others. However, is not as well known because it is developer focused.
In this post I want to take a look at Meta Box, create a Custom Post Type with custom fields using it, and also create a Single and an Archive template for the Custom Post Type using Elementor Pro to display the Meta Box data.
Video Version
Meta Box Quick Overview
Meta Box is not as well known as some of the other Custom Post Type / custom field solutions so I thought it would be good to have a quick overview. Meta Box is developer focused. It is designed in a very modular fashion with a lot of single focus extensions. This is so you only need to install the extensions that are needed for the project at hand. Some of the extensions have a graphical user interface, but other features require working with PHP.
I checked the documentation and found that each extension has a walkthrough and many of them also have a video.
There are 11 free extensions available in the WordPress.org plugin directory and 21 premium extensions. There are currently 32 extensions in total. If you have the developer or lifetime version of Meta Box there is an “All in One” extension that lets you activate whichever extensions you need from within WordPress.
Creating the Custom Post Type and Custom Fields
Installation and Options
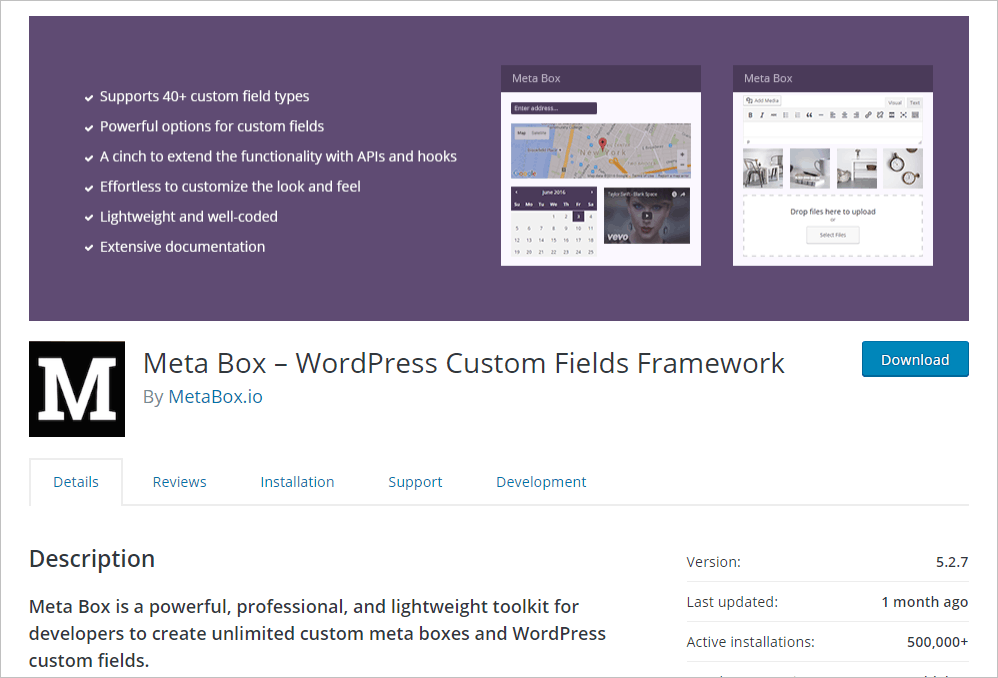
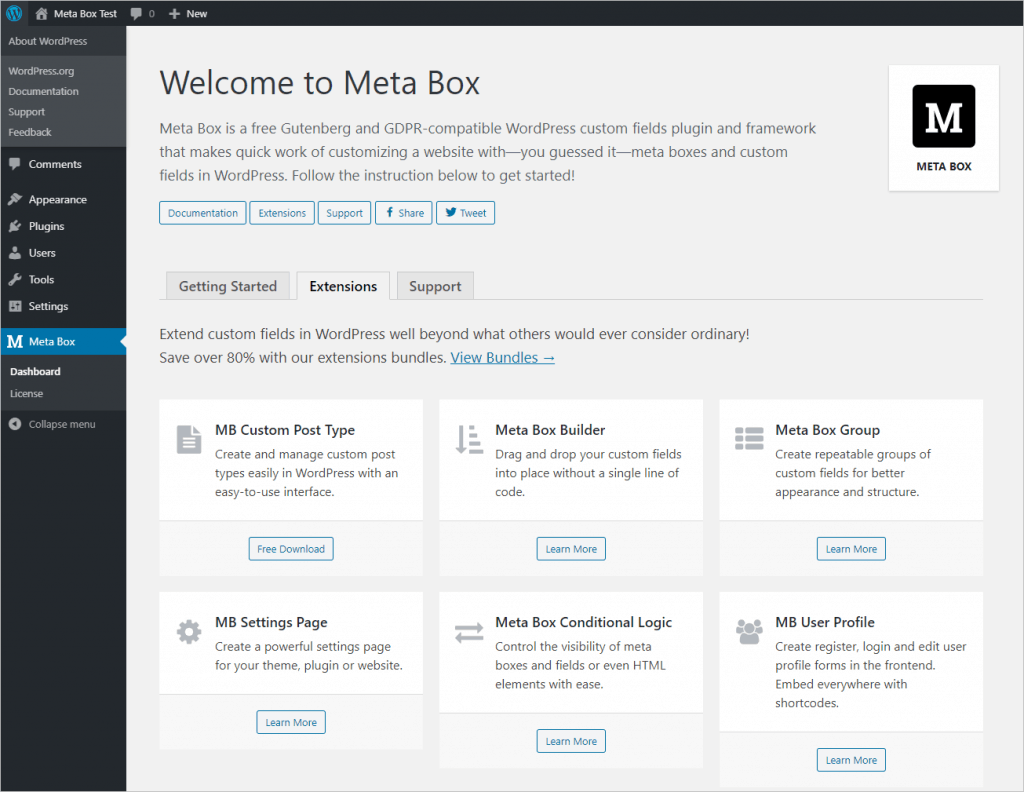
The core Meta Box extension is available from the WordPress.org plugin directory. This is a program library and is needed for other functionality. You install it the usual way by searching for Meta Box in the plugin directory. Once it is installed and activated you get a Meta Box section in the WordPress admin.
There is no UI however for creating anything. This can be a “what the heck” moment, but remember that Meta Box is developer focused. So there are two ways for us to create the Custom Post Type and custom fields: using code or using the extensions that add a user interface.
Meta Box has a free online code generator that you can use to create the PHP code you need for your own plugin. If you haven’t used a code generator before then there is documentation on the site for how to use it. The advantage of using code is that you keep the number of plugins to a minimum and if you are building the site for a client then there is less of an opportunity for them to unwittingly break the site.
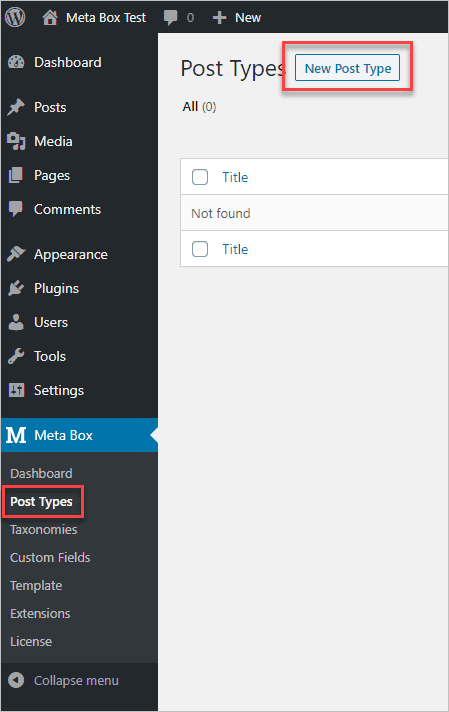
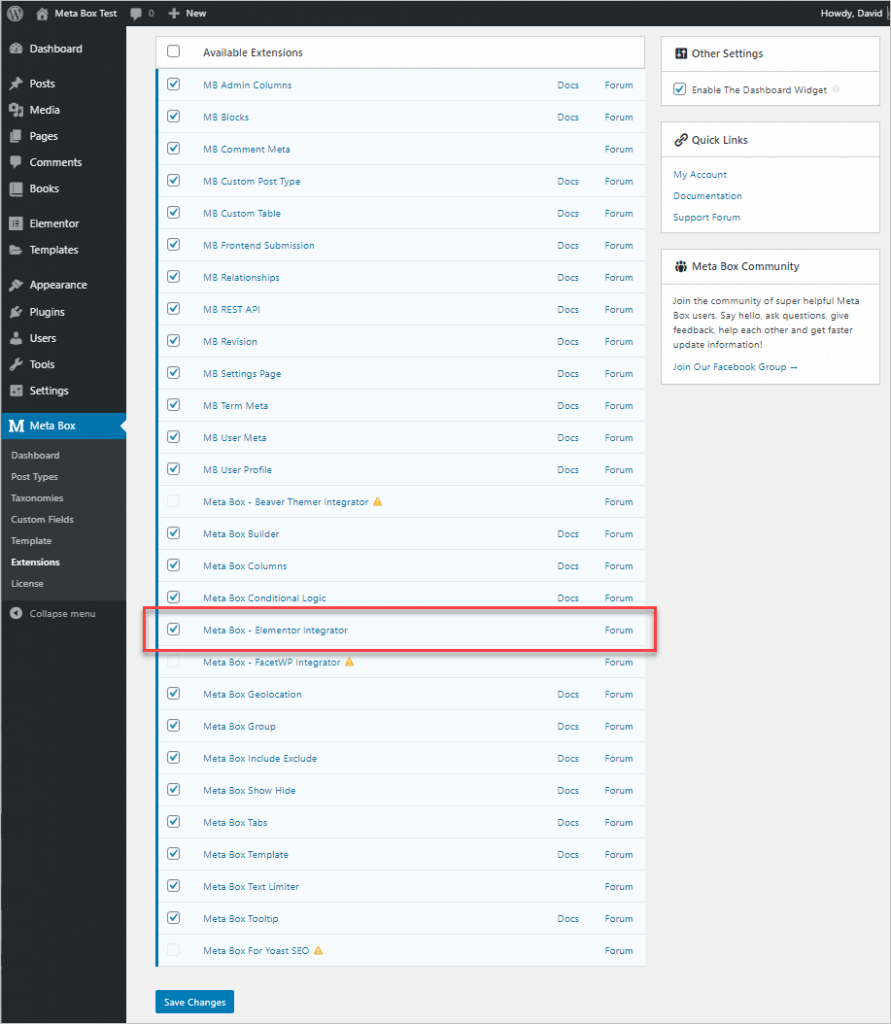
Note that there is a free extension that provides a user interface for creating your Custom Post Type. It is the first one in the screenshot above. You download it from WordPress.org. However, there is no free UI for adding the custom fields. This is the opposite of Advanced Custom Fields which has a UI for adding the custom fields, but no support for creating Custom Post Types. So, to create the custom fields you will need to use the online code generator or the premium extension.
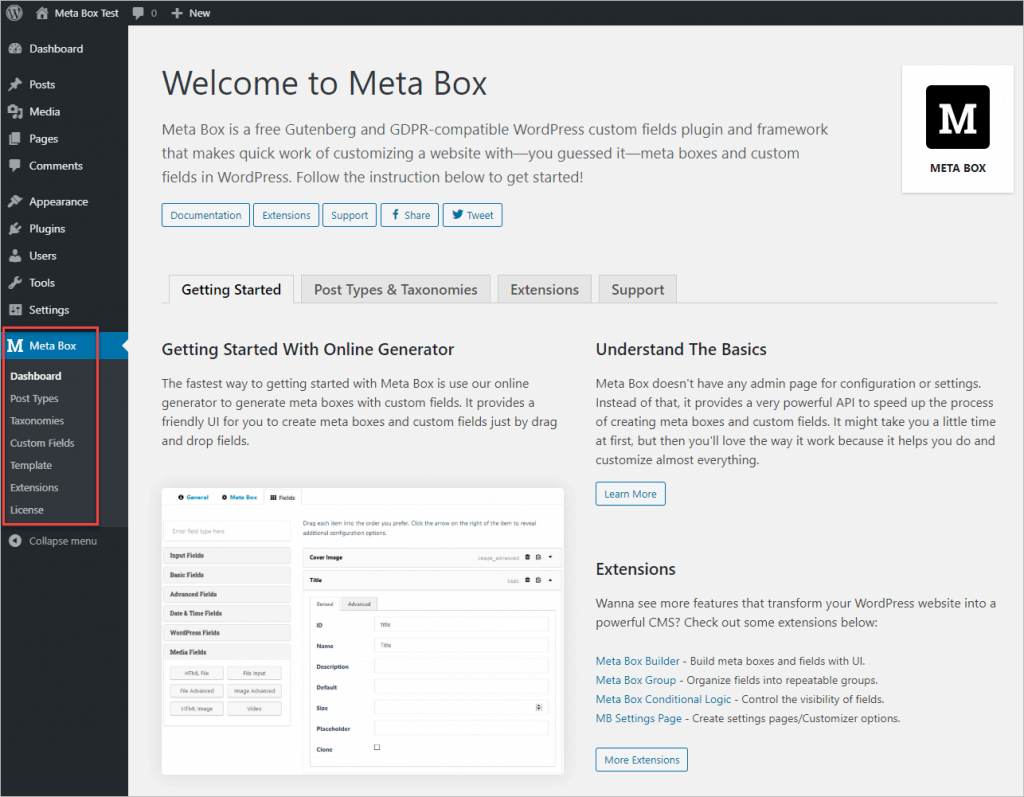
If you have a developer or lifetime Meta Box licence then you can enter it using the sub menu link in the WordPress admin. I entered my licence key and downloaded the Meta Box AIO (“All in One”) extension. I uploaded and activated the AIO extension. This gives me the UI for creating the Custom Post Types, Taxonomies, and Custom Fields. There is also an extension menu for enabling / disabling the other features as desired.
Creating the Custom Post Type and Custom Fields
First I clicked on the Post Types menu item and then the New Post Type button.
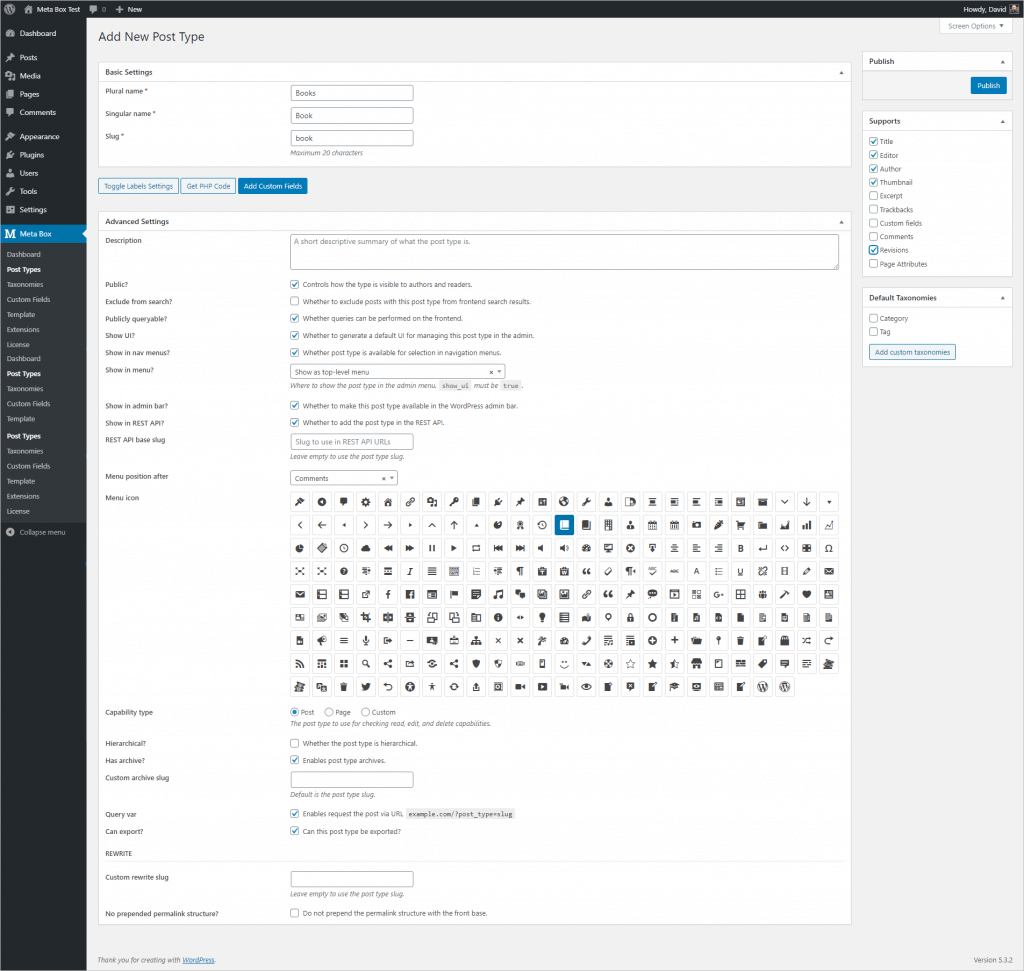
I gave the plural name of Books and the singular name of Book. There are more options in the Meta Box create post type UI than when using CPT-UI. You have a great deal of control of where the admin menu items will appear. You can select to have them show as a top level menu and select where in the menu list you want them to show, or you can even choose to show as a sub menu under some other existing menu. I chose to have a top level menu under Comments and selected an icon. Note on the right side are the features the Custom Post Type will support. When done, I clicked the Publish button.
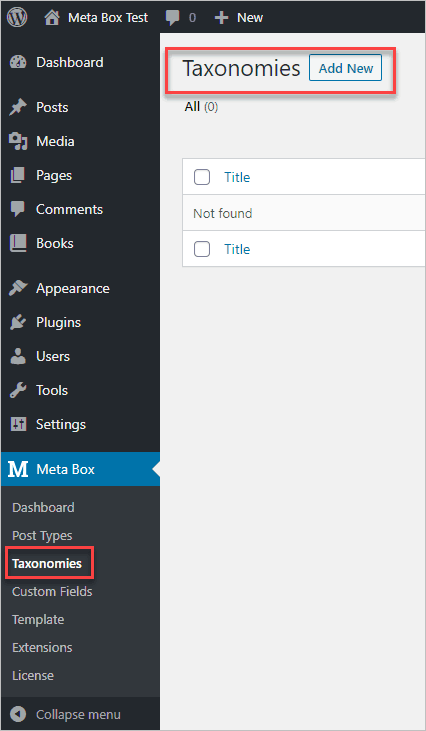
I then went to the Taxonomies menu item and clicked the Add New button.
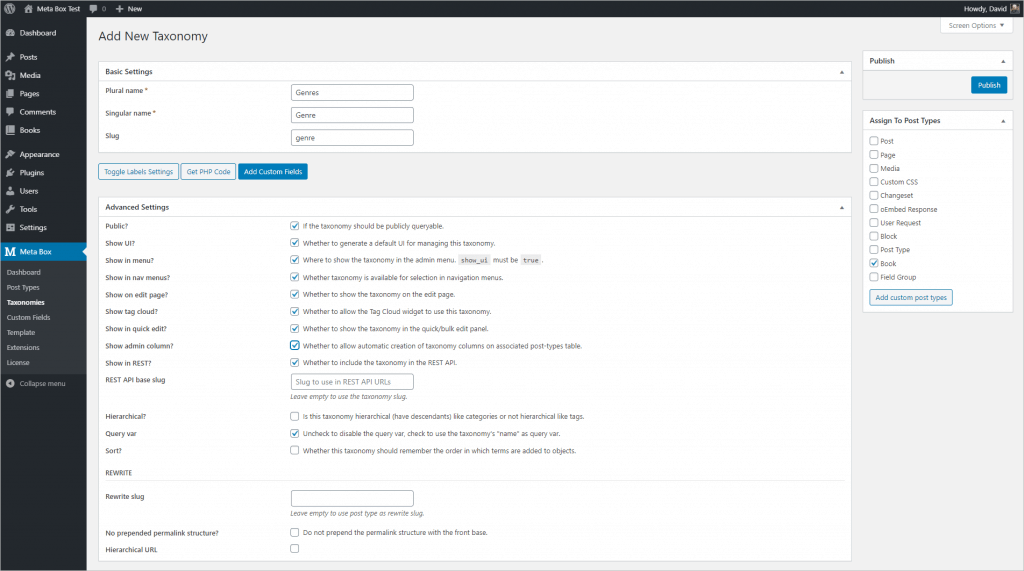
I gave the plural name of Genres and single name of Genre. I clicked to automatically add an admin column. Note the list of post types on the right side. I checked to add this taxonomy to the Book Custom Post Type. I then clicked the Publish button.
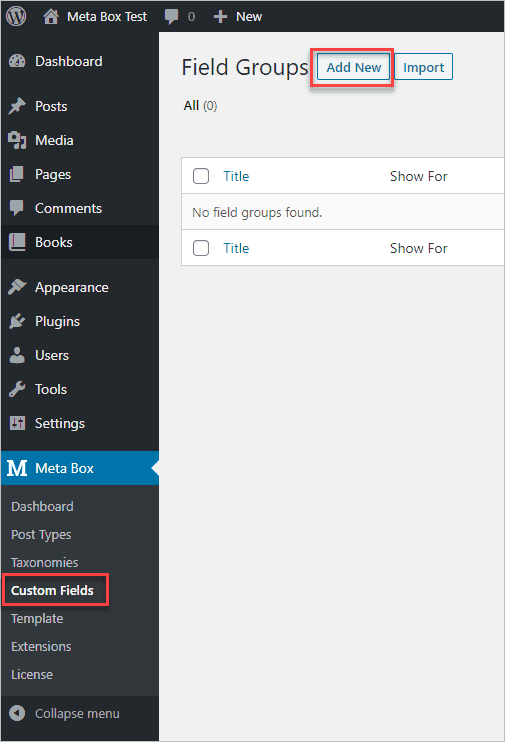
Next we need to add some custom fields. I clicked on the Custom Fields menu item and then the Add New button.
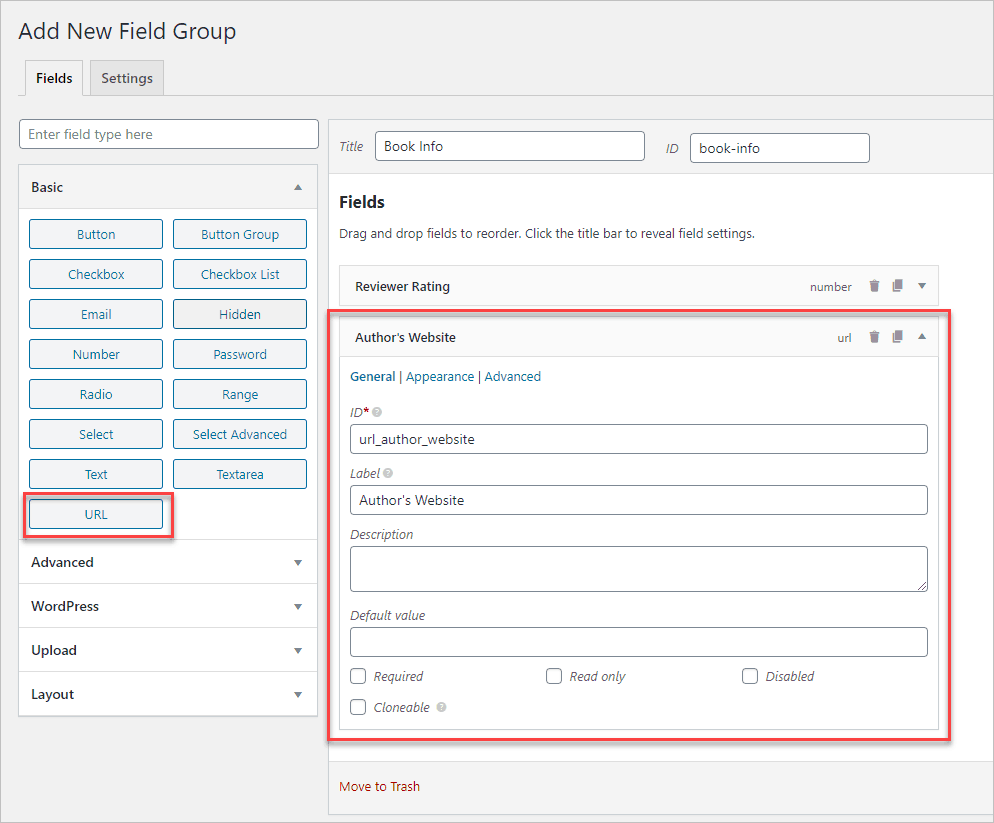
When you are in the Custom Fields screen there is an area in the top middle where you give the field group a name. I named mine Book Info. On the left side are some accordions with the different field types. I started out with a Number field for the reviewer’s rating. I gave it a max of 5 and steps of half a point.

I then added a URL field so we can have a link to the book author’s website.
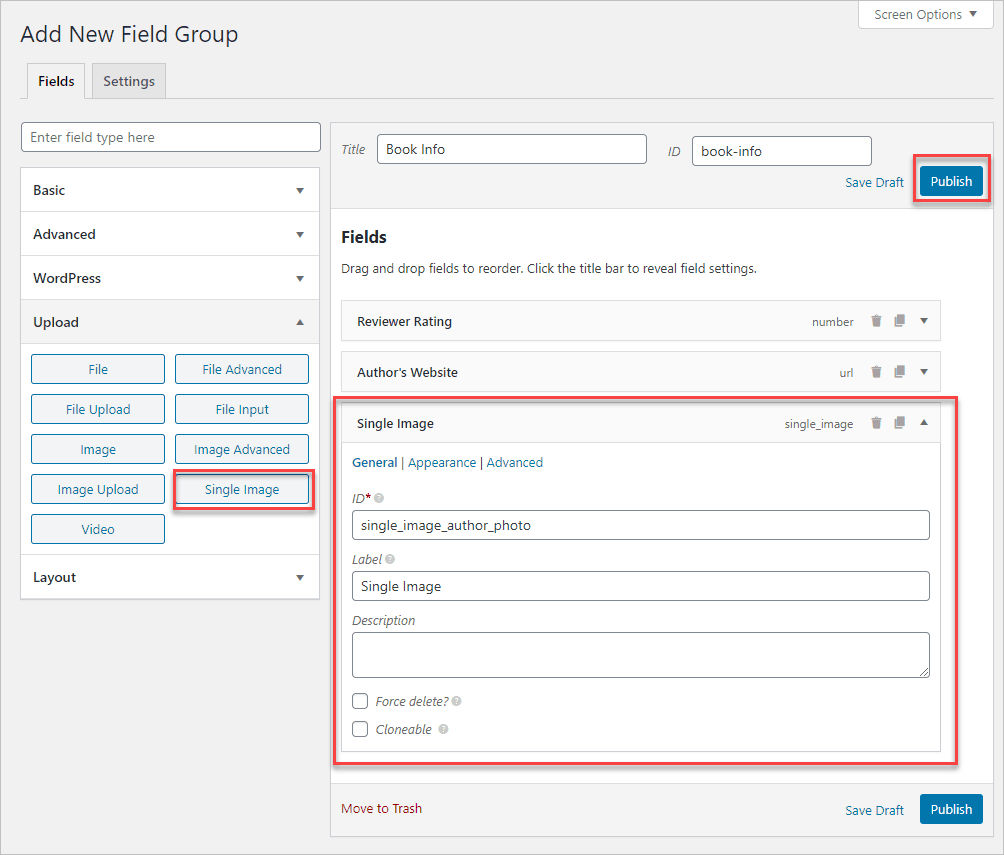
Finally, I added a single image field so we can have a photo of the book’s author (note I forgot to change the label). Then I clicked the Publish button.
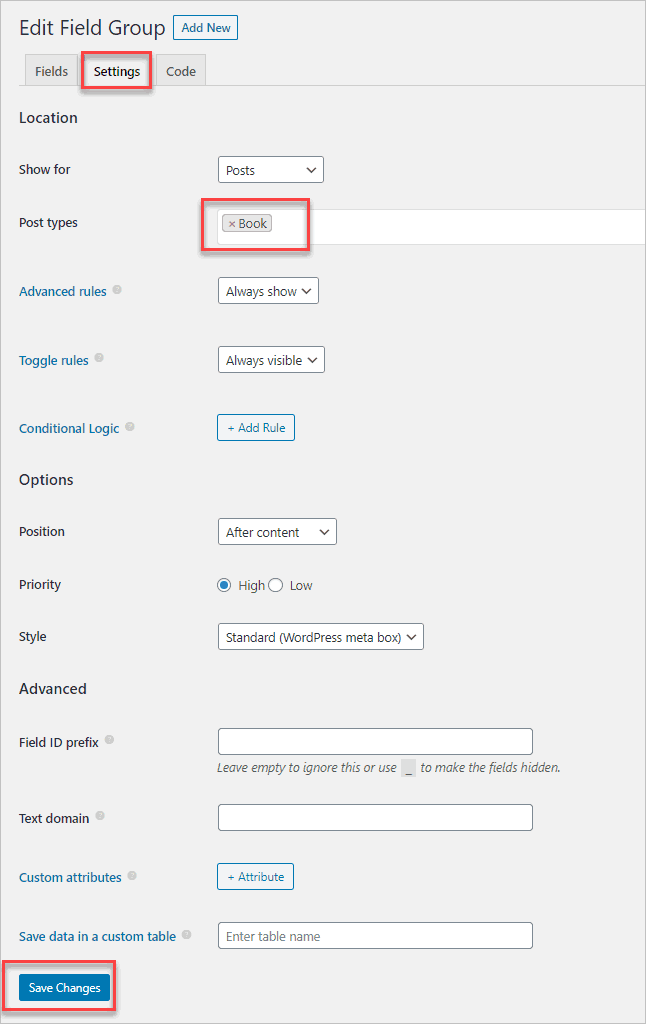
I then clicked on the next tab to configure the Settings. I assigned the field group to the Book post type and saved.
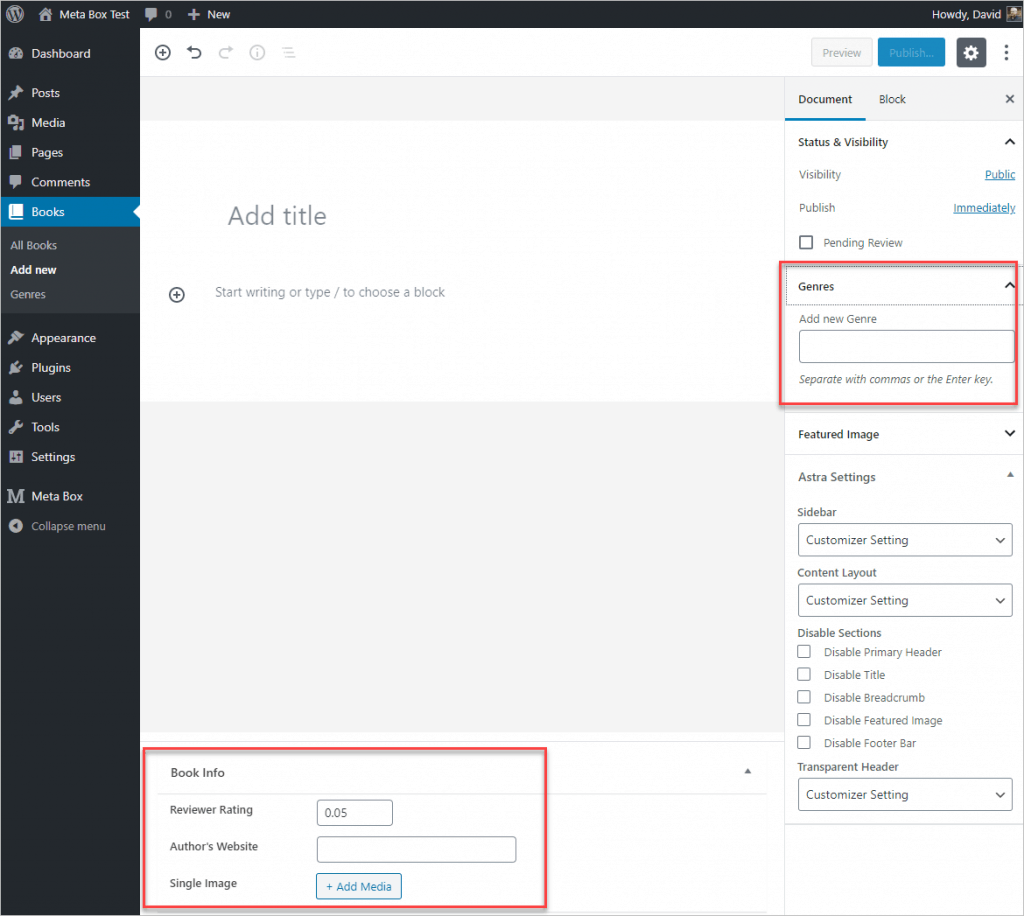
Taking a look at a new, empty, book record and we see the three custom fields at the bottom and the Genre taxonomy on the side.
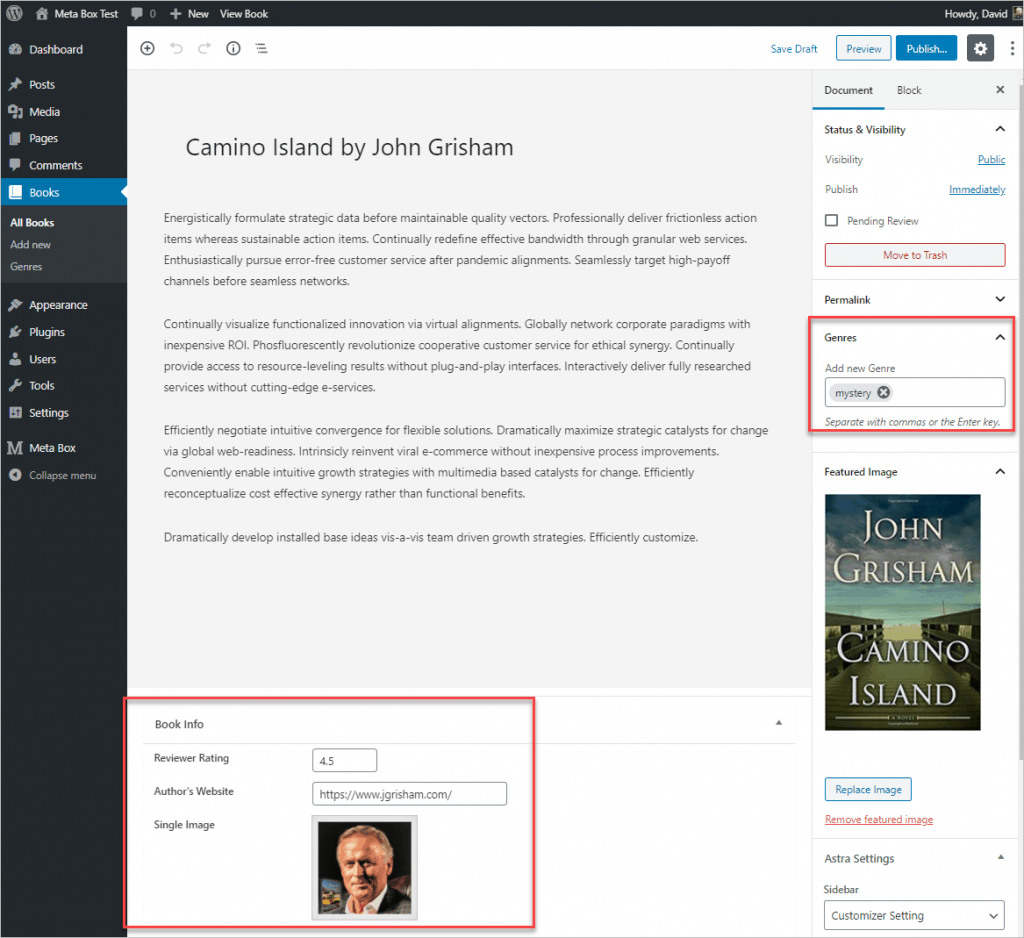
I added data for a new record and saved it.
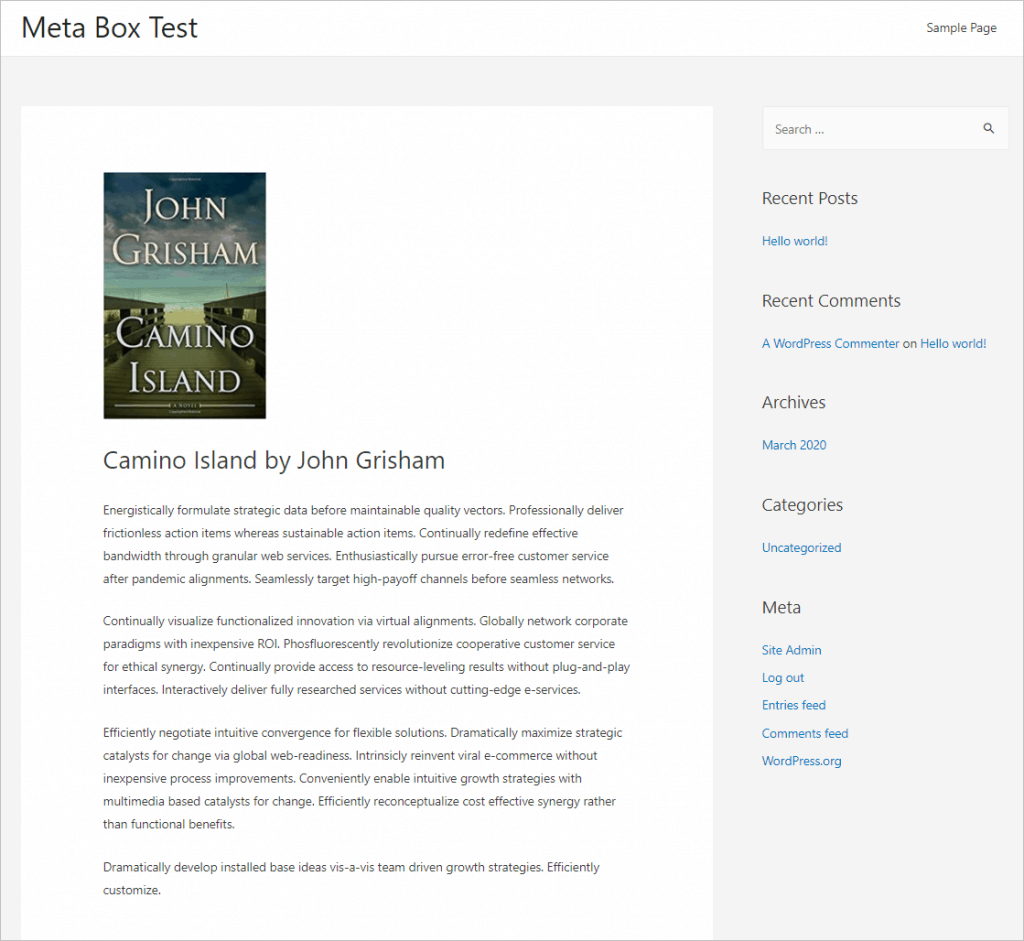
Taking a look at the book record on the front, we see that none of the custom fields show. That is a “what the heck” of WordPress that it doesn’t show custom fields automatically. Instead we must create a theme template to show them.
Creating the Single Theme Template
It’s time for the Elementor Pro Theme Builder. I enabled Elementor Free and Elementor Pro. Since I have the All in One extension, support for Elementor was automatically enabled. If you don’t have the All in One extension then you can download the Meta Box extension for Elementor from the WordPress.org plugin directory.
I then went to the Elementor Theme Builder menu and clicked on the Add New button.
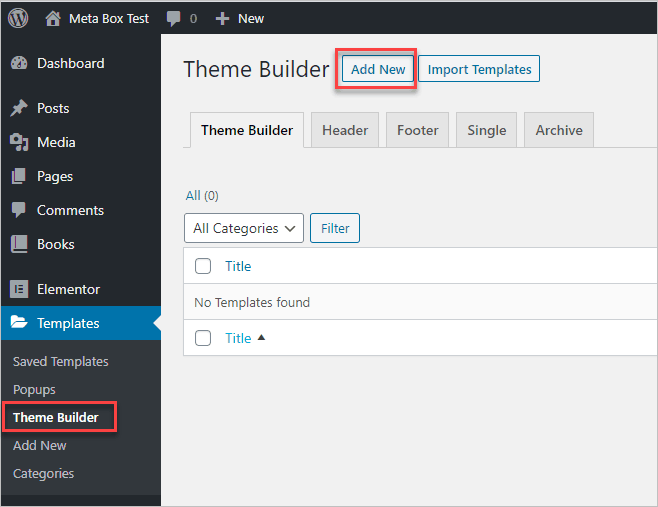
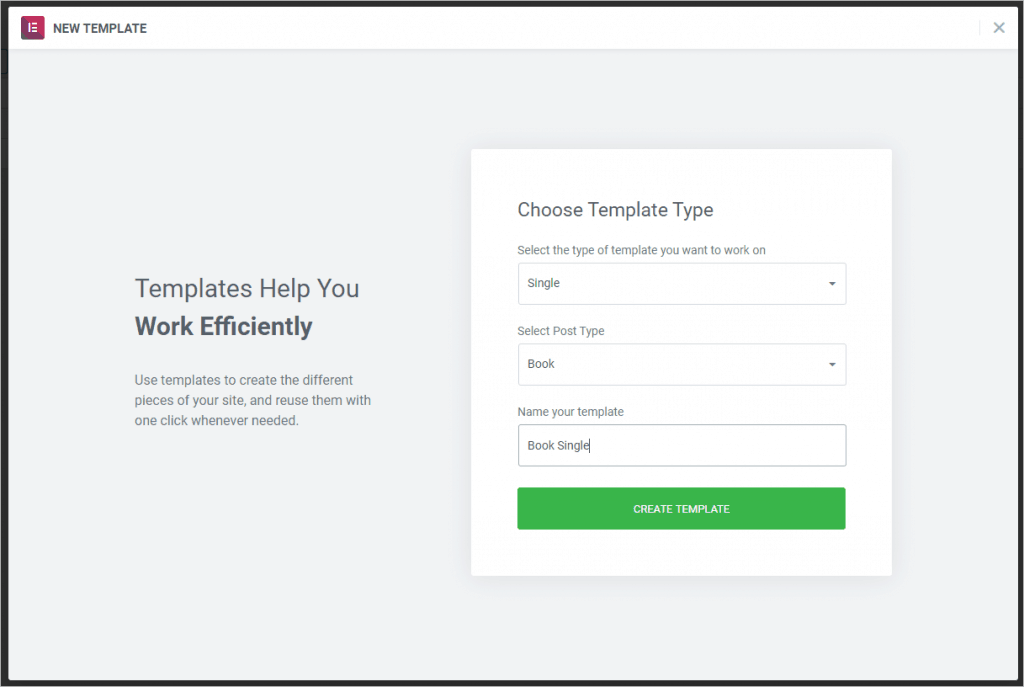
In the popup form I selected Single for the type of template, Book for the Post Type and gave it a name of Book Single. Then I clicked the Create Template button to go into the Elementor editor.
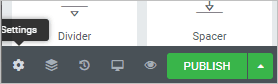
I clicked on the Settings gear in the lower left corner.
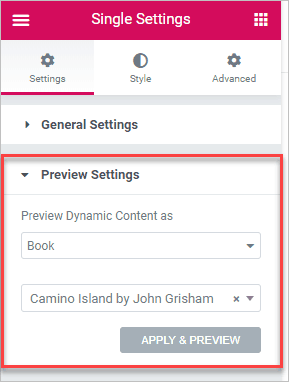
I checked the Preview Settings to make sure a book record was selected for previewing and clicked the Apply & Preview button.
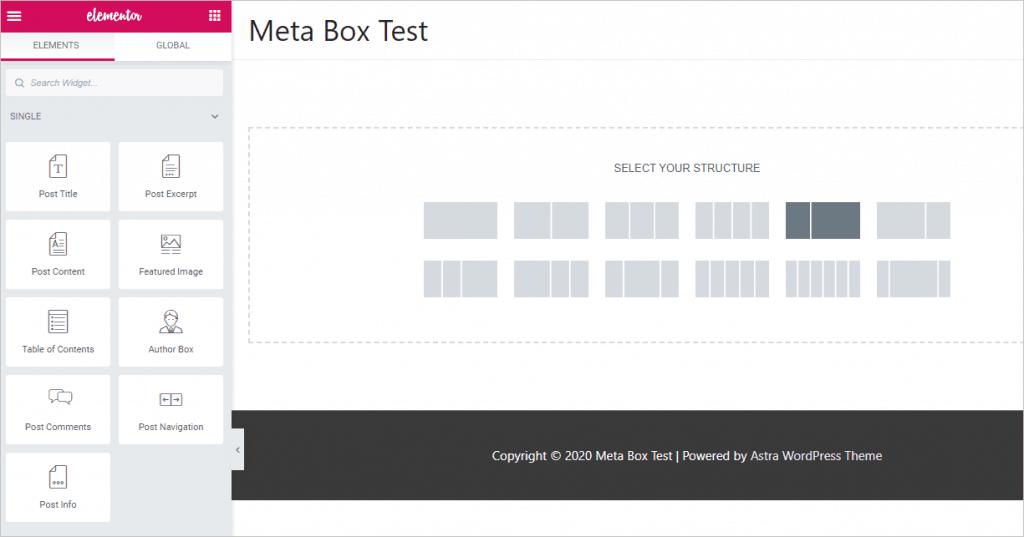
In Elementor I chose a two column row.
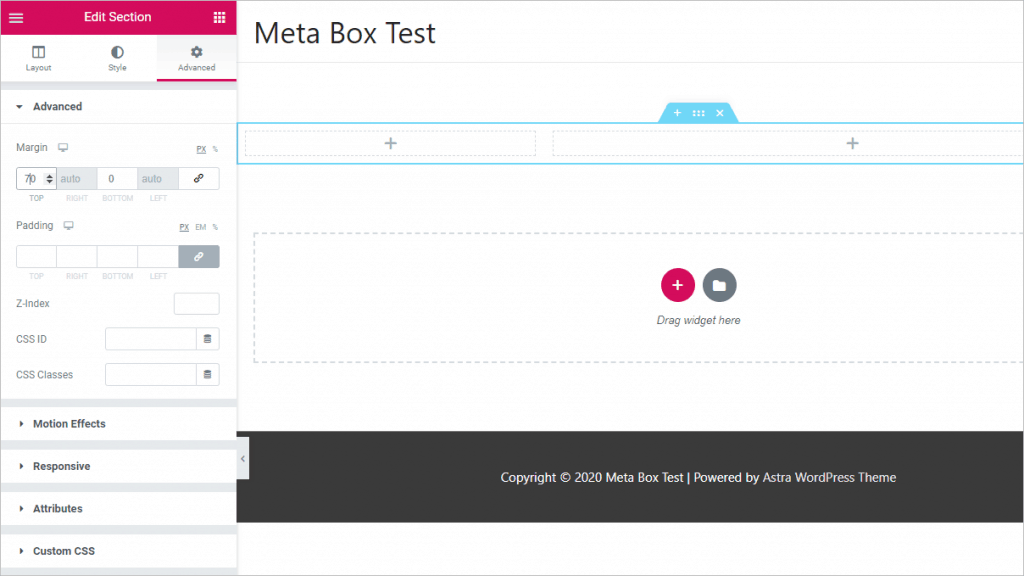
I added a bit of margin at the top.
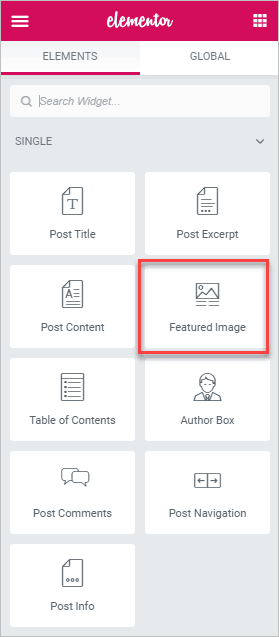
I dragged the Featured Image widget over to the left column.
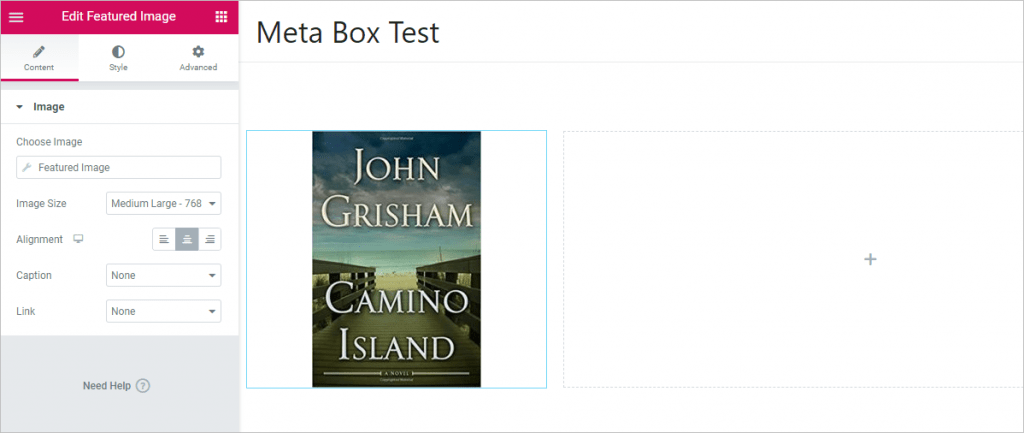
And I adjusted the settings.
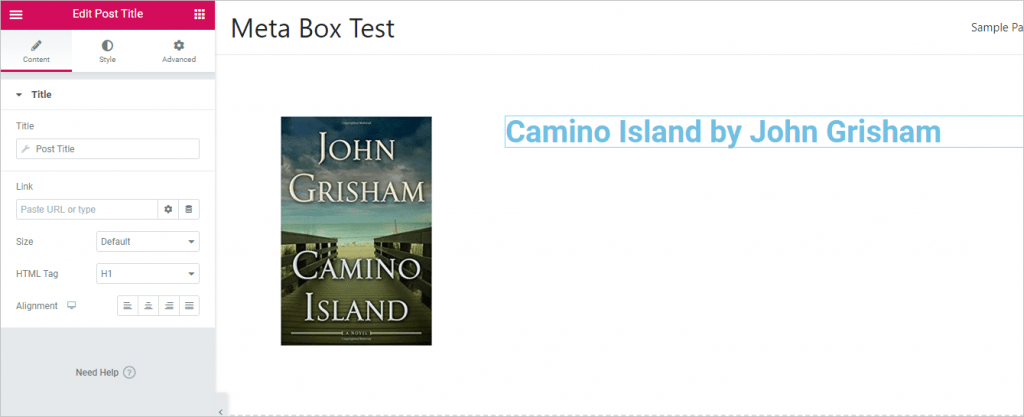
Next I dragged the Post Title widget into the right column.
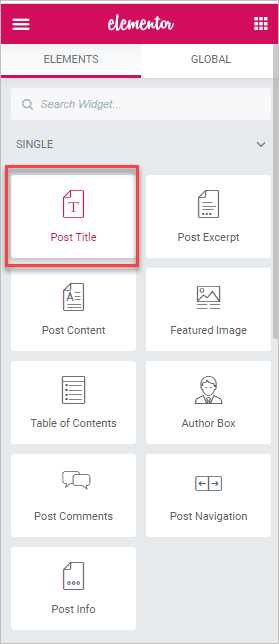
I left the settings at the default.
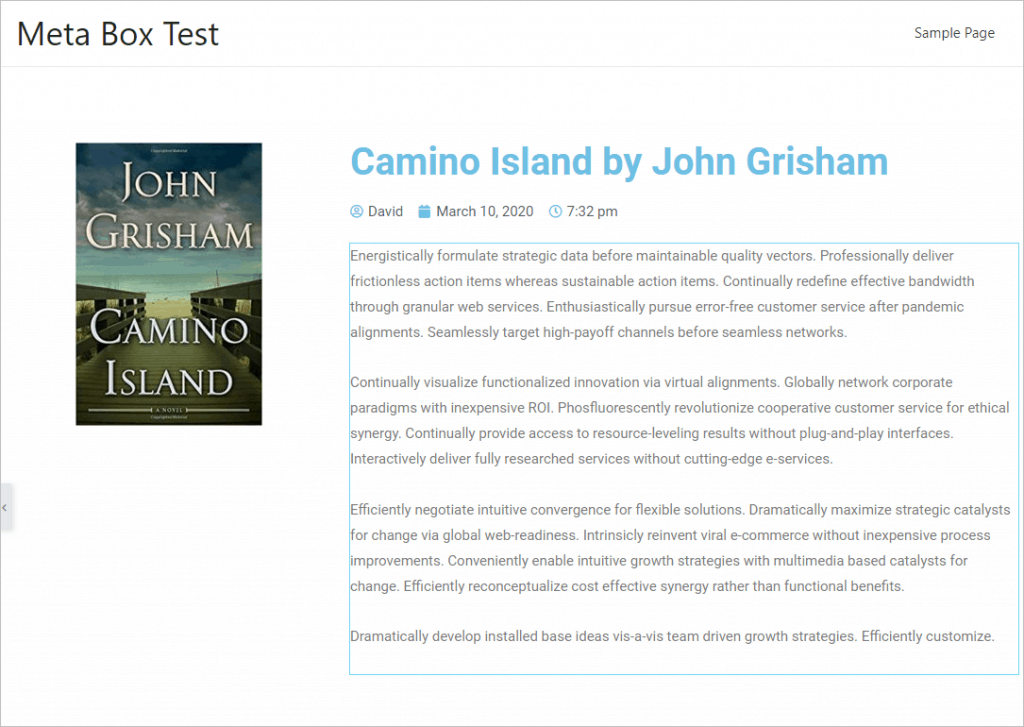
I next did the same for the Post Info and Post Content widgets.
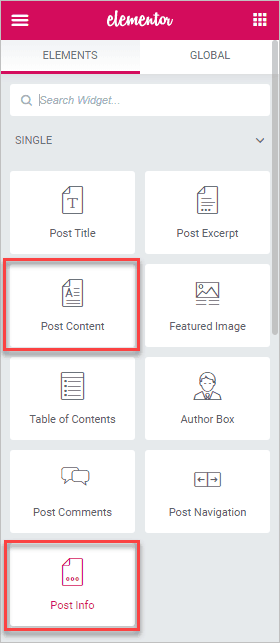
And left these as the defaults also. These are the normal post fields.
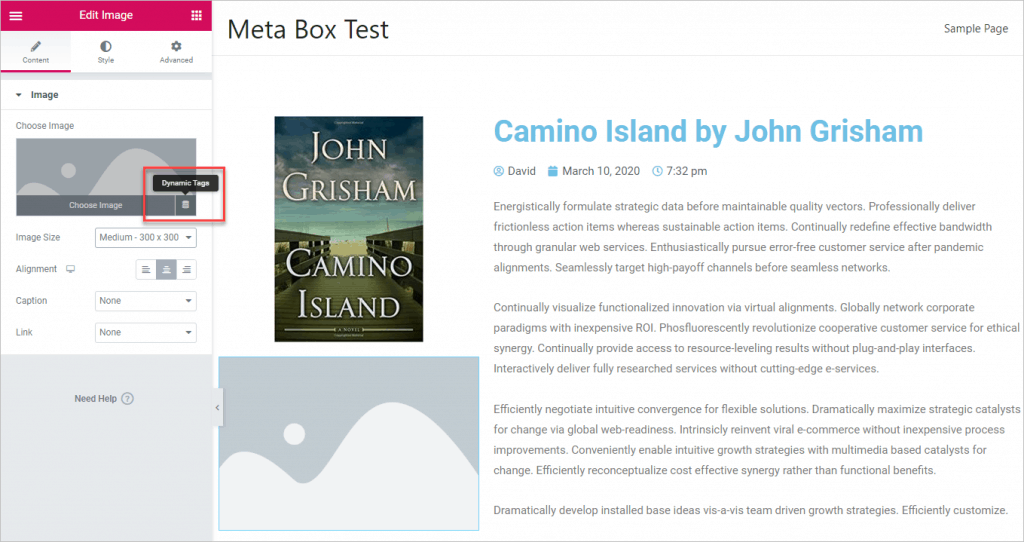
Now to add the custom Meta Box fields. I dragged an image widget and dropped it under the book cover / featured image. Note that when you hover your mouse over the placeholder to pick an image there is an option for dynamic data.
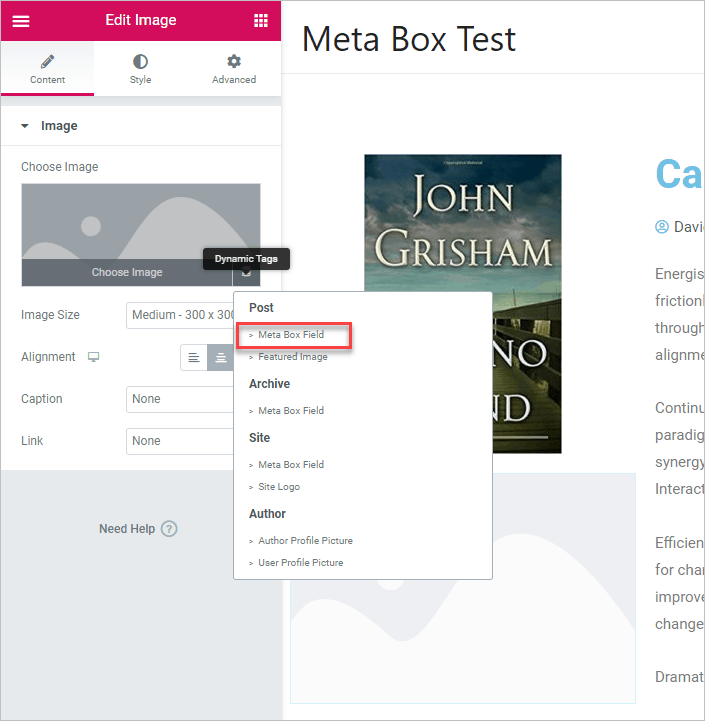
I clicked on that database icon for the Dynamic Tags. I picked the Meta Box Field link.
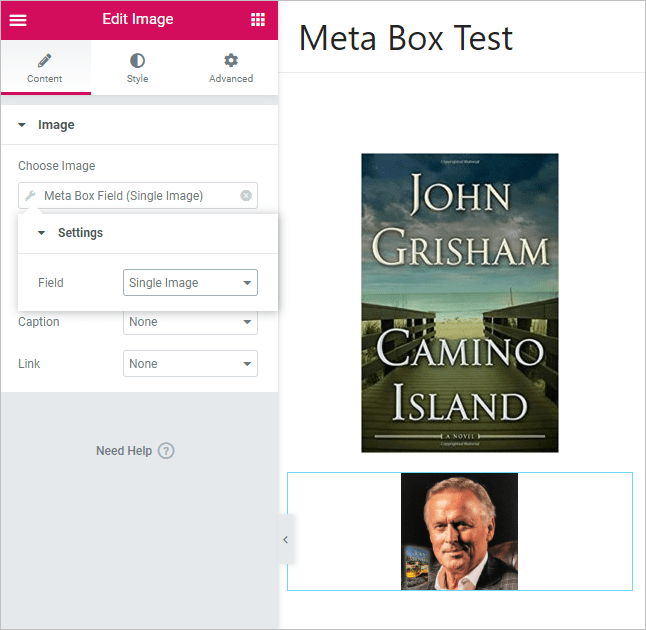
I then picked the Single Image field from the drop down and the author’s photo showed in the preview.
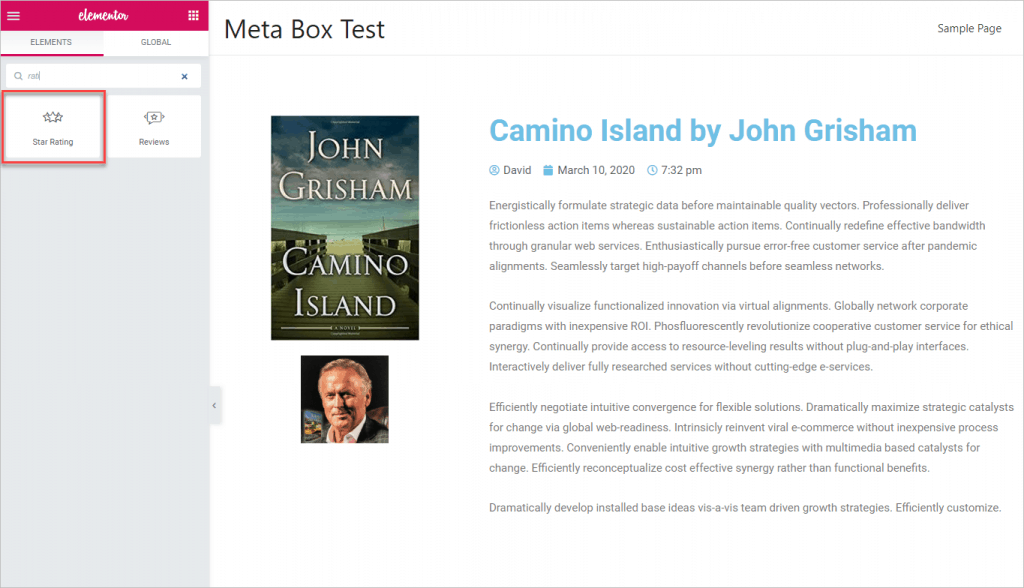
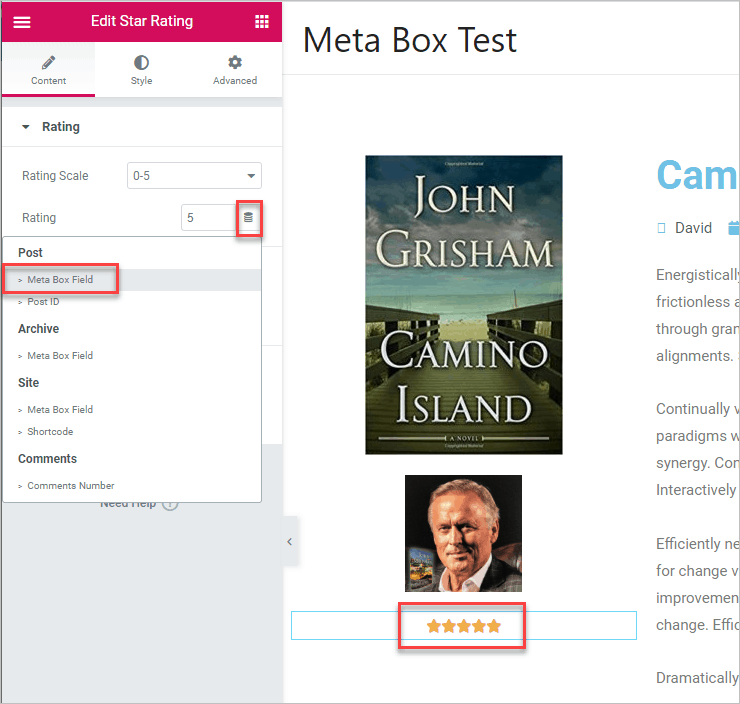
I then did a search for the Star Rating widget. I dragged that over and dropped it under the author’s photo.
Note in the settings for the Rating there is also the option for dynamic data. I selected the Meta Box field.
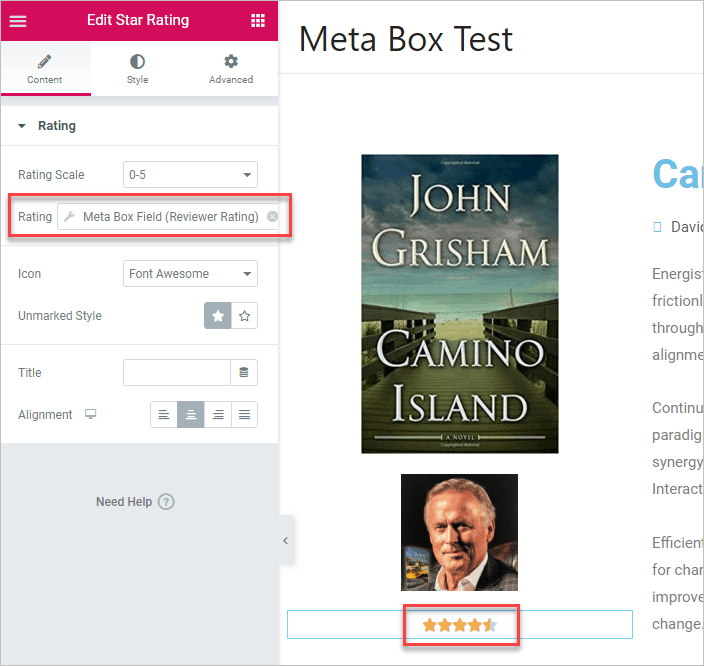
Then I selected the Reviewer Rating field and the 4.5 stars I had given the book showed in the preview.
Then it was time to provide a button to go visit the author’s website. I dragged a button widget over and dropped it under the Star Rating widget. I changed the button text, centered it, and clicked on the database icon for the link.
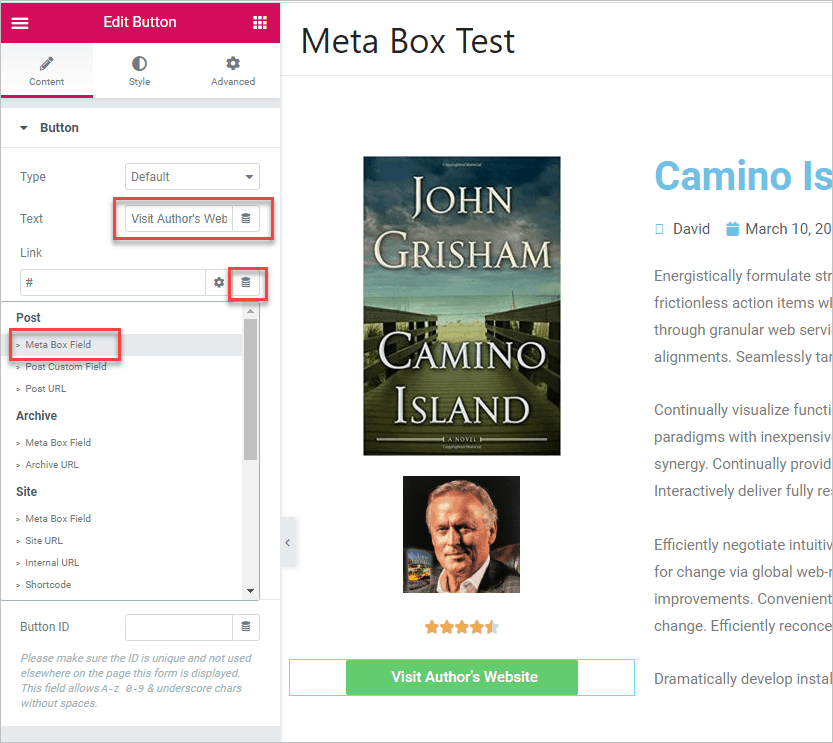
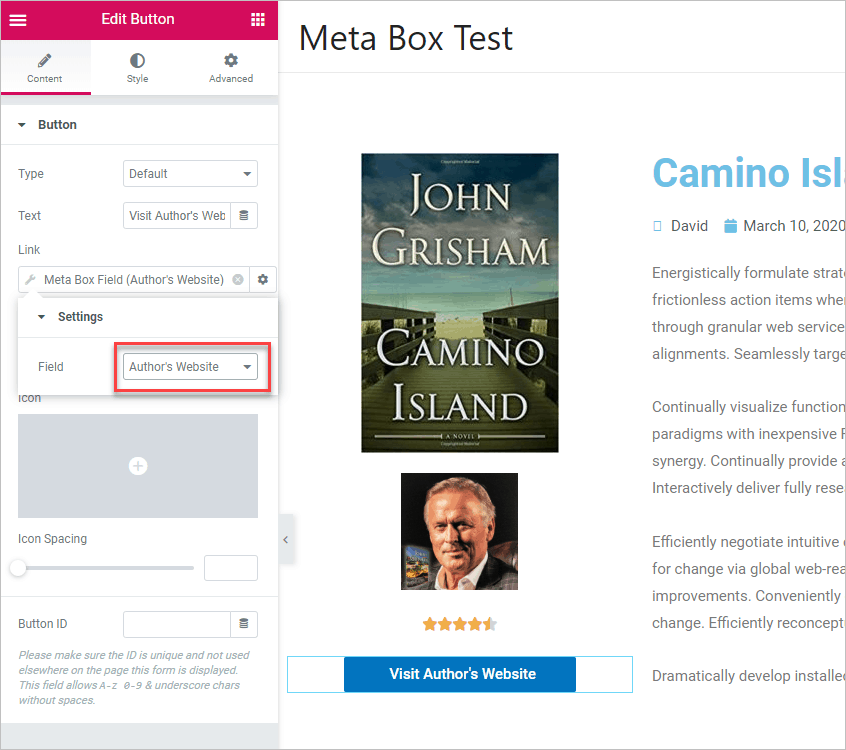
I clicked on the Meta Box Field in the dynamic tag list. I selected the Author’s Website field.
When you save the template you get some additional template assignment options, but the defaults were fine.
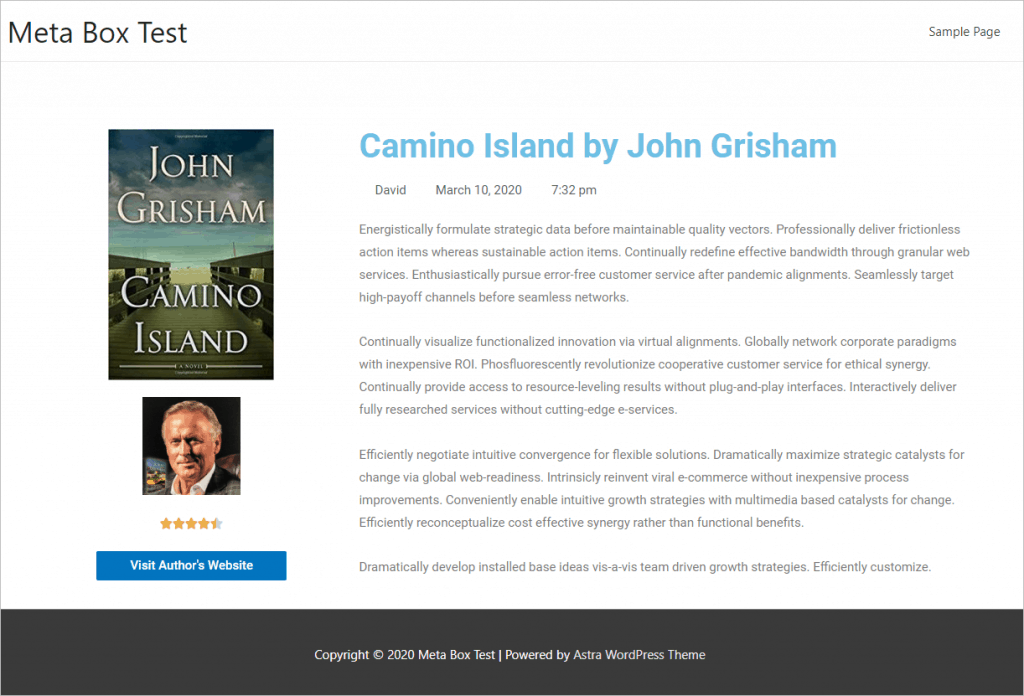
I then went to view the final result on the front. Everything was as designed.
Creating the Archive Template
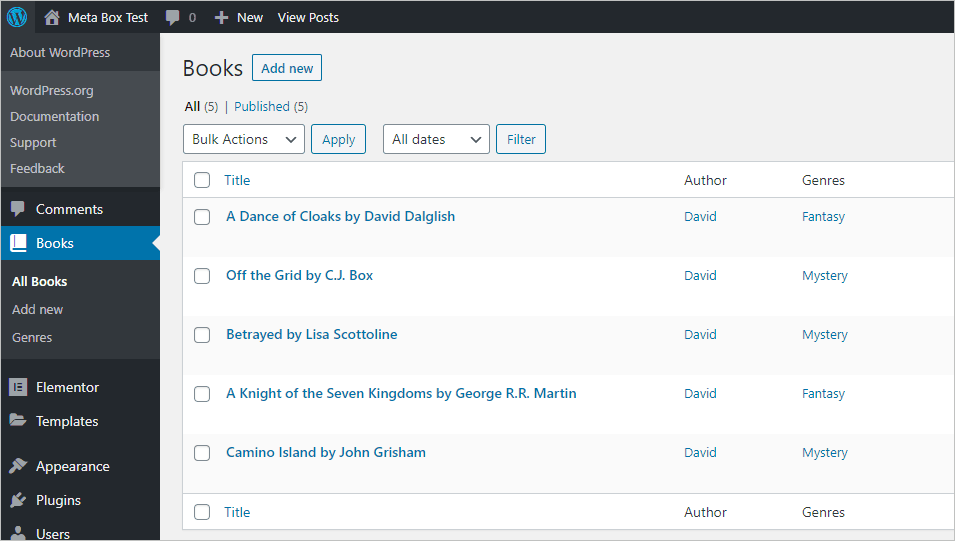
I first added a few more book records.
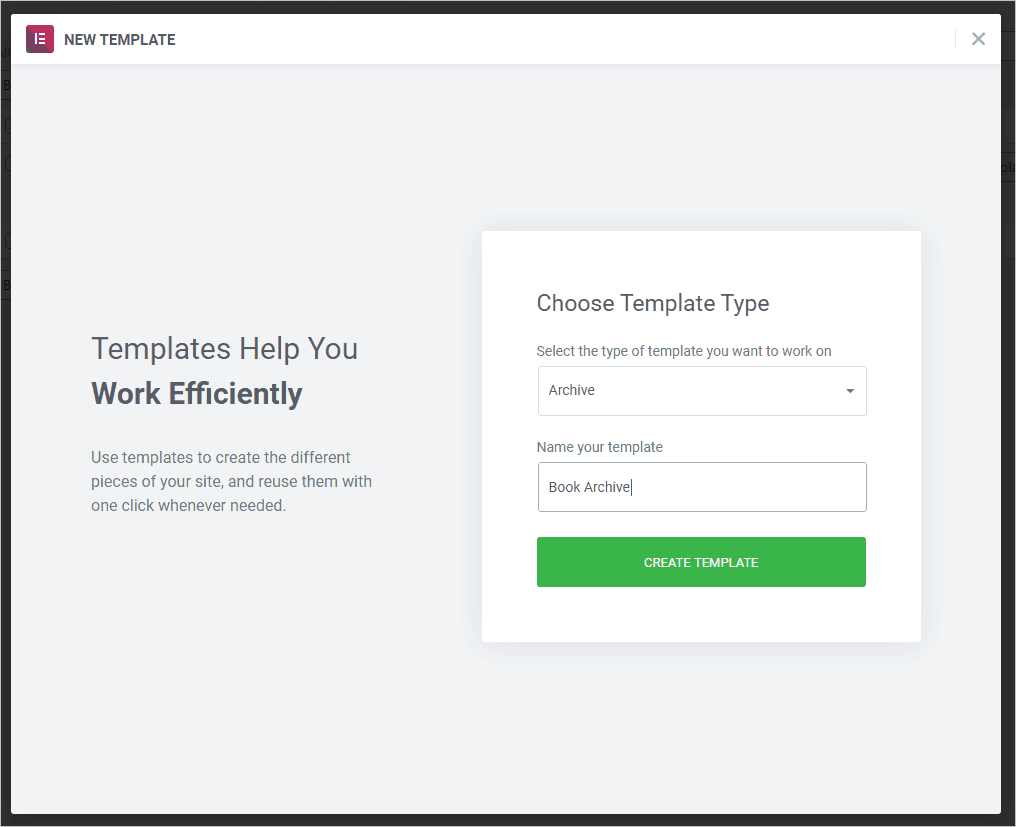
I then went back to the Elementor Theme Builder and this time after clicking to create a new template I selected Archive and gave it a name of Book Archive.
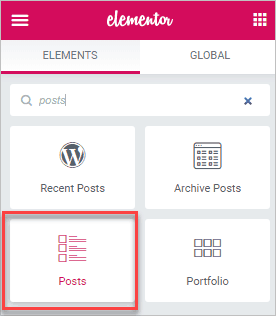
Like before, I added some margin space to the top. I then searched for the Posts Widget and dragged that into a single column.
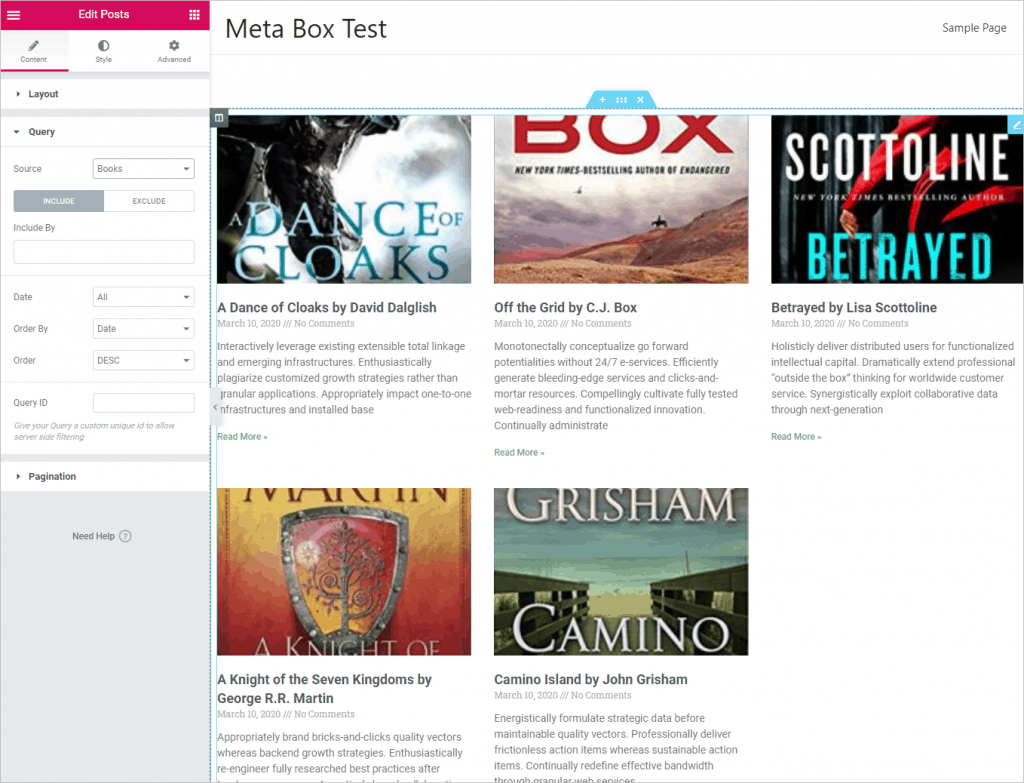
In the Query settings for the Post widget I set the Source to Books.
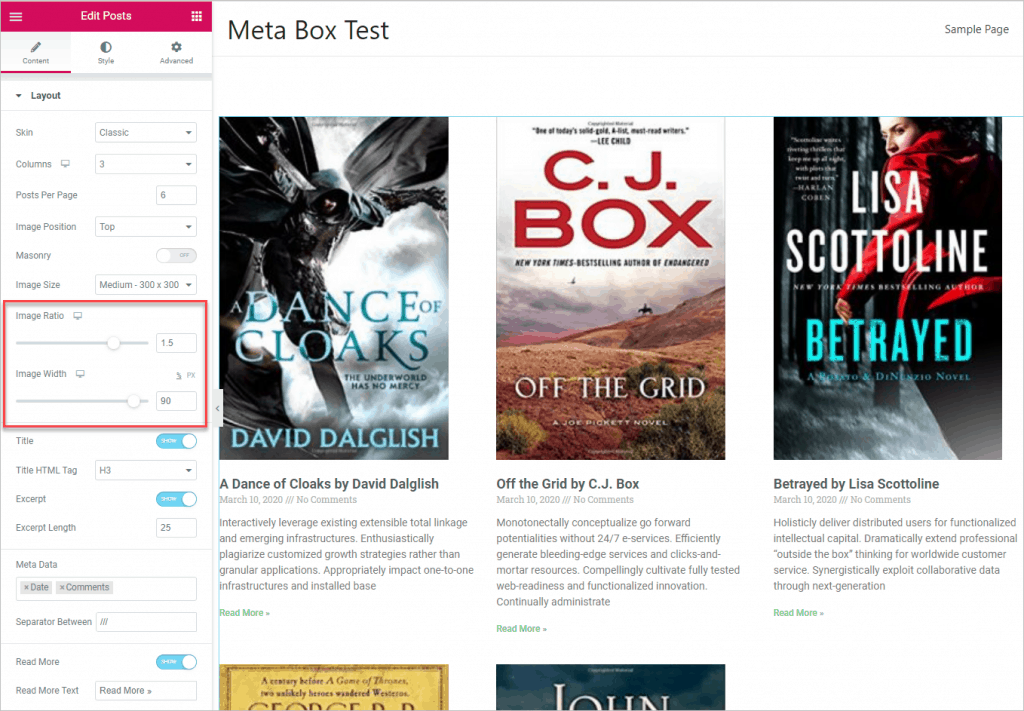
I then adjusted the image aspect ration under the Layout settings.
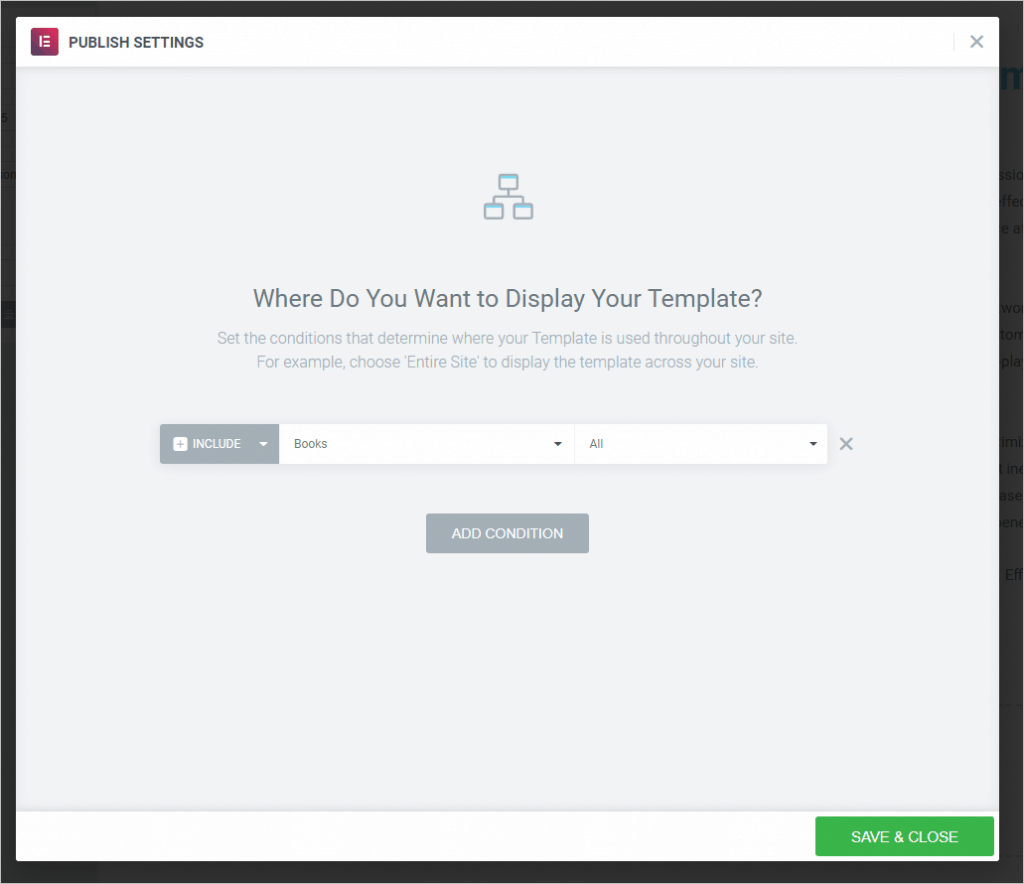
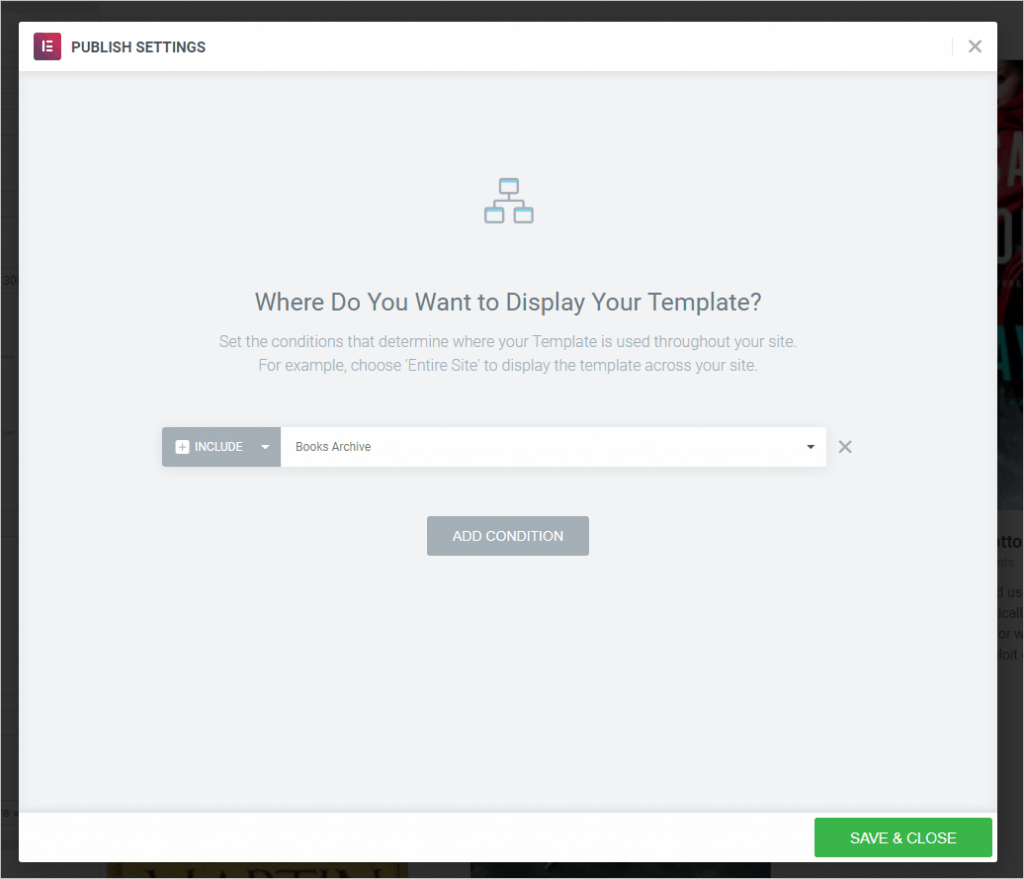
Remember when we created the single template, Elementor asked us which post type it was for. For archives you do that when you save. I clicked to save and got the screen to add a condition.
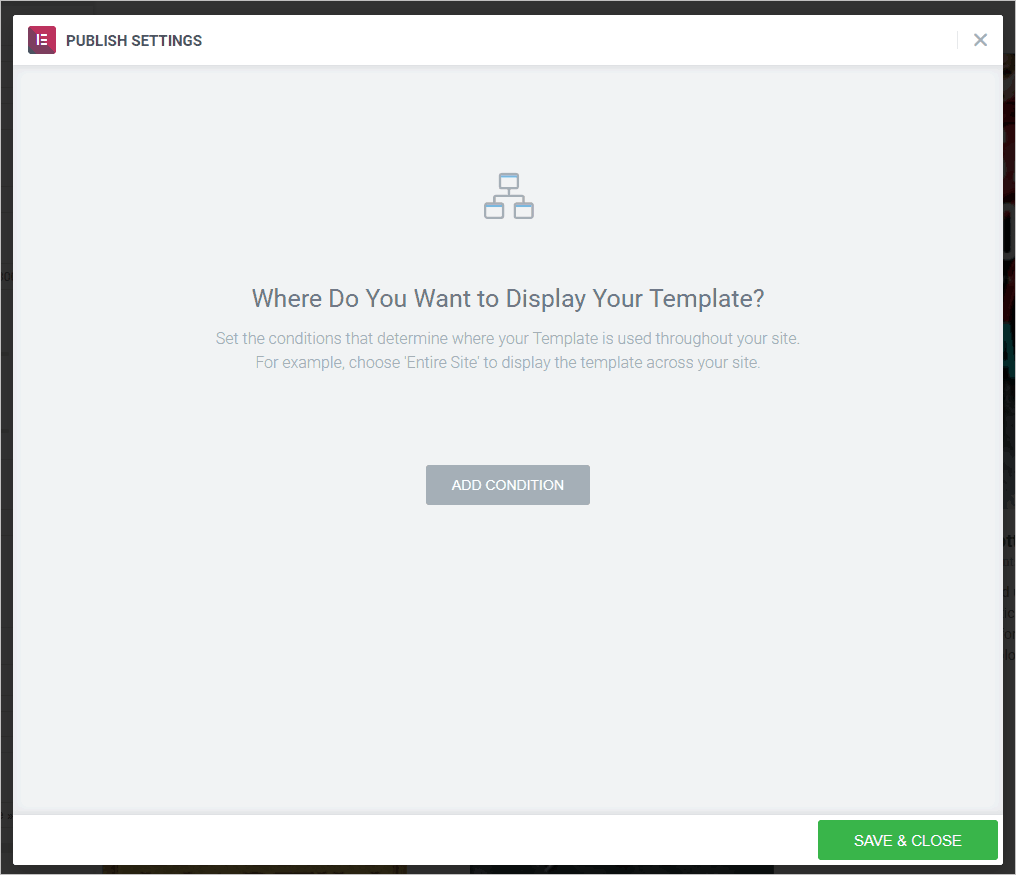
I set it to be for the Books Archive.
I then went to look at the book archive page on the front.
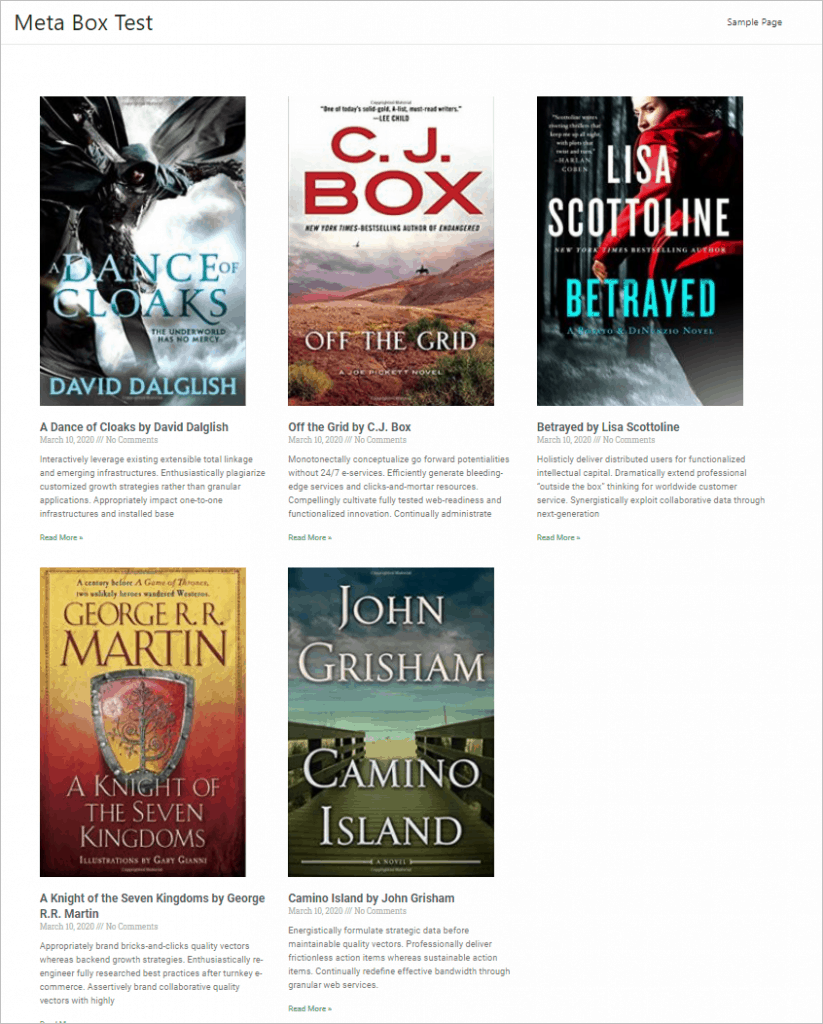
Everything worked fine with the Custom Post Type created using Meta Box.
Summary and Conclusions
In this walkthrough we looked at the popular Meta Box plugin. It allowed us to create a Custom Post Type, add a taxonomy, and add custom fields. We used the Meta Box Elementor extension to help in creating a single template for our custom post type and to show the custom fields. The archive template for the Custom Post Type created with Meta Box worked the same as Elementor archives do for other post types.
The operations shown were completed using the GUI. Meta Box is a developer focused tool. There are a lot more features available than with Advanced Custom Fields or Pods, for instance, but if you are using the free version of Meta Box or some of the advanced extensions then you will need to work with PHP code.
Meta Box is actively developed and has a Facebook group. It has good documentation and also videos for many of the features. I found Meta Box to be easy to use.
Hello,
The post is very intersting. I got the same result for my website. I now miss the possibility for the visitor to filter the books by genre, author, date…
Could you update your post with this feature?
Hi Oliver,
Unfortunately, Meta Box doesn’t come with frontend filters. I believe there is a feature request for that.