Review of the Marmot Pro Theme Package
Introduction
Marmot Pro is a new WordPress theme that is designed to work with Elementor. It is fully functional with either Elementor Core (free) or Elementor Pro. It is different than most Elementor themes because it includes an entire package, not just a theme. Marmot Pro comes with a theme, Elementor widgets, and third-party plugins such as Element Pack Pro. Marmot Pro comes with a number of free and pro full predesigned websites which can be easily imported from the theme’s dashboard. These aren’t just page templates. They are full sites much like a freelancer would create for a client. Also, one of its main features, which comes with the free theme, is the ability to create templates with Elementor and assign them to your header, footer, or content areas, in other words, a basic theme builder.
Please note: HQWebs, the company who makes Marmot , gave me free access to the theme. There were no requirements to do a review or promote their product. As always, I try to give an honest, balanced review.
Video Version
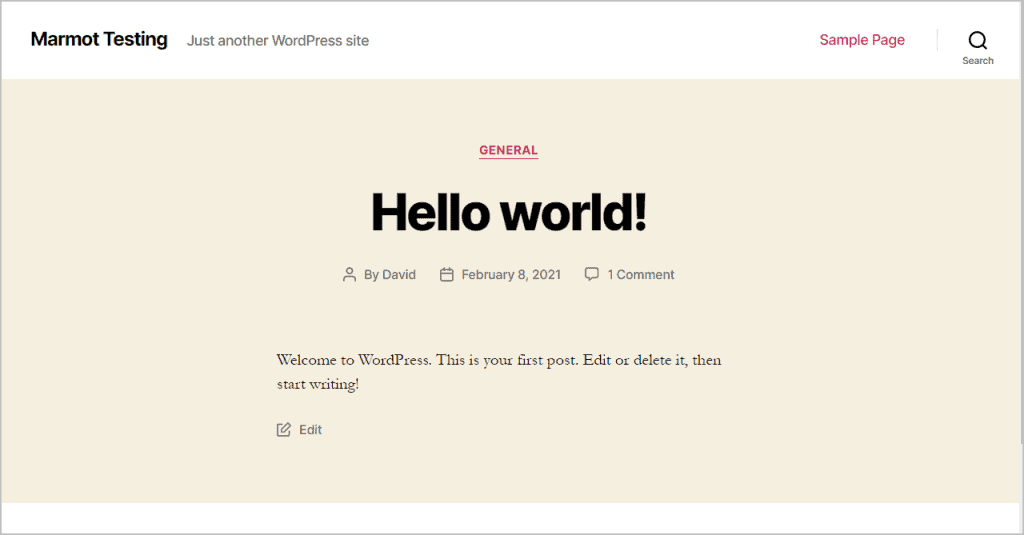
I setup a test site using the TwentyTwenty theme and installed Elementor free.
Free Version
Setup Wizard
There is a free version of the Marmot theme available in the WordPress theme directory and installing it is the quickest way to get started with Marmot Pro. Also, the free version is required and forms the basis for the pro version, so taking a look at the free version will be helpful.
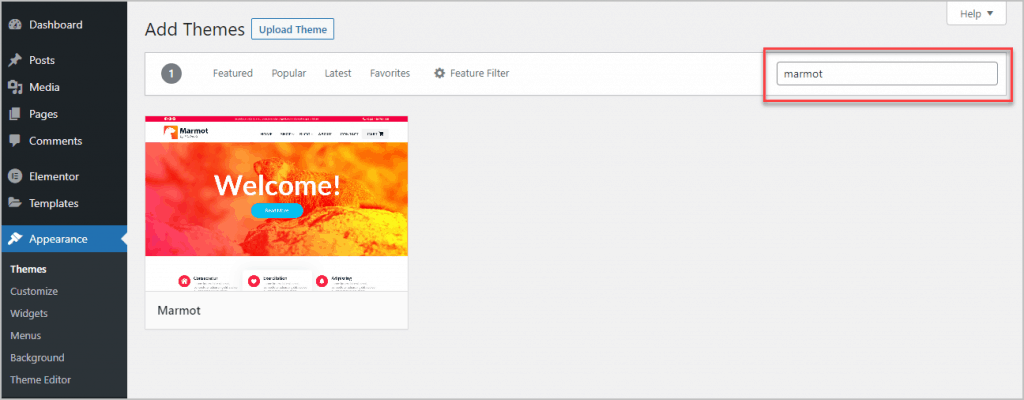
You install it the normal way by going to Admin, Appearance, Themes, clicking the “Add New” button, and searching for Marmot. Then click on the theme thumbnail, click the install buttons and activate it.
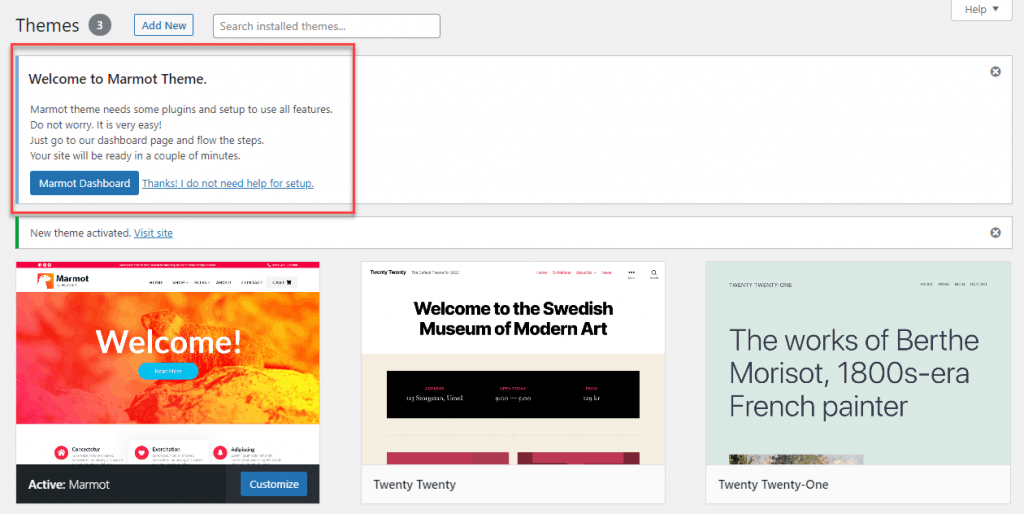
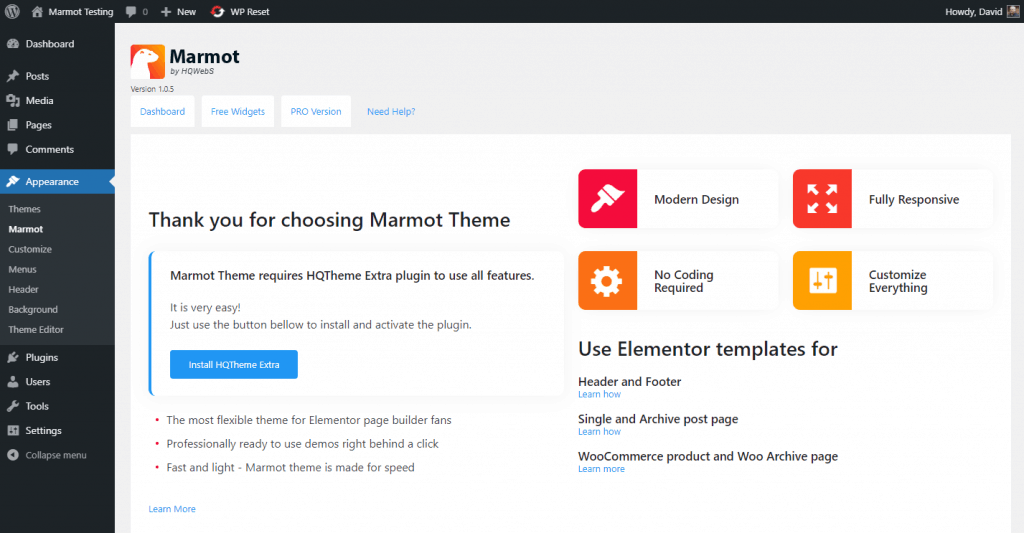
Once the theme is installed and activated, you get a welcome message that invites you to use the setup wizard. Marmot includes several plugins and a child theme. Using the wizard is the easiest way to get started.
When you click the Marmot Dashboard button you go to the dashboard, which is one long page with all of the options. There is a big button to install the HQTheme Extras plugin. This is the companion plugin that goes with the theme, and you will want to install it. Note that there are some help links on the right side for how to create Elementor templates to use with the theme.
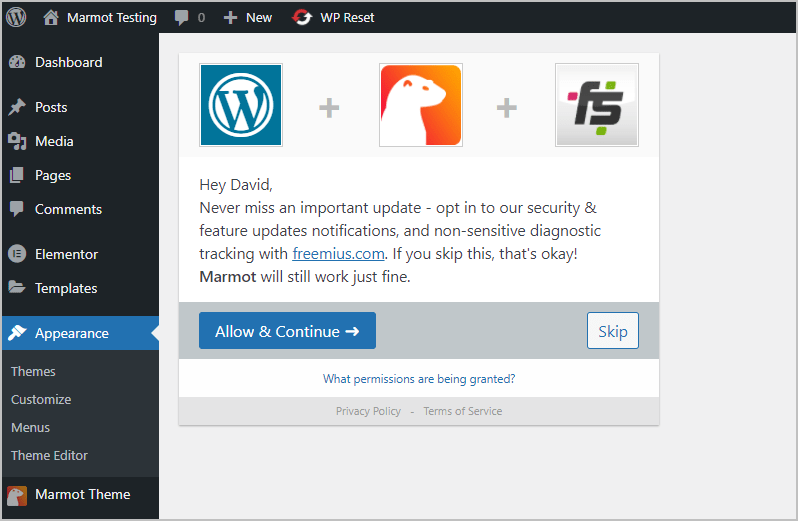
After you install and activate the HQTheme Extras plugin you come to a Freemius screen where you can opt-in to sharing basic information or you can skip the sharing.
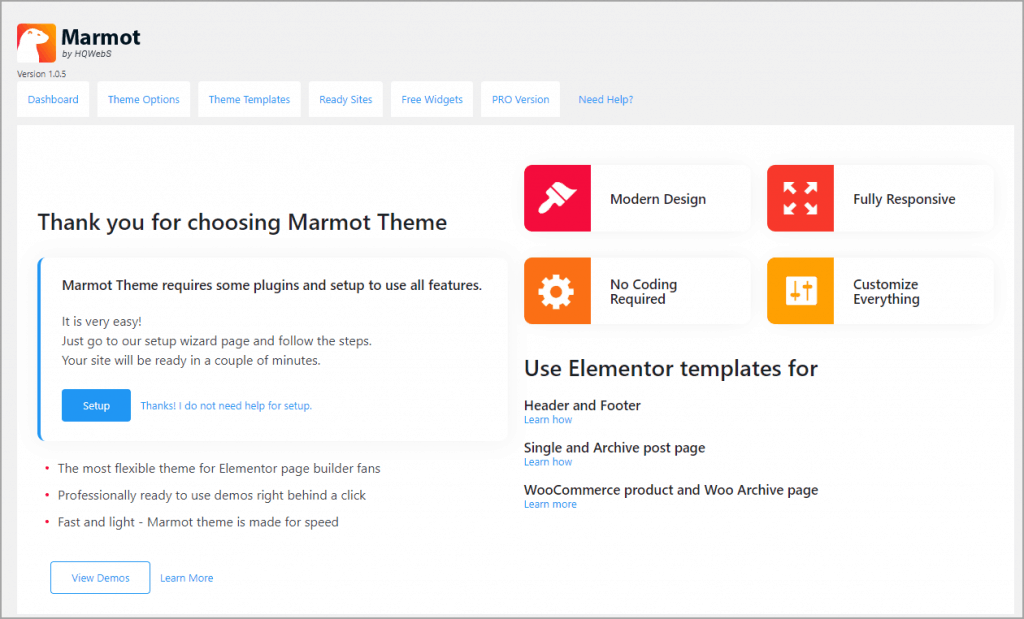
After you make your choice on the Freemius screen the wizard continues and offers you a Setup button.
When you click the Setup button then you go to a screen where you install the recommended plugins. I had already installed Elementor, and we installed the HQTheme Extras plugin in the step above, so you see there was only the HQ Widgets for Elementor plugin left to install. This plugin provides the Elementor widgets you will need when creating your theme templates. In also includes widgets for creating your WooCommerce templates.
There is also the option at the top to download the child theme. If you want to use the child theme then you can download it and upload it on the Appearance, themes page. When you click the blue Install button for any of the plugins that you don’t already have installed, then the plugin installs in place and you don’t need to leave this screen. These three plugins are required, so go ahead and install them.
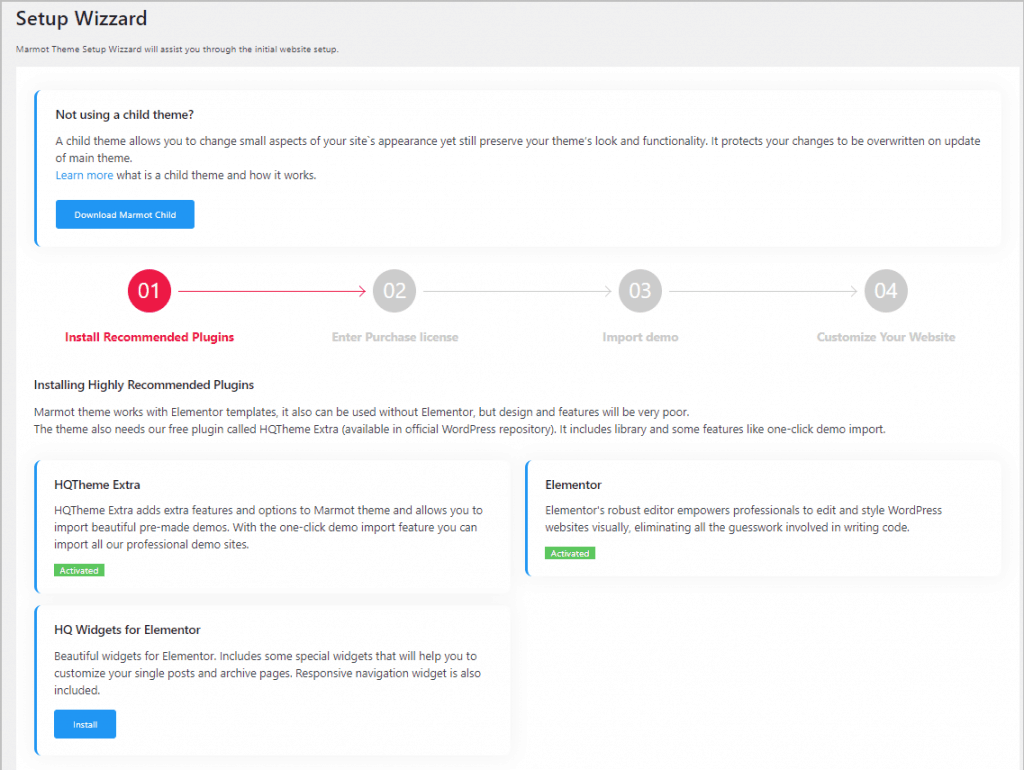
After installing the plugins you get a Next Step button. After you click the next step button at the bottom you go to an upgrade your plan screen.
There is an Upgrade button, or if you already have a license then you can click the link to enter your license key. If you click the Upgrade button then there is a screen where you can purchase Marmot Pro directly from within the WordPress dashboard. We will come back to this further on after looking at the free version. Note that you cannot import any demos here without upgrading. We will look at the free demos next.
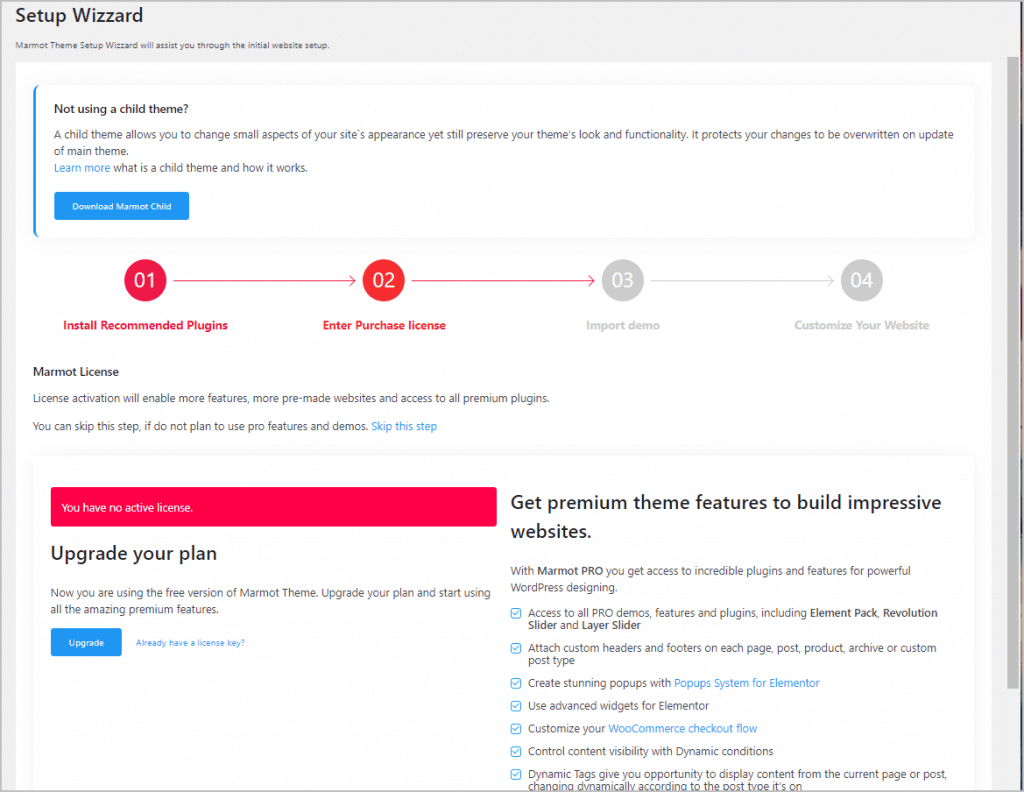
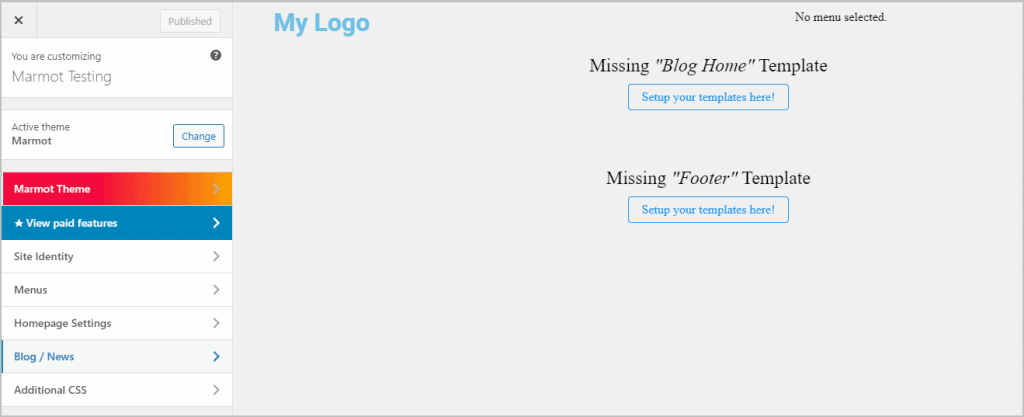
If you only want to use Marmot free then you can click the last circle that you want to Customize Your Website. When you do that then you see a link to the Documentation.
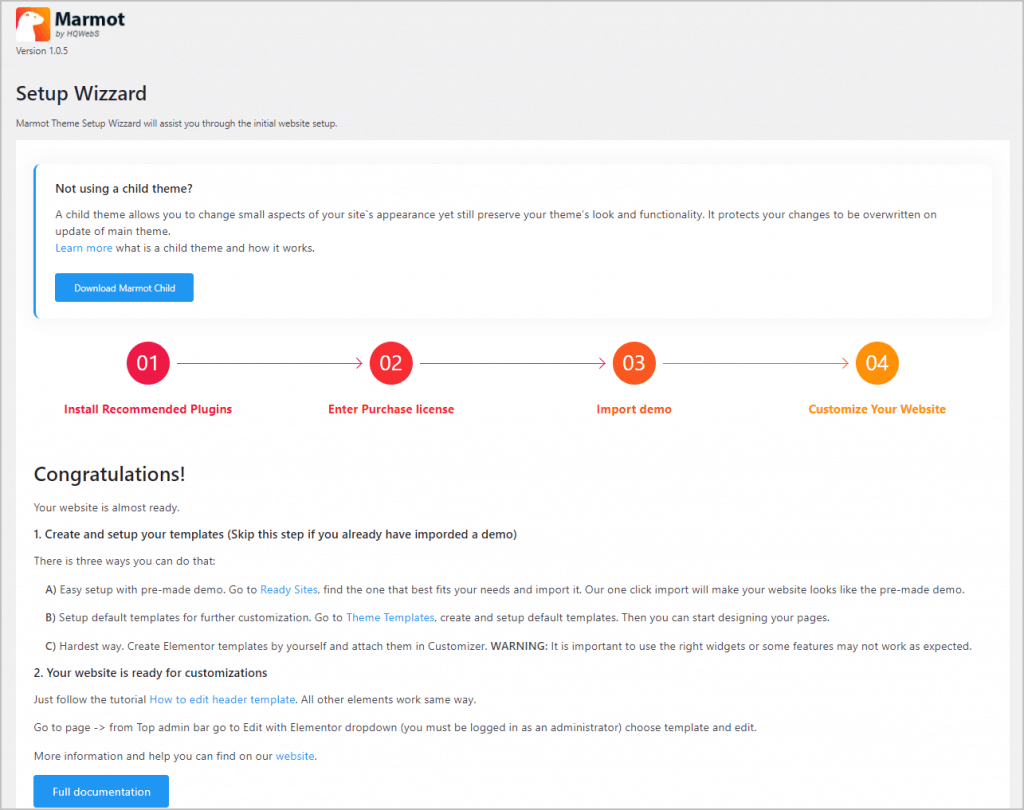
This screen is telling us that the next step is to assign from templates. The easiest way to do that is to install a Ready Site, or you can use a default they supply to use as a base for customizing the templates yourself. Of course, you can also just create the templates from scratch. We’ll do these things, but first let’s look at the new menu options we have.
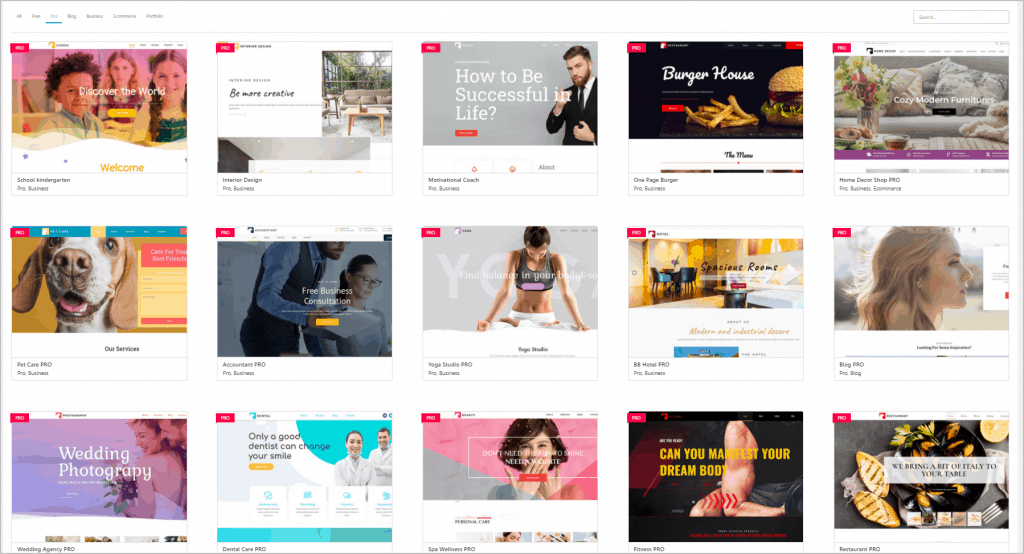
Free Ready Sites
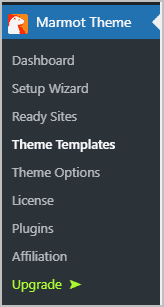
Under the Setup Wizard menu item is the Ready Sites menu. Here you can access the pre-designed sites. There are several filters. Here I’ve selected to see all of the free sites and note that there are currently 8 available.

When you click on one of the site then you get a screen where you can preview the site and some import options. I was able to click on the menu links of the preview and see other pages. On the left are the import options.
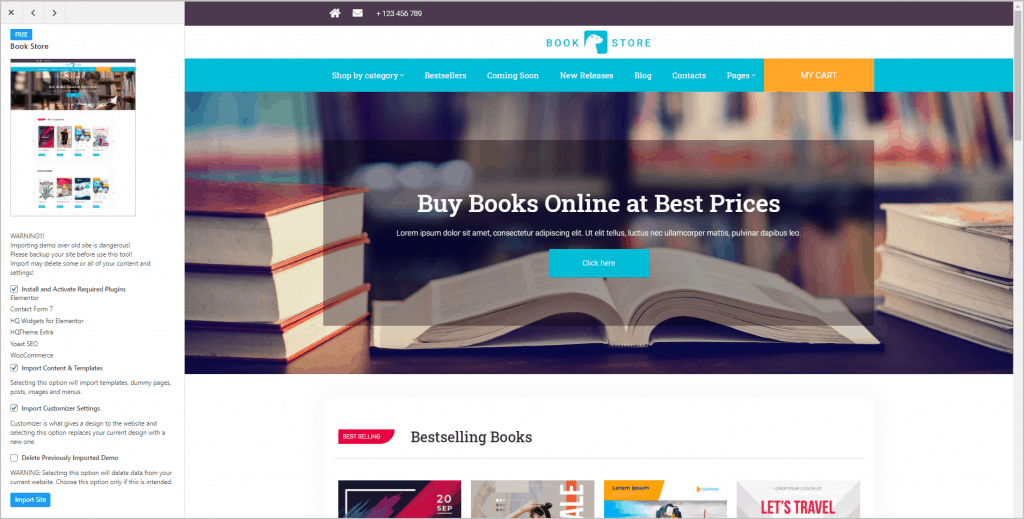
I had selected the Book Store site to check. The first import option is to install and activate required plugins. These are all free plugins from WordPress.org. We already installed a couple of them, but Contact Form 7, Yoast SEO, and WooCommerce will also be installed. The next option is to import the demo content and templates and then an options for the Customizer Settings. The final option is to Delete Previously Imported Demo. When preparing the review I tried that and it worked — I was able to install a demo, take a look, and then install a new one and removed the old one at the same time. At the bottom of the left panel is a button to Import Site. I’m going to import a premium site later on, so we will come back later to see this process in action.
Theme Templates
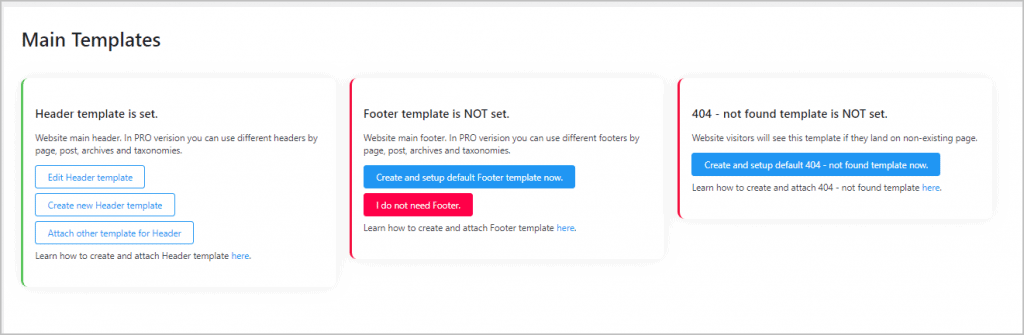
As mentioned in the introduction, one of the main features of Marmot is that it includes a theme builder. This screen gives you an overview of the template areas where you can see the template that have been assigned.
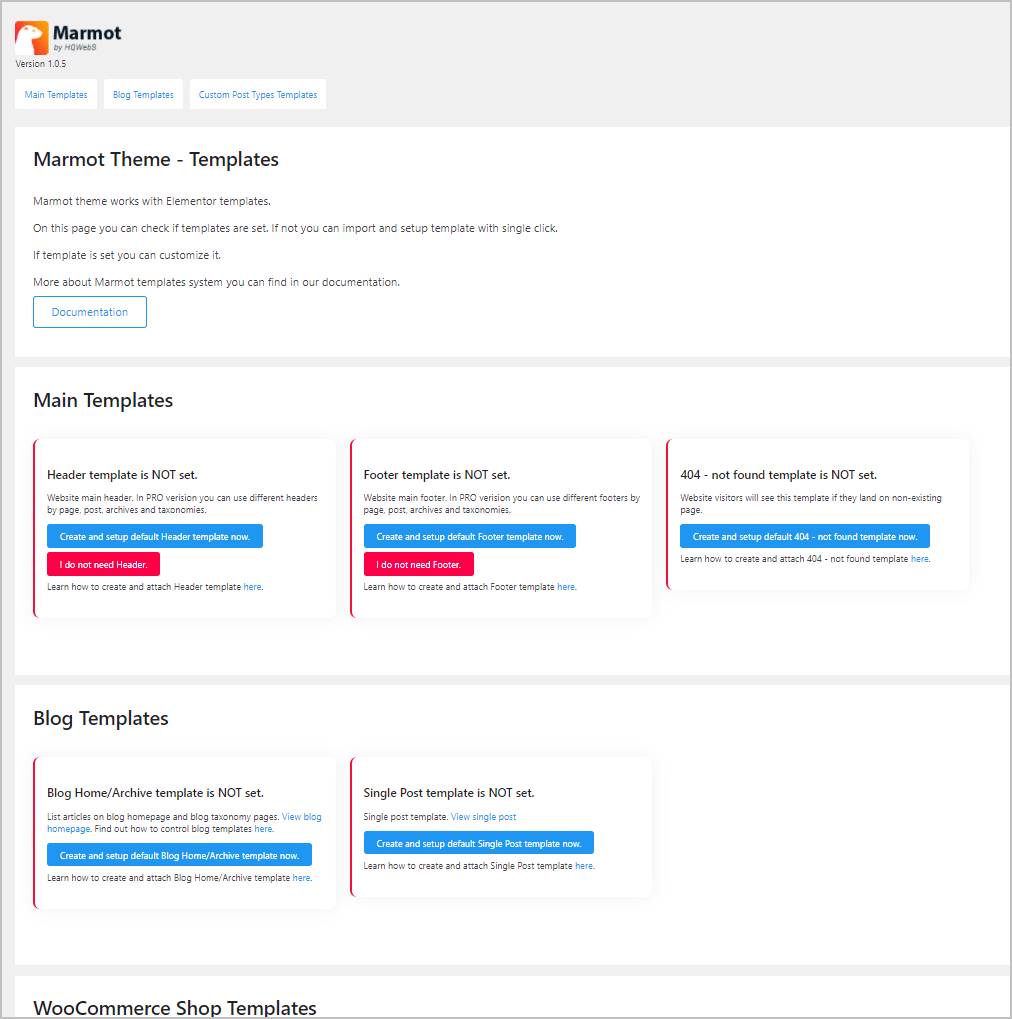
As mentioned above, the easiest way to get started is to import a Ready Site, but the theme builder features are pretty powerful so some users will want to create their own, or need to create custom templates to match a design specification.
So that you don’t have areas without a template while you are building, you can click on the blue buttons and a default starter template will automatically be created and assigned for that area. I clicked on the one for the header template and got this screen.
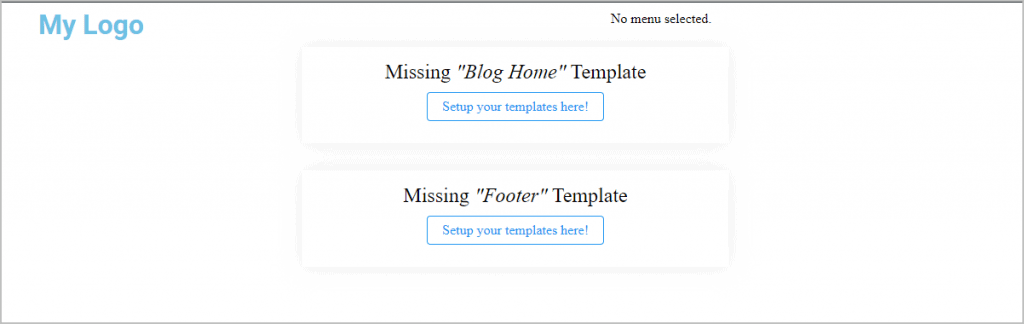
If you are not sure about creating templates, you can use these are a starting point. Here is a screenshot of the front and we can see that this starter header has some placeholders setup.
It is up to you how you want to get the templates setup and assigned. Now that you see how to add a start template, further on we will create some from scratch and also walk-through importing a Ready Site.
Theme Options
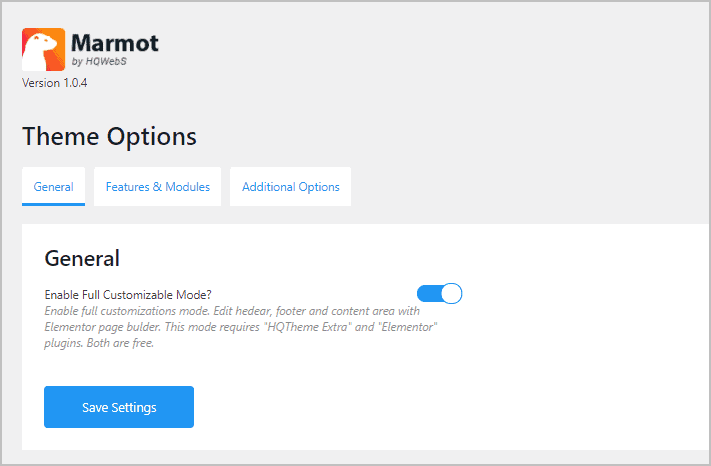
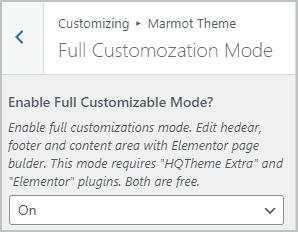
There are several tabs with theme options. The General tab has a toggle for enabling full customizable mode. My understanding is that this toggle turns on the basic theme builder functionality.
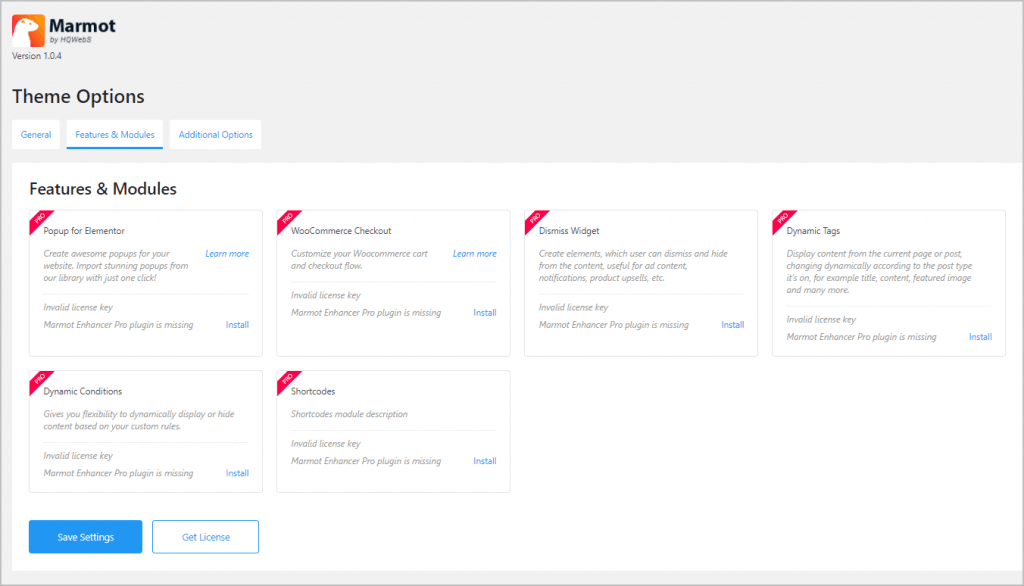
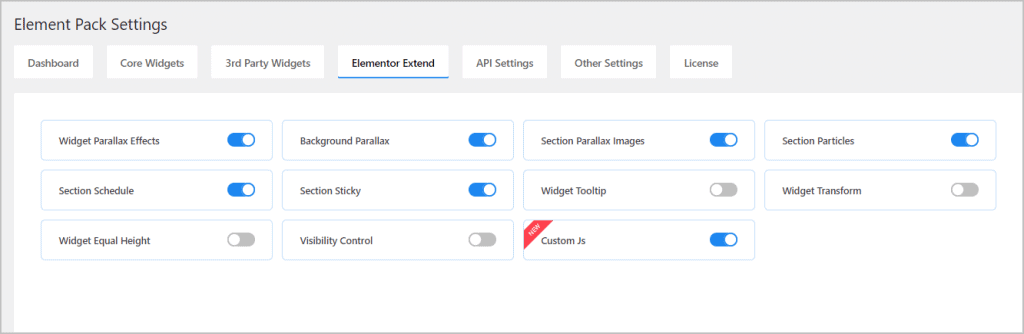
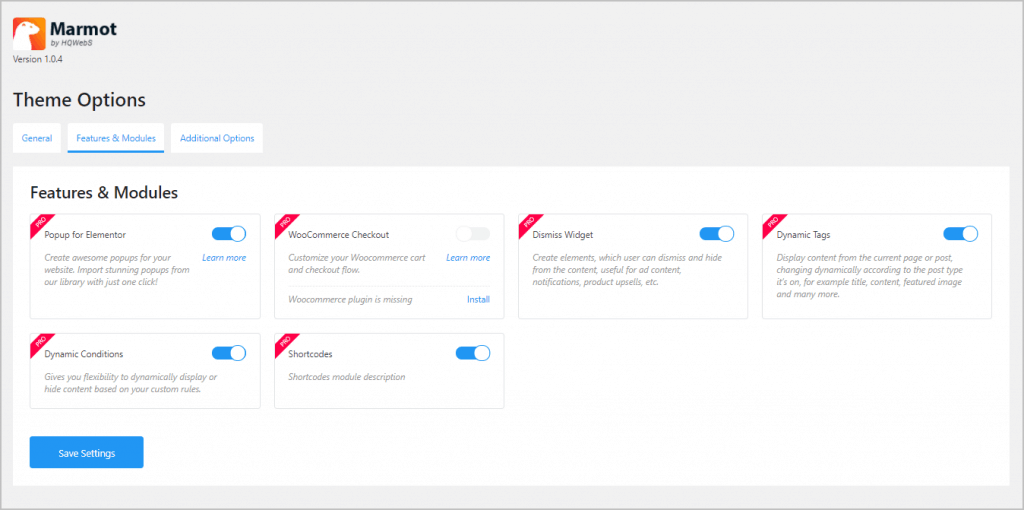
The Features & Modules tab is where you can toggle on or off pro features.
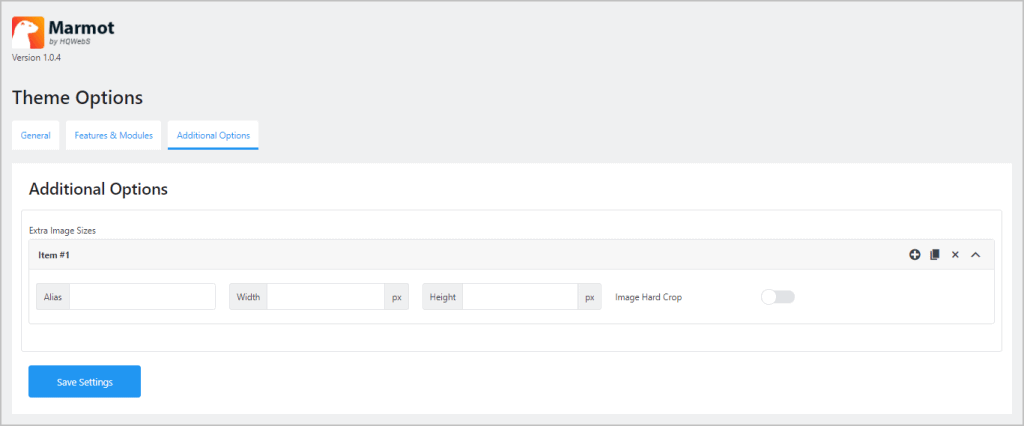
The Additional options tab provides a place where you can set custom image sizes, in case you need to do so.
Plugin Menu
This menu item provides a page where you can see the recommended plugins. Some of them come with pro, while others are free plugins from the WordPress plugin directory.
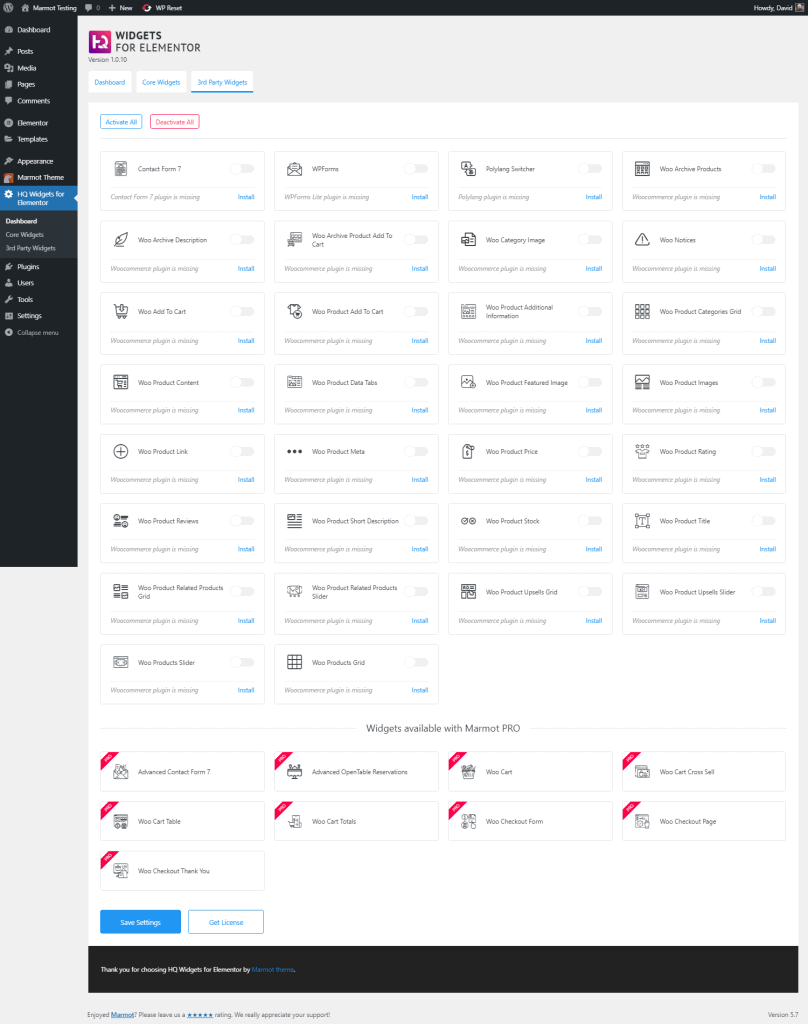
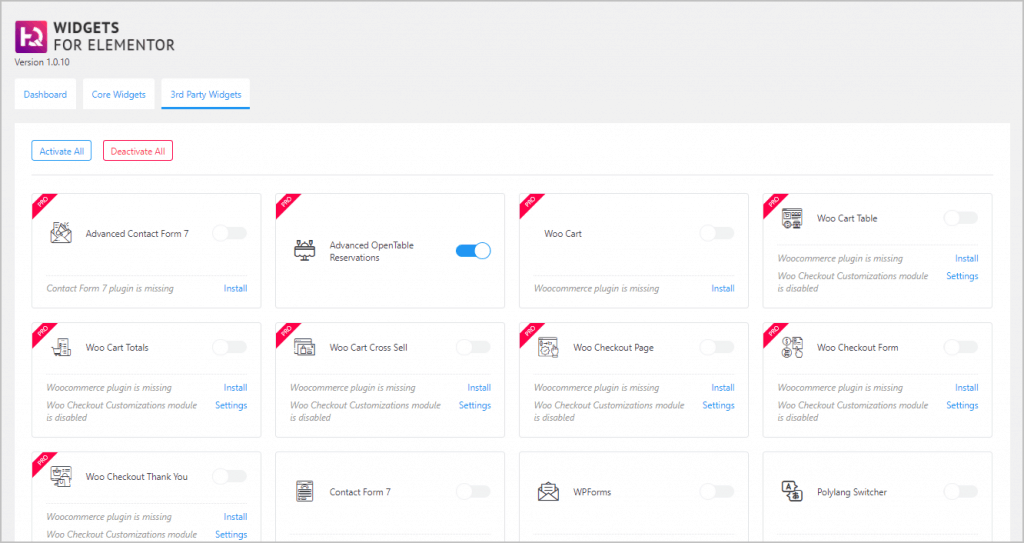
HQ Widgets for Elementor
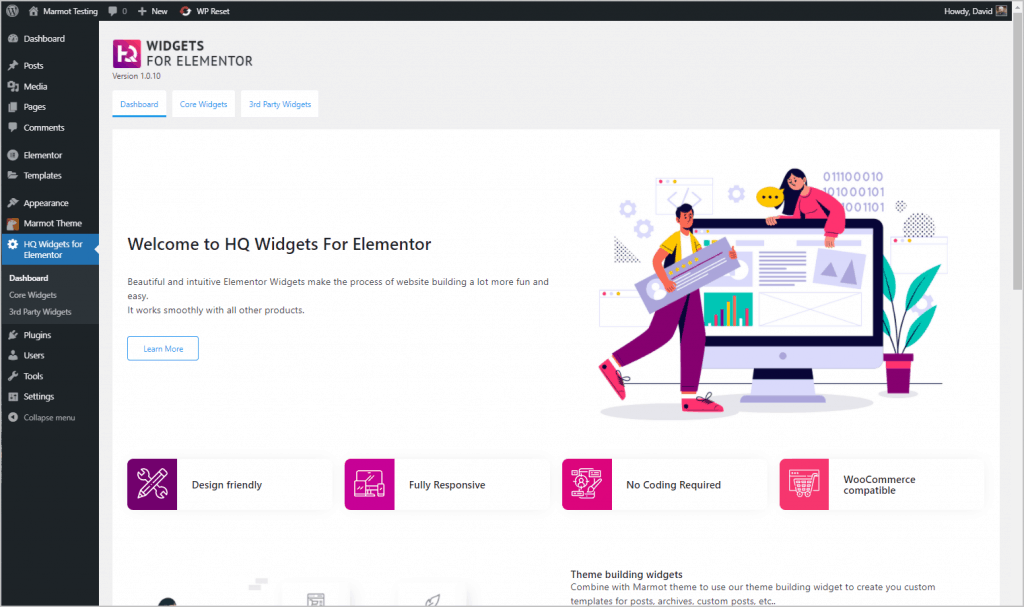
During the setup wizard we also installed the HQ Widgets for Elementor plugin. It also adds some new menu items. These menu items are for the free widget addon from the theme author. The Dashboard screen has information and some links.
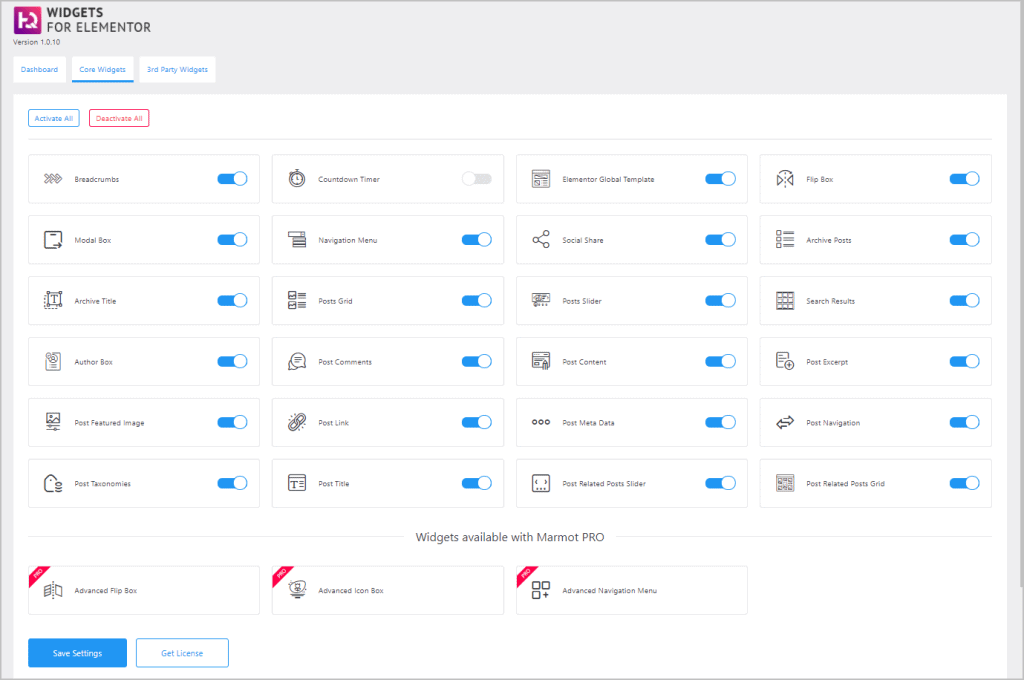
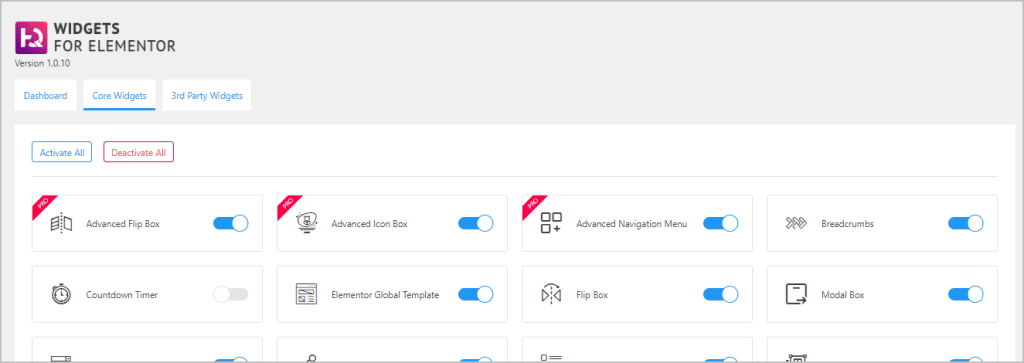
The Core screen lists the widgets that come with the plugin, most of them are used for creating the theme templates. You have the options to toggle on or off the ones you want to use.
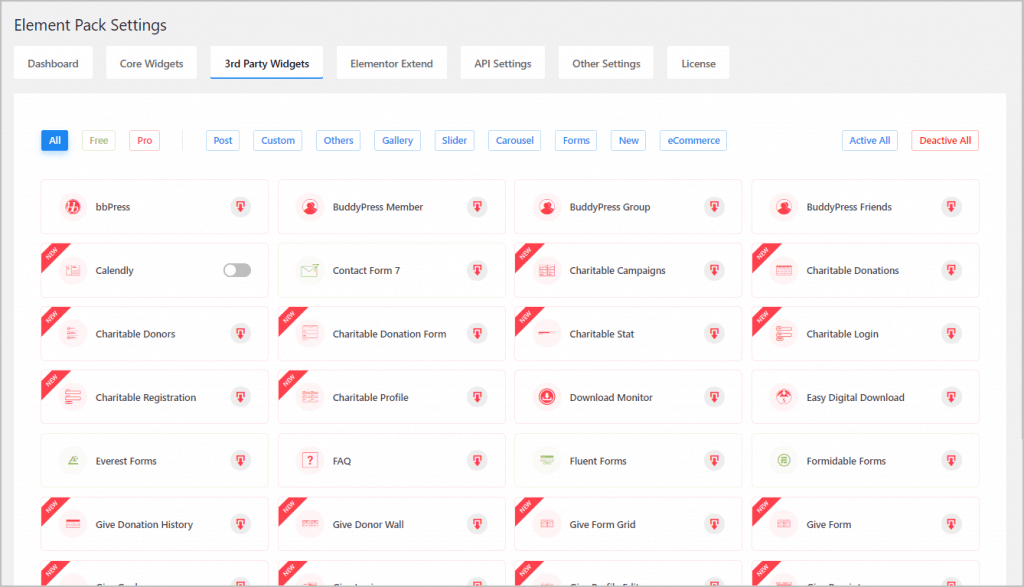
The Third Party Widgets screen lists helpers for working with other plugins within Elementor that come with the plugin. Some of them are for things like Contact Form 7 and others for WooCommerce.
The Marmot Theme Builder
The way the Marmot Theme Builder works is that it unlocks the ability to create templates for header, footer, single and archive pages.
For posts and categories you can have multiple templates that you use. There are places to assign these in the Marmot theme Customizer.
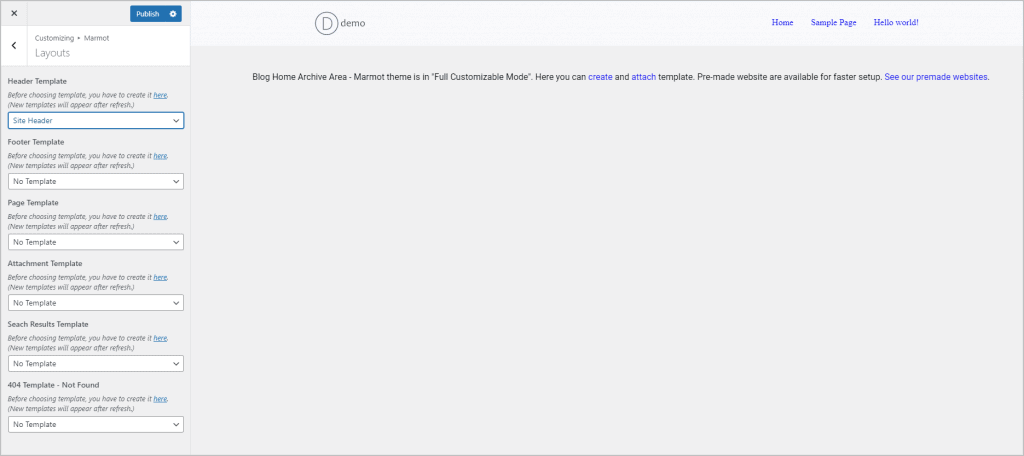
Marmot Theme Customizer
Lets take a quick look at the Customizer screens.
If you click on the red Marmot Theme panel then you get three subpanels.
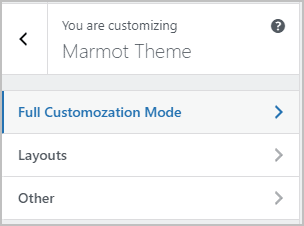
Full Customization Mode basically turns on the Marmot theme builder functionality.
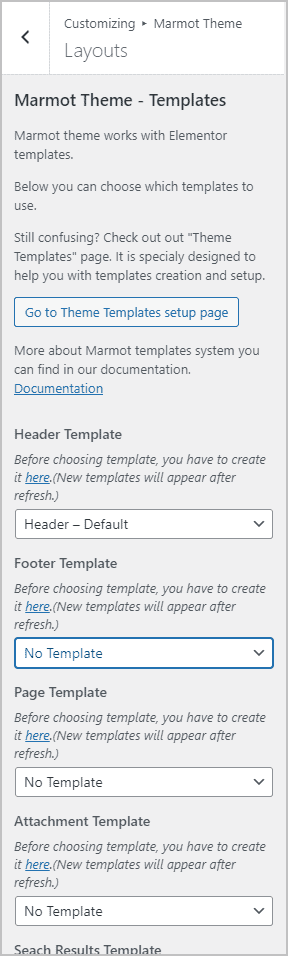
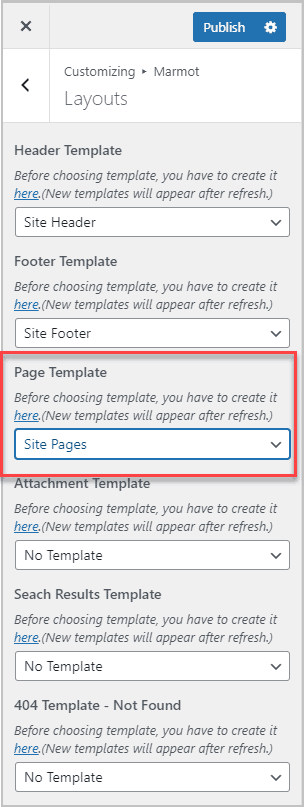
The Layouts panel is where you assign or change theme templates that will be applied to the areas of your site. When you create one by clicking the Create Template on the Marmot Templates page then it gives it a name with a dash and “Default” suffix. These get auto assigned here.
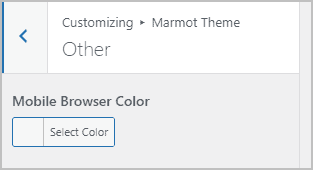
The Other panel has a place where you can set the Mobile Browser Color.
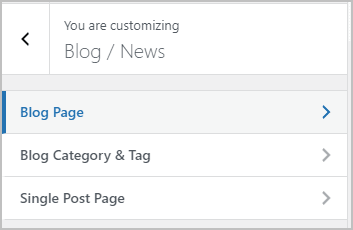
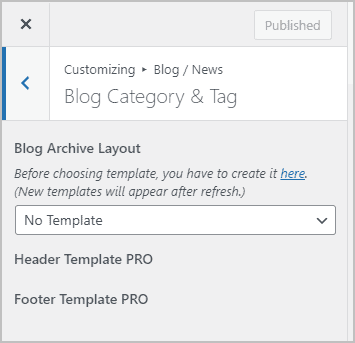
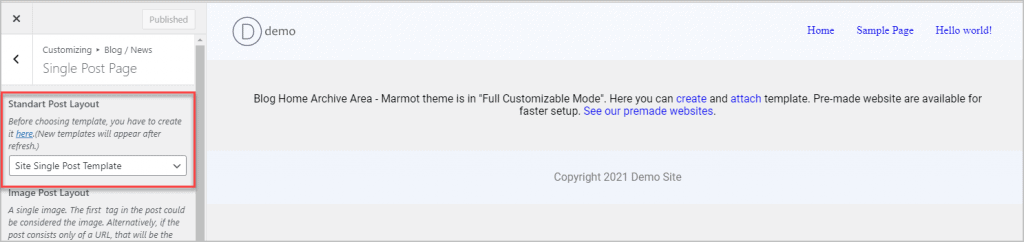
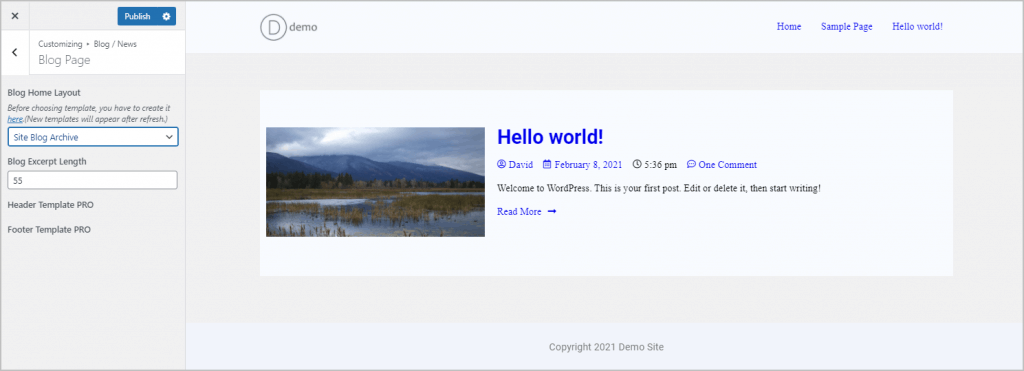
If you go back out to the highest level of the Customizer and click on the Blog / News panel then there are submenu items for Single Post, Blog, and Category archives.
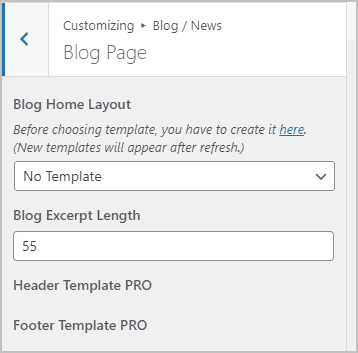
You can assign a template for the blog page here. Note that if you are using the pro version you can assign a custom header and footer here and in the other blog-related screens.
There is the option to assign a template for tags and categoy archives.
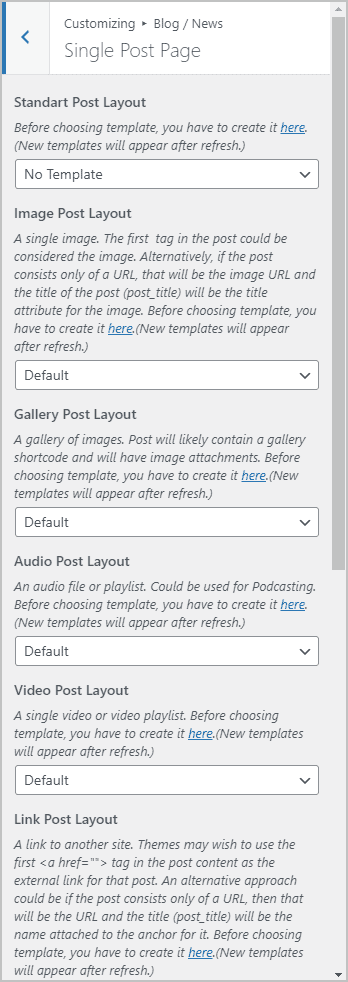
And then for the single post page. For the single post you can have a different template for the various port formats, which is cool as they would have different content.
Creating Header and Footer Templates
I’m going to go through the process quickly so you see the steps, but not worry about making things perfect.
In case you haven’t seen it or don’t recall, this is what the templates area usually looks like with only Elementor free installed. It allows you to create a template for a page or a section.

With the Marmot theme installed then we see the full range of options.

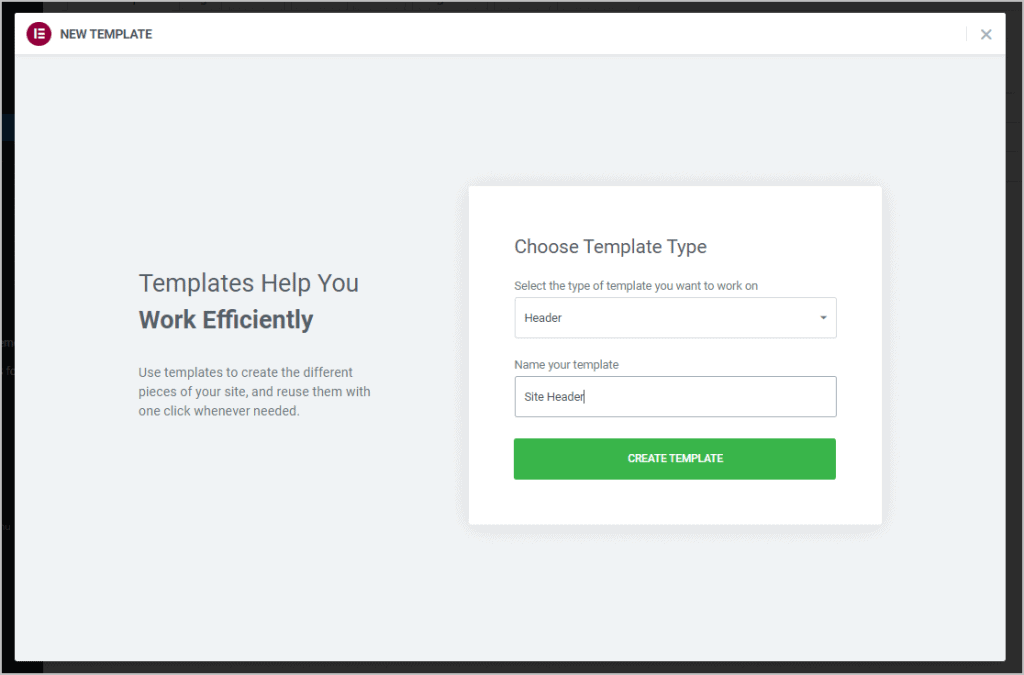
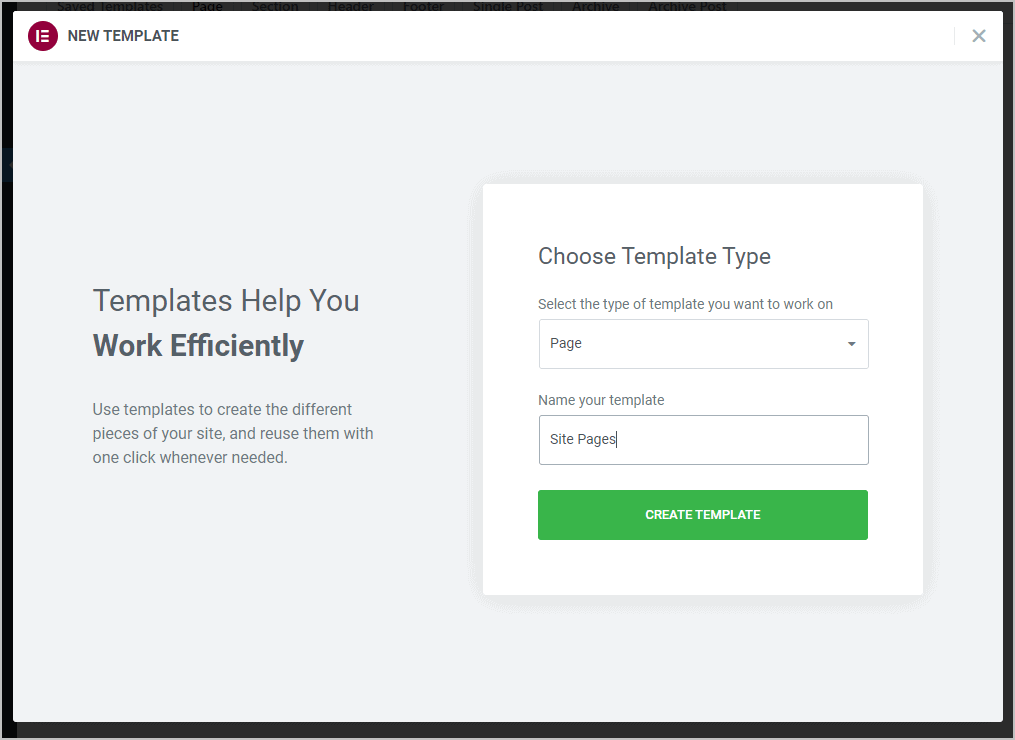
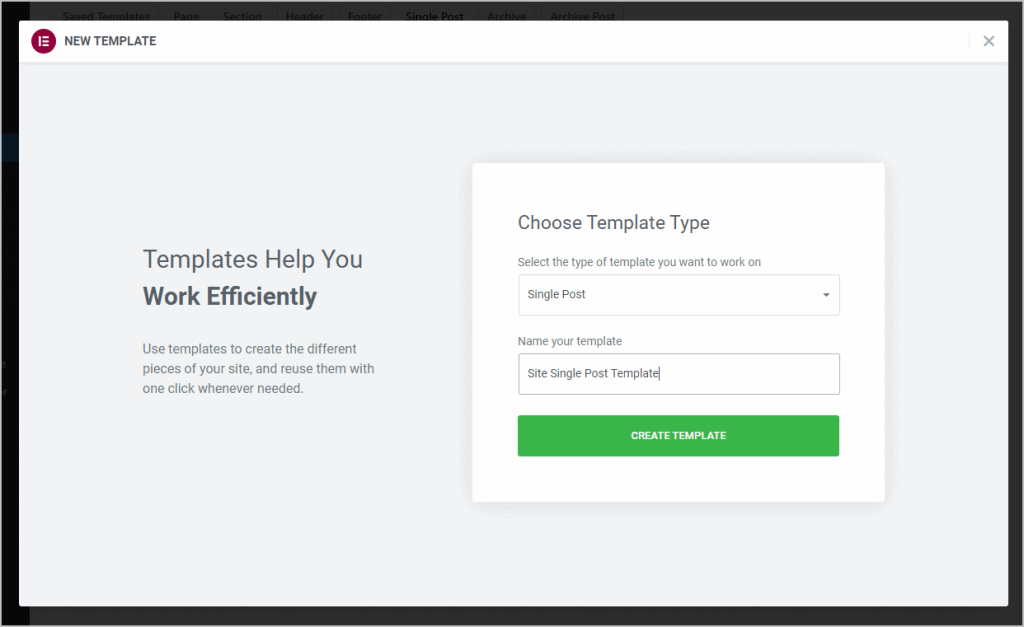
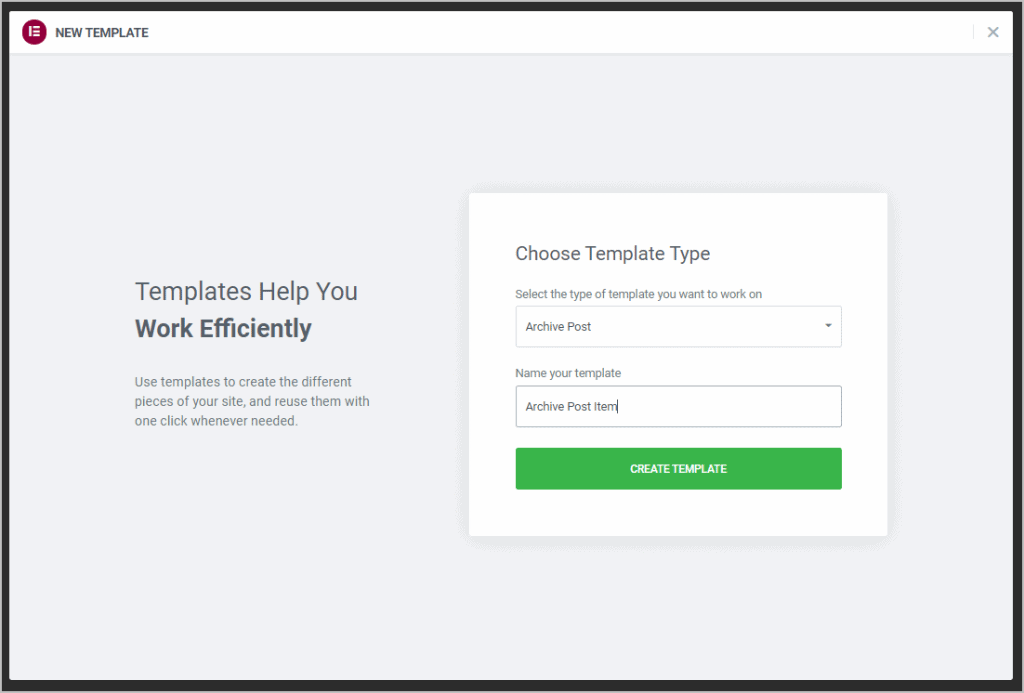
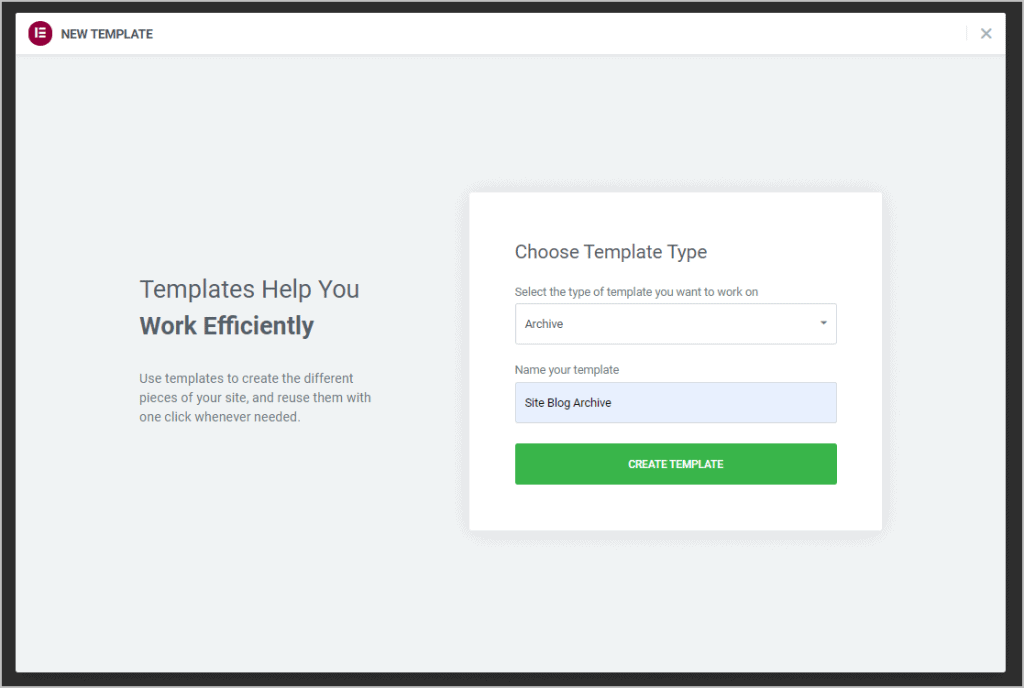
You can go to the Admin Templates menu and click on the Elementor Templates menu. Or you can click the link on the Marmot Theme Templates page, which will take you there. Once there, click the Add New button and select Header from the dropdown and gave it the name Site Header. When I clicked Create Template I was taken into the Elementor editor.
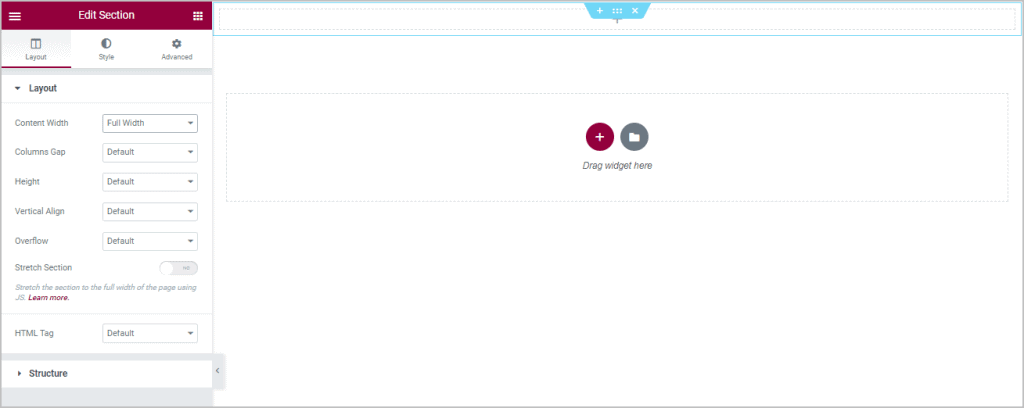
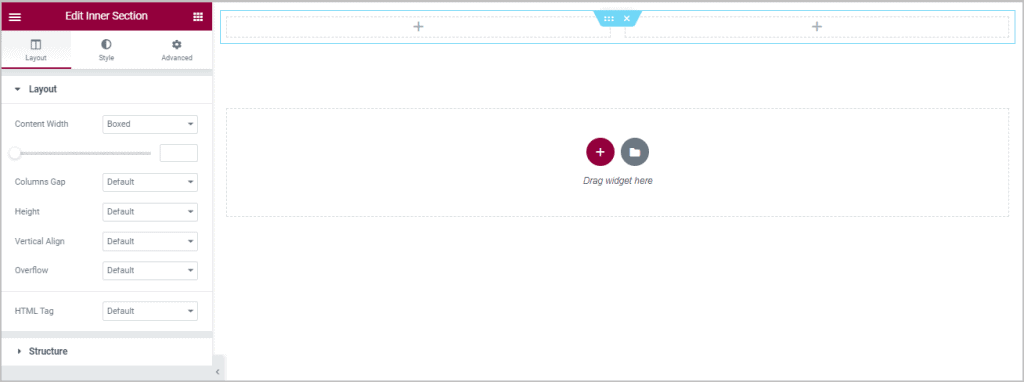
In the editor I started by adding a full width section.
I then added an Inner Columns widget that was set to content boxed. This gave me a left and right column.
I added an Elementor basic Image widget to the left.
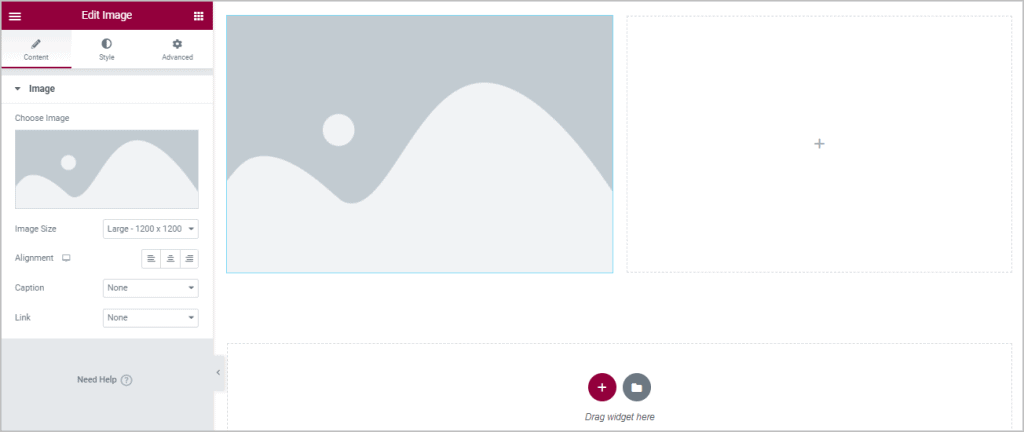
I then picked a logo image and left aligned it.
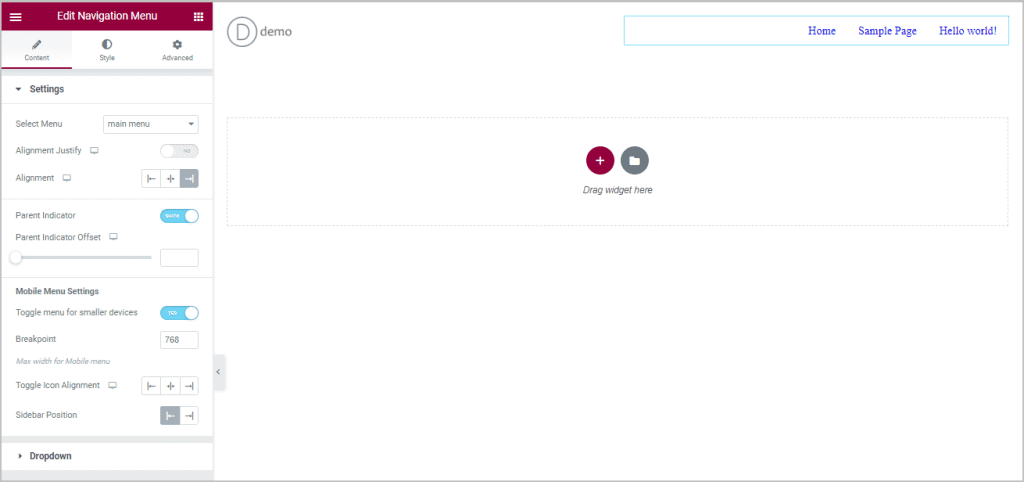
The HQ Widgets comes with a navigation menu widget. I added that to the right side and right aligned it. I realized I didn’t have a menu defined, so opened another tab and created one, saved and refreshed the page, and then picked it from the options on the left. If this was for a real site, I’d style the menu more, but this was good enough to give you the idea.
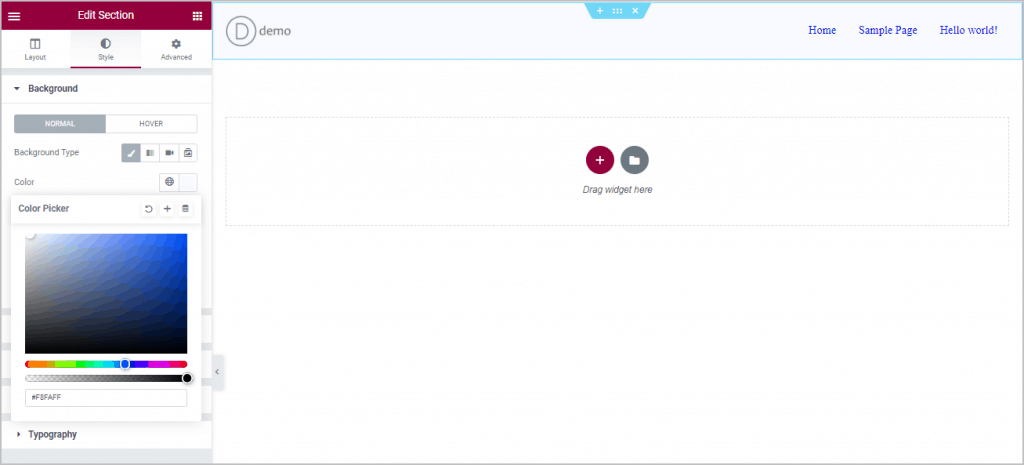
I then clicked on the section that was the container for it all and gave it a light blue background color.
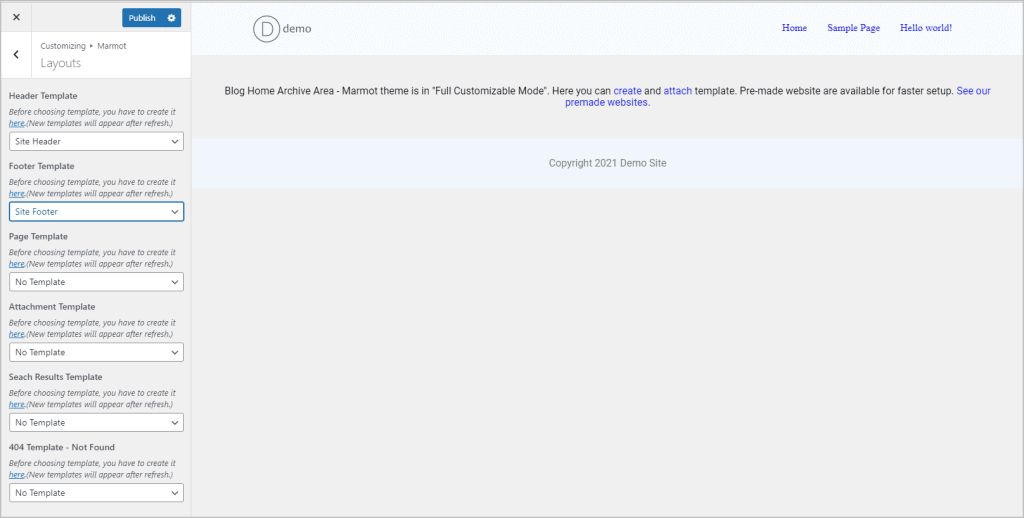
I saved and navigated to the Customizer where I went and assigned the new template. That was pretty easy.
I repeated the steps for the footer. I went to create a new template and assigned it to the footer area. I repeated the process of adding a full width content section, gave it a background color, and then put an Inner Columns widget in it. I deleted one of the columns, added a text widget, put in a copyright message, and centered it.
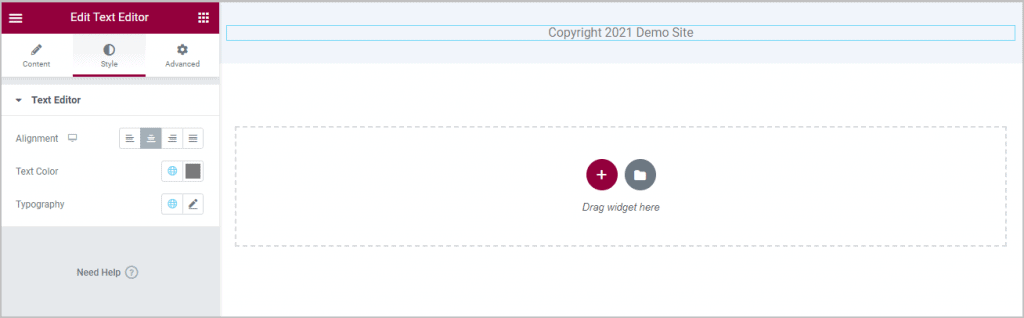
I saved and went to the Customizer where I assigned the footer.
Creating the Page Template
I went to the templates area and created a new template for all pages.
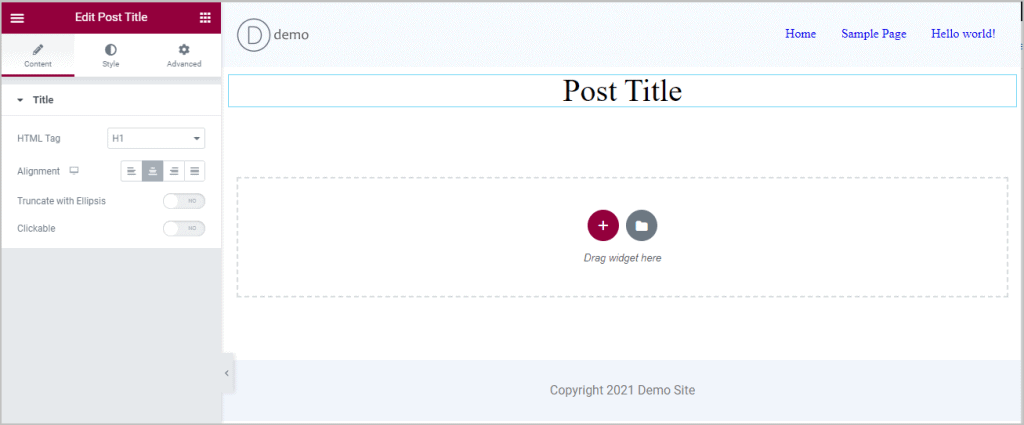
In the Elementor editor I added a single column section boxed. Into that I added the WQ Widgets Post Title widget and center aligned it.
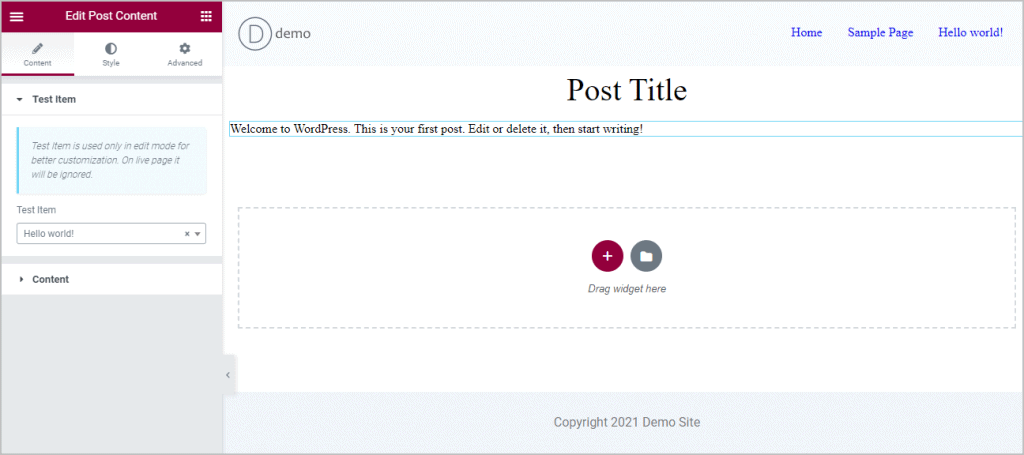
Then I added another section and added the HQ Widgets Post Content widget.
I saved that and went to the Customizer and assigned it.
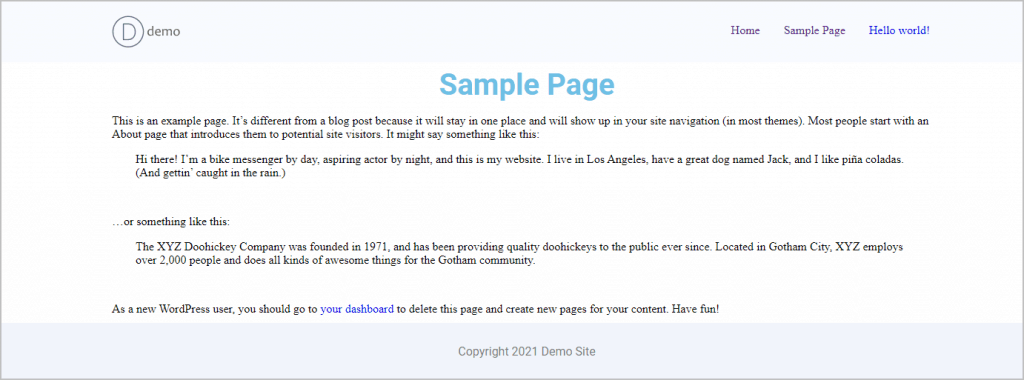
Then I went to the Sample page. It could definitely use more design work, but you can see the process here for creating and assigning the templates.
Single Post and Blog Templates
Single Post Template
There are some HQ Widgets just for the post template, so lets make that one. You know the drill by now. Start off by creating the template for the single post.
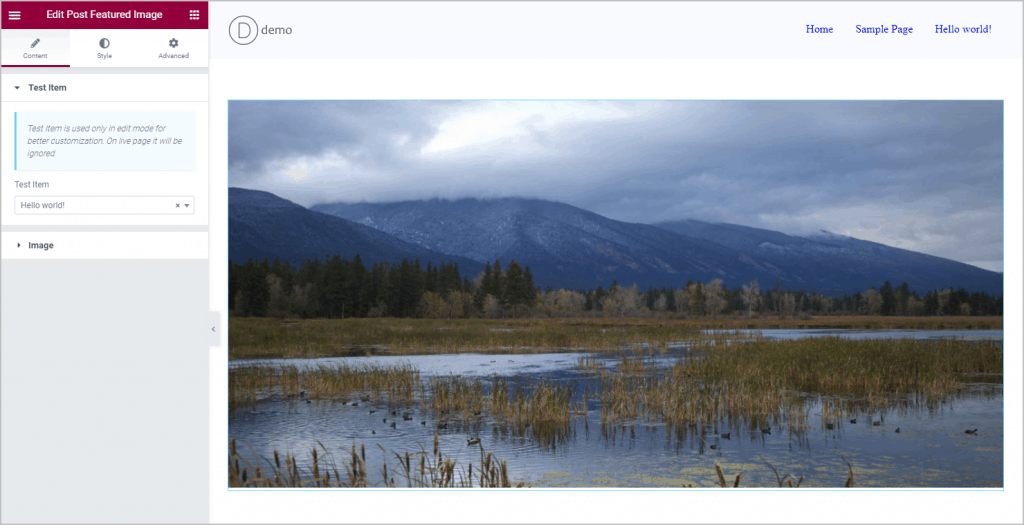
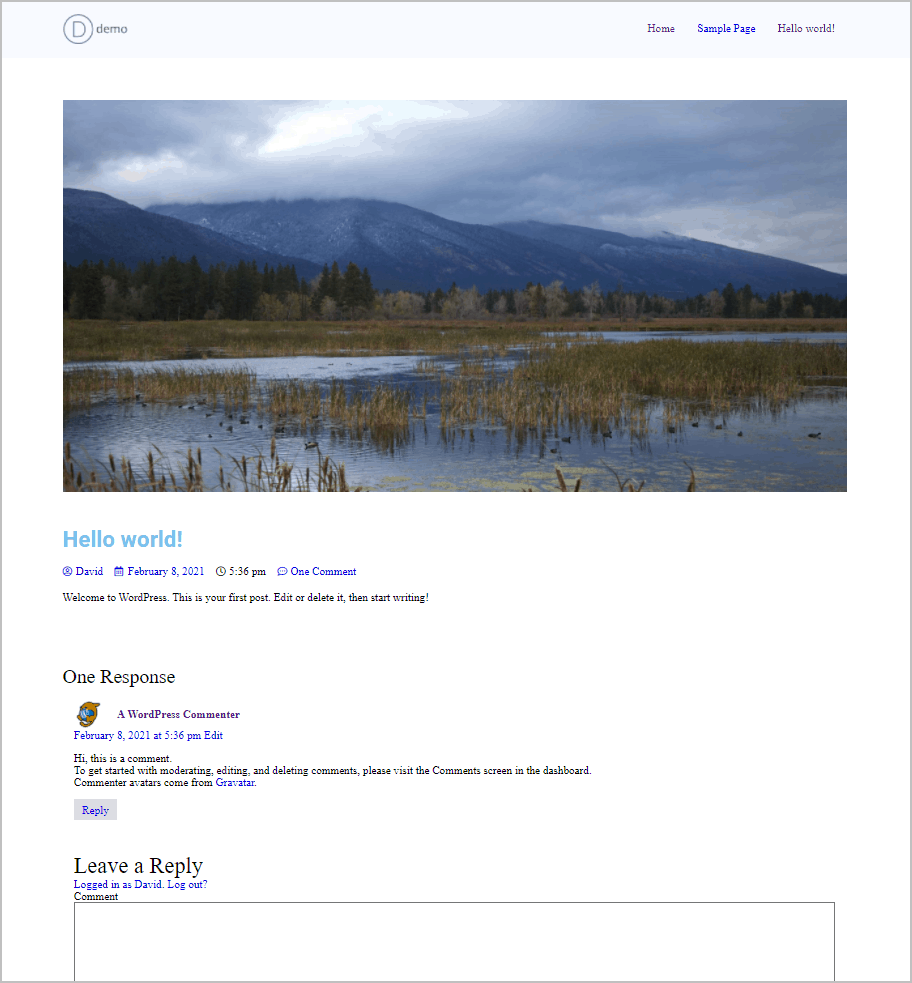
The hello world post doesn’t come with an image, so I added one and then in Elementor I used the HQ featured imagine widget.
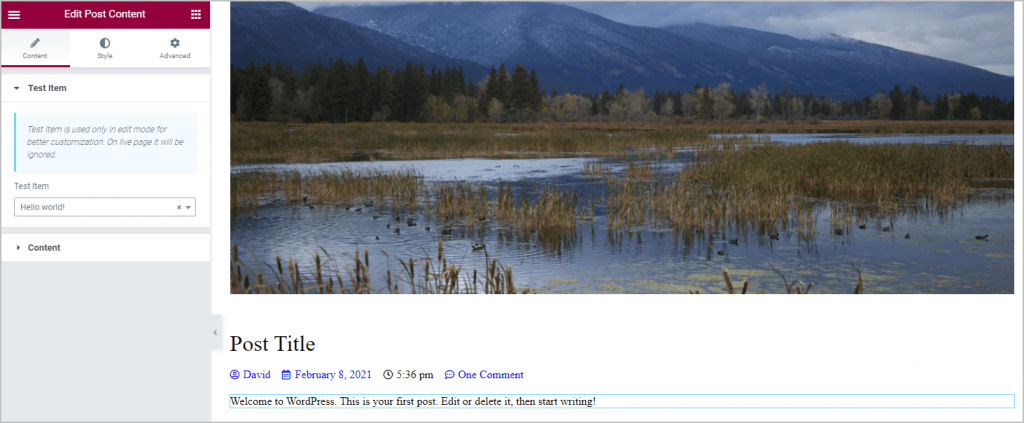
I then added the Post Title, Post Meta, and Post Content HQ widgets.
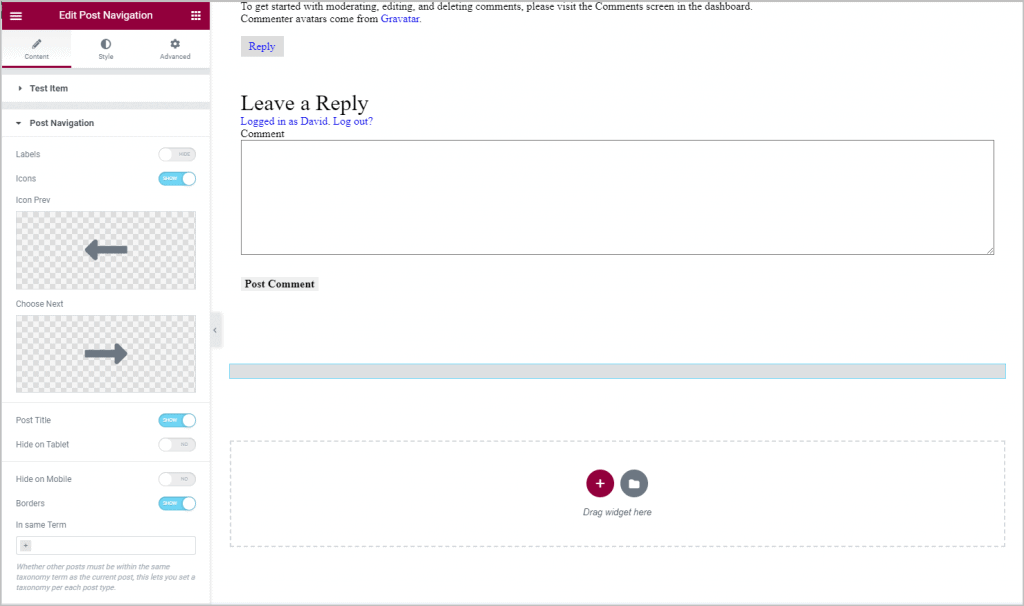
I then added another section and gave it some space and added the HQ widget for the comments. There is also a widget for post navigation like you typically see at the bottom of a post to go the the next or previous post. On this test site there is only one post, so it won’t show.
I saved and went to the Customizer to assign this.
I went to the Hello World Post to see the result.
Creating the Blog Archive Template
The way Marmot works for the archives is that you first create the individual loop item template and then you create the archive template that uses it. So I created a template for the archive item.
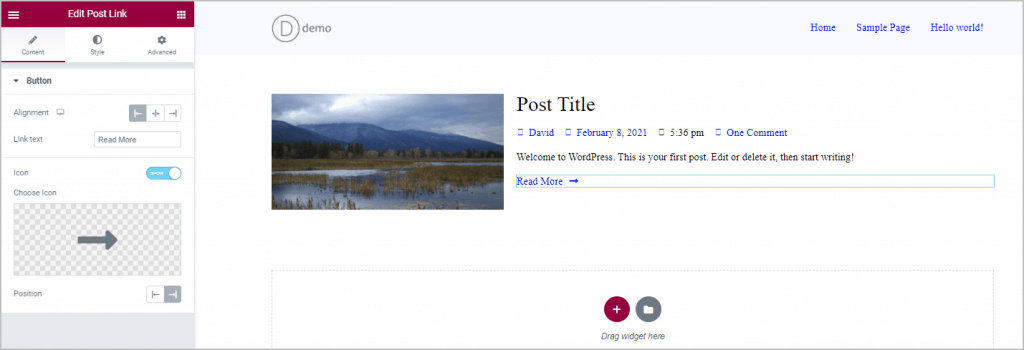
In Elementor I added a two column row and put the HQ Featured Image widget on the left. On the right I added the Post Title, Post Meta, Excerpt and Post Content HQ widgets, and then the HQ Post Link widget, which turned out to be a read more link.
I saved that and then created a new template, this one for the post blog.
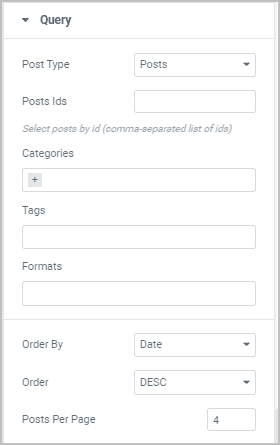
On the query panel I picked that this was for Posts.
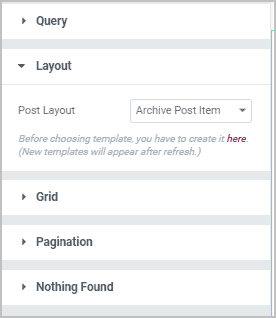
On the Layout panel I picked the template we had just made for the loop item.
I gave the section a light blue background.
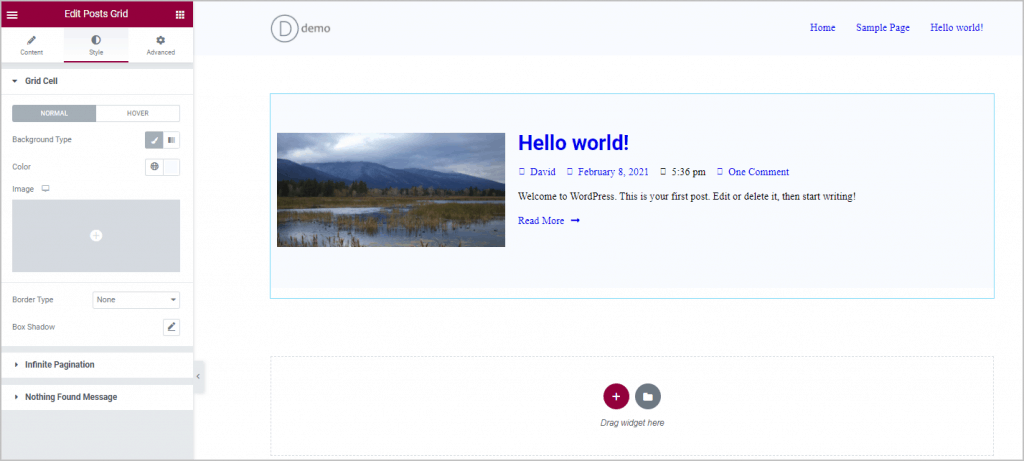
I turned on the pagination and saved. Then went back to the Customizer to assign this. Everything looked good.
Other Templates
Marmot allows you to create and assign all of the templates you need. It is a pretty repetitive process, so I’m not going to make any more. Note, however, that there are a number of HQ widgets to help with these. There are widgets like Archive Posts, Archive Title for the archives. A Search Results widget for the search page, and so on.
Marmot Pro
Installs
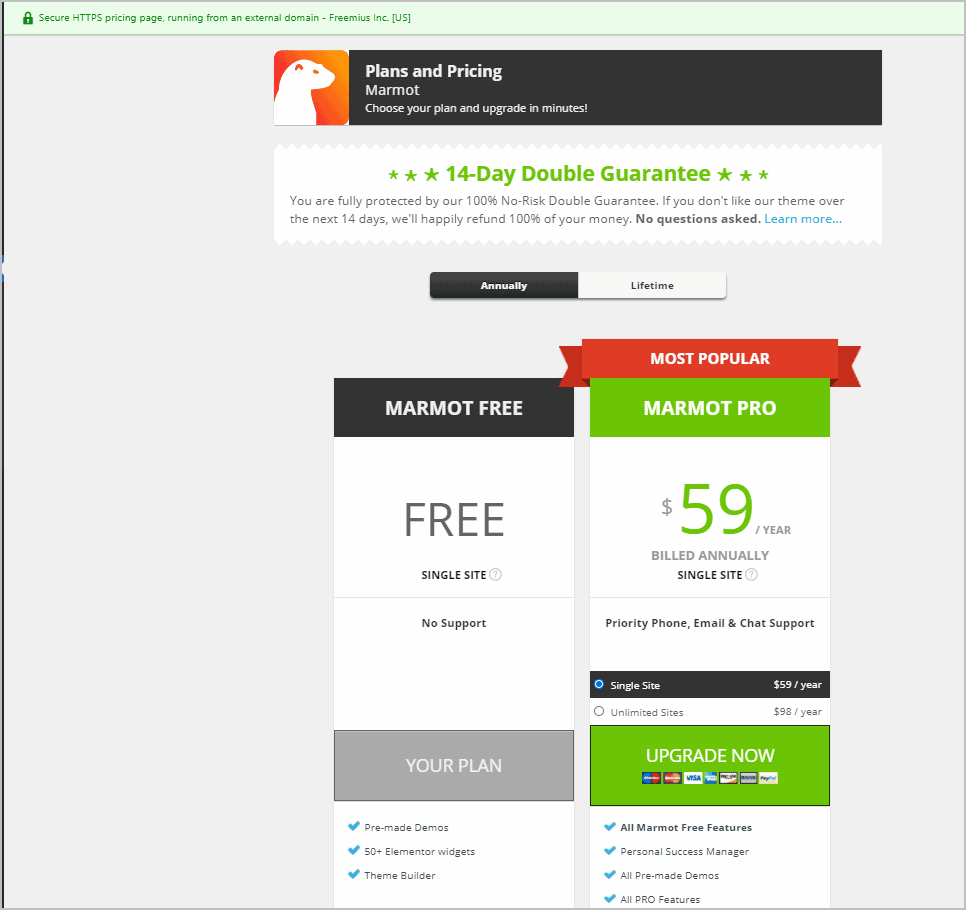
Let’s take a look now at the Pro version to see what it adds. If you don’t already have Marmot Pro then you can purchase from right inside the admin by clicking on the purchase menu link.
I already had a license so I went back to the wizard and clicked to enter my license. After it was activated I went to the dashboard screen and clicked on the Pro Version button at the top of the page. That took me to the bottom of the page where the included premiums plugins are listed. I installed the Marmot Enhancer Pro and the Element Pack Pro plugins. They install and activate in place.
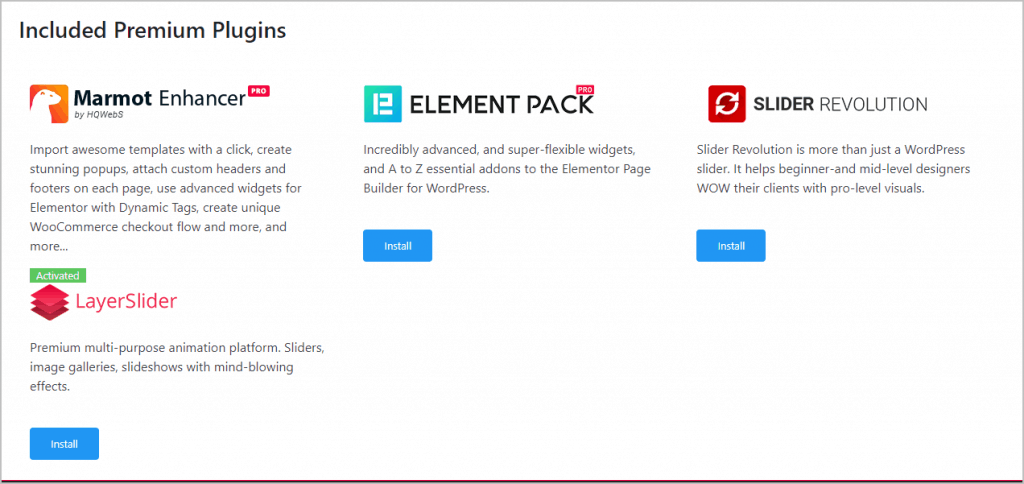
Unfortunately, at the top of the admin screens now there was a license nag to enter the license for Element Pack Pro. I checked with Marmot Pro support and they assured me that they have a license to include the plugin and that it will be fixed in some upcoming version of Element Pack Pro. With the pro version of Marmot we now have some more options.
Element Pack Pro
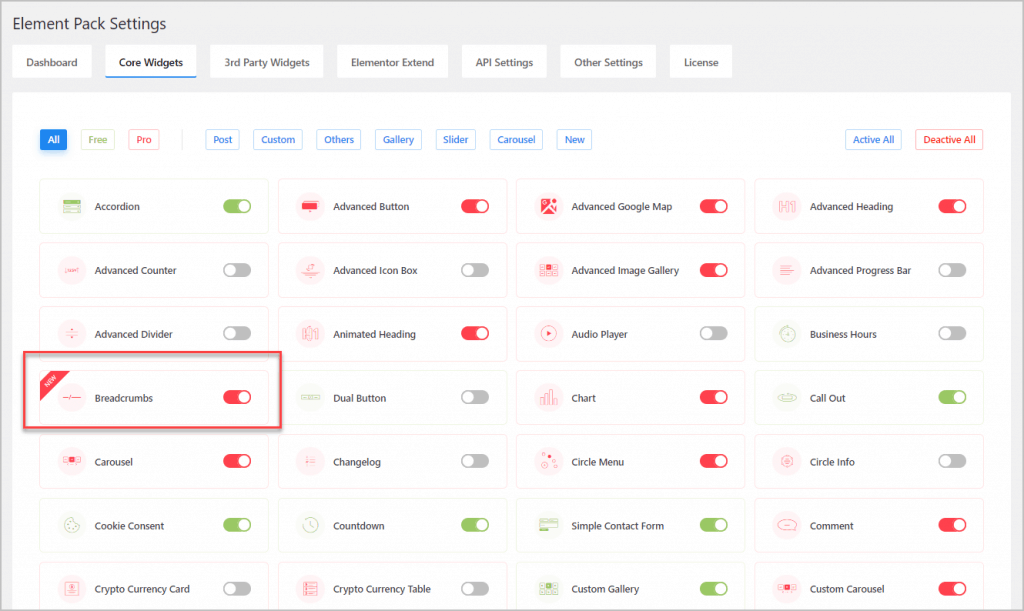
Element Pack Pro is a well known and extensive Elementor addon pack. It comes with 114 core widgets. I toggled on a pro one to confirm that everything was working and available.
They are 61 third party widgets.
Element Pack Pro has 11 Elementor extensions.
There are also a fair number of API integrations.
Marmot Pro additions
The pro theme options include a popup builder, WooCommerce checkout features, the ability to create dismissible widgets, access to Elementor dynamic tags, and dynamic conditions.
The disabled features when we only had the free version are now available. Here are the core widgets.
And here are the third page ones.
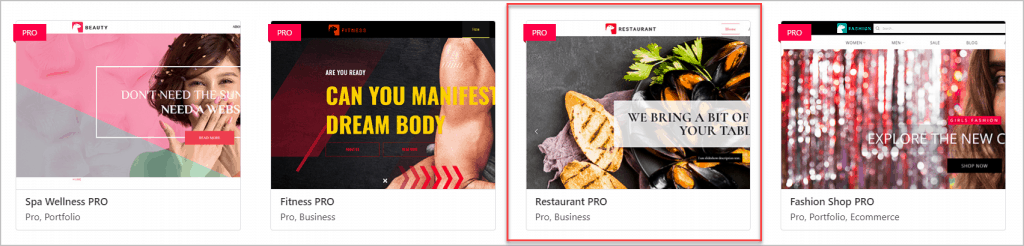
Pro Ready Sites
Now that we have the pro version, I wanted to install one of the pre-defined sites. There are 19 pro ready sites.
I picked the Restaurant Pro one to try.
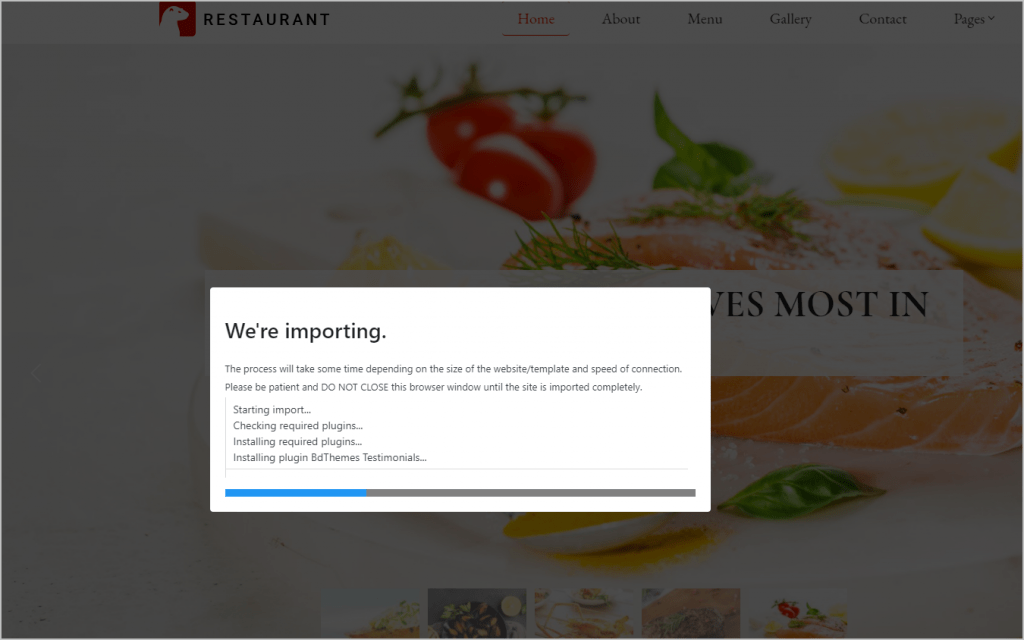
This showed me a list of the plugins that are required for this site. This included some we already installed, like HQTheme Extra, Elementor, Element Pack Pro, HQ Widgets for Elementor, and Marmot Enhancer Pro. It was also going to install some free plugins: BdThemes Testimonials, Contact Form 7, Custom Icons for Elementor, and Yoast SEO.
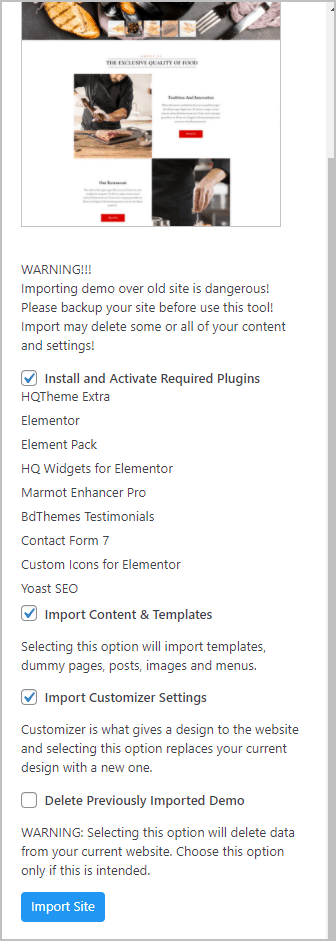
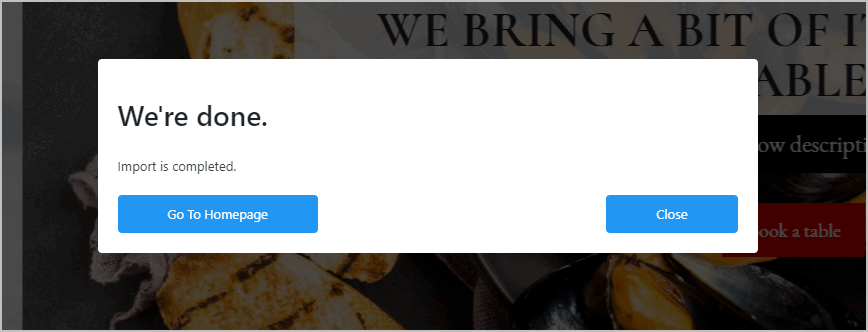
I clicked the Import Site button. There was a progress screen during the install, that lasted 4 or 5 minutes.
When It was done I got a notice.
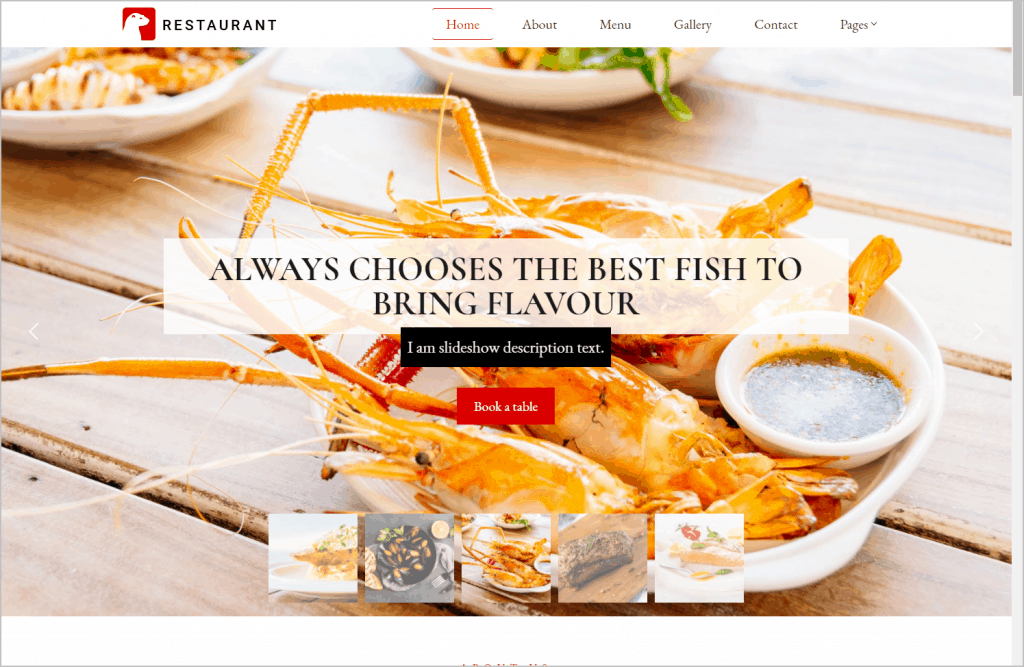
I went to the home page and the site was beautiful. I looked through the pages and they were very nicely designed.
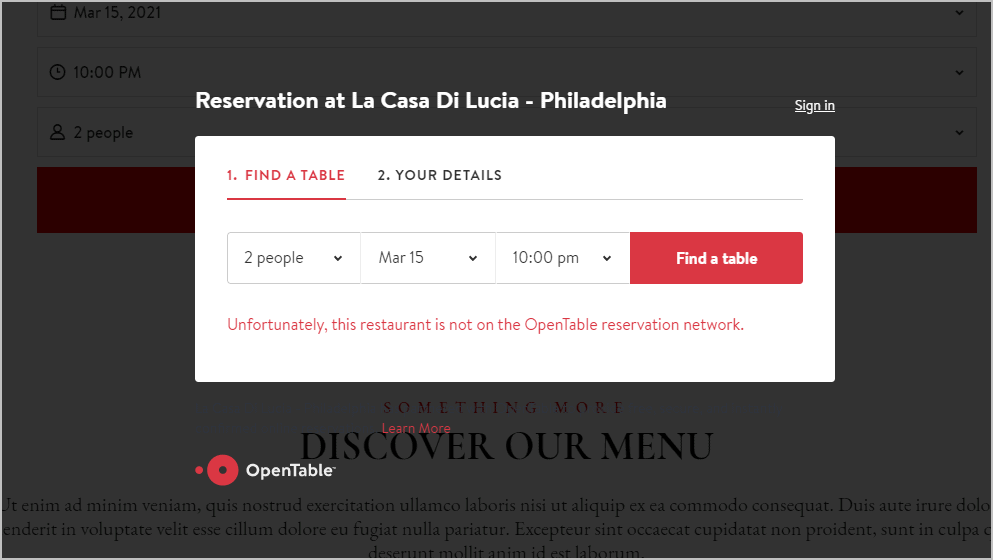
The Book a Table button at the top didn’t work, but when I scrolled down the page there was another one which did. This is a special integration with the Open Table platform.
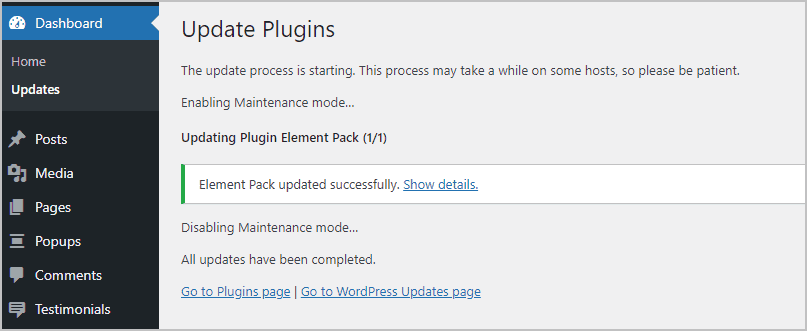
I went to look in the admin as I noticed there was an update pending. It was for Element Pack. Even though there had been that license notice, it updated, so yes, I was convinced it was really working.
There were some extra blog posts created as part of the site import, but I guess these would be easy to delete.
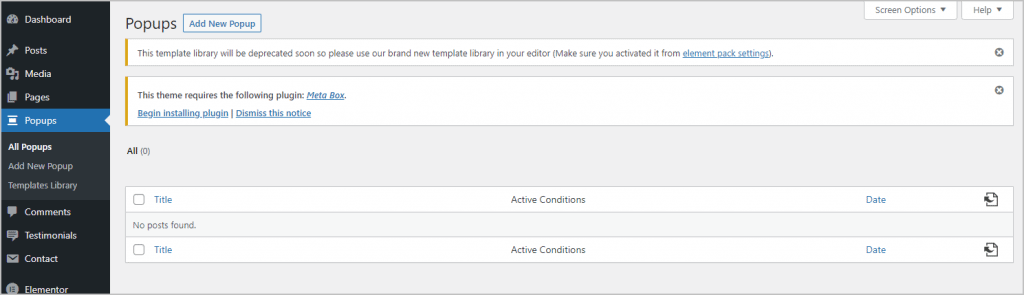
There was nothing defined in the Popup area or the Testimonial area but there was a notice that the free Meta Box plugin was required. Not sure why that was not installed with the Ready Site.
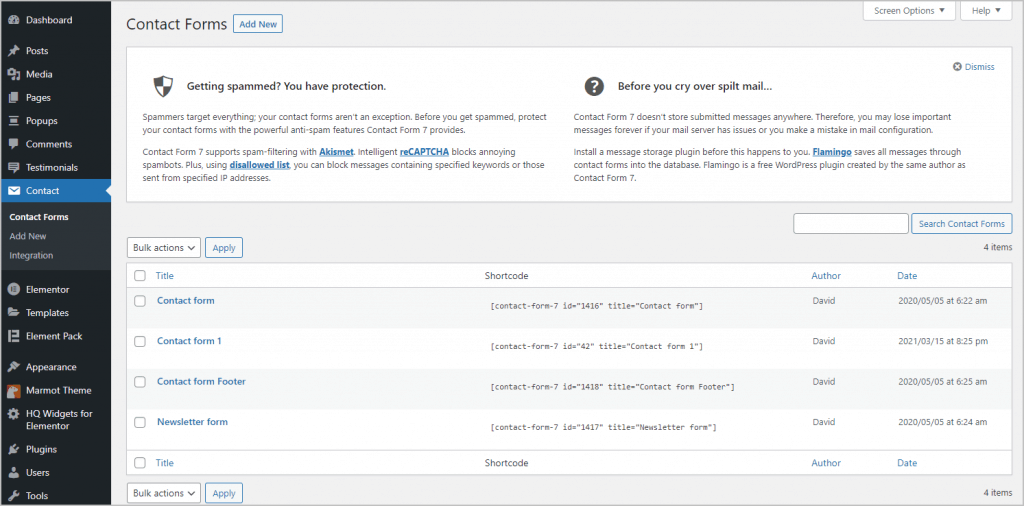
But there were several contact forms that had been created and included in the pages.
I noticed that Yoast hadn’t been configured, which I guess is to be expected as it would require really information.
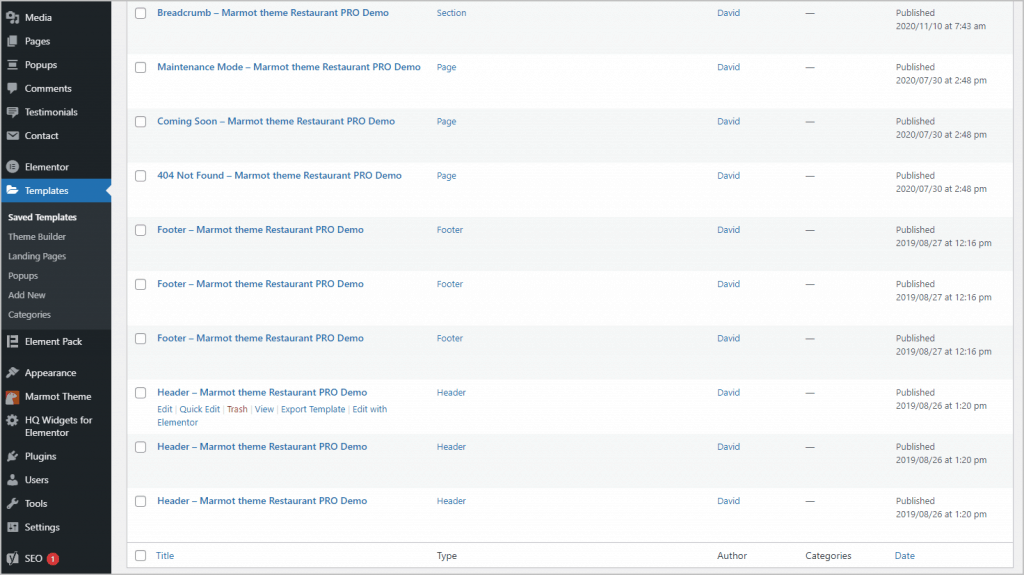
I checked to see what templates were added and saw that there were none for regular posts, pages, or archives.
Discussion and Conclusions
There are certainly a fair number of plugins to install and steps in getting started. I noticed that the HQ Extras plugin is required for the HQ Widgets plugin, so perhaps those two could be combined? All of the widgets have the option to enable or disable them, which I think is a sign of a good plugin so that you don’t have to have widgets active in the Elementor editor if you don’t need them. It is probably good advice to disable any you don’t need. It is nice that they have starter templates to use if you don’t want to install a Ready Site.
Before starting I imagined that people weren’t going to get much out of the free theme, but I was pleasantly surprised at how full featured the theme builder is. While it is not as elegant as the Elementor Pro theme builder, it seemed to get the job done and there were enough widgets available for basic templates and then some. As far as I know, this is the only theme builder available for free and it works with the free version of Elementor. That in itself will make the free version of the Marmot theme of interest to those who don’t have Elementor Pro. If you don’t want to create your own templates then there were a few Ready Sites for free, if one of those would work for you.
In terms of the theme builder, I noticed that there was not a table of contents widget in the free version, but there was one available in the Elementor Pack Pro. You also have social share buttons, more advanced menus, and other features, so probably most of what you’d need for building sites.
The Element Pack Pro plugin has a huge number of widgets and a good number of extensions. It is obviously a big bonus to the pro version of the Marmot theme. It will be nice when the Marmot developers get the license notice removed, as seeing that made me initially wonder if it has been licensed.
I found the predesigned Ready Sites to be very attractive and generally to be well put together. There were a few links that didn’t work and there were some extra blog posts created, but those are minor matters. I also saw the notice that the Meta Box plugin was needed and I was surprised that hadn’t been installed with the other plugins. Also, I think a checklist for the site builder, that listed the steps needed to complete the site, would be helpful for some people who aren’t experienced.
The Marmot theme is in active development and there may be some changes by the time you try it. I believe they are working to make the installs easier and the documentation and website clearer. It is a new theme, but it already has a lot of solid features. It also brings a fresh perspective because it tries to offer a full build solution. I think this will appeal to freelancers and site builders who are starting out. All in all, I think Marmot and Marmot Pro are something to check out should this approach fit your workflow and needs.